Part 4 – Things Get Complicated
Back to Return to Monkey Island
Things Get Complicated
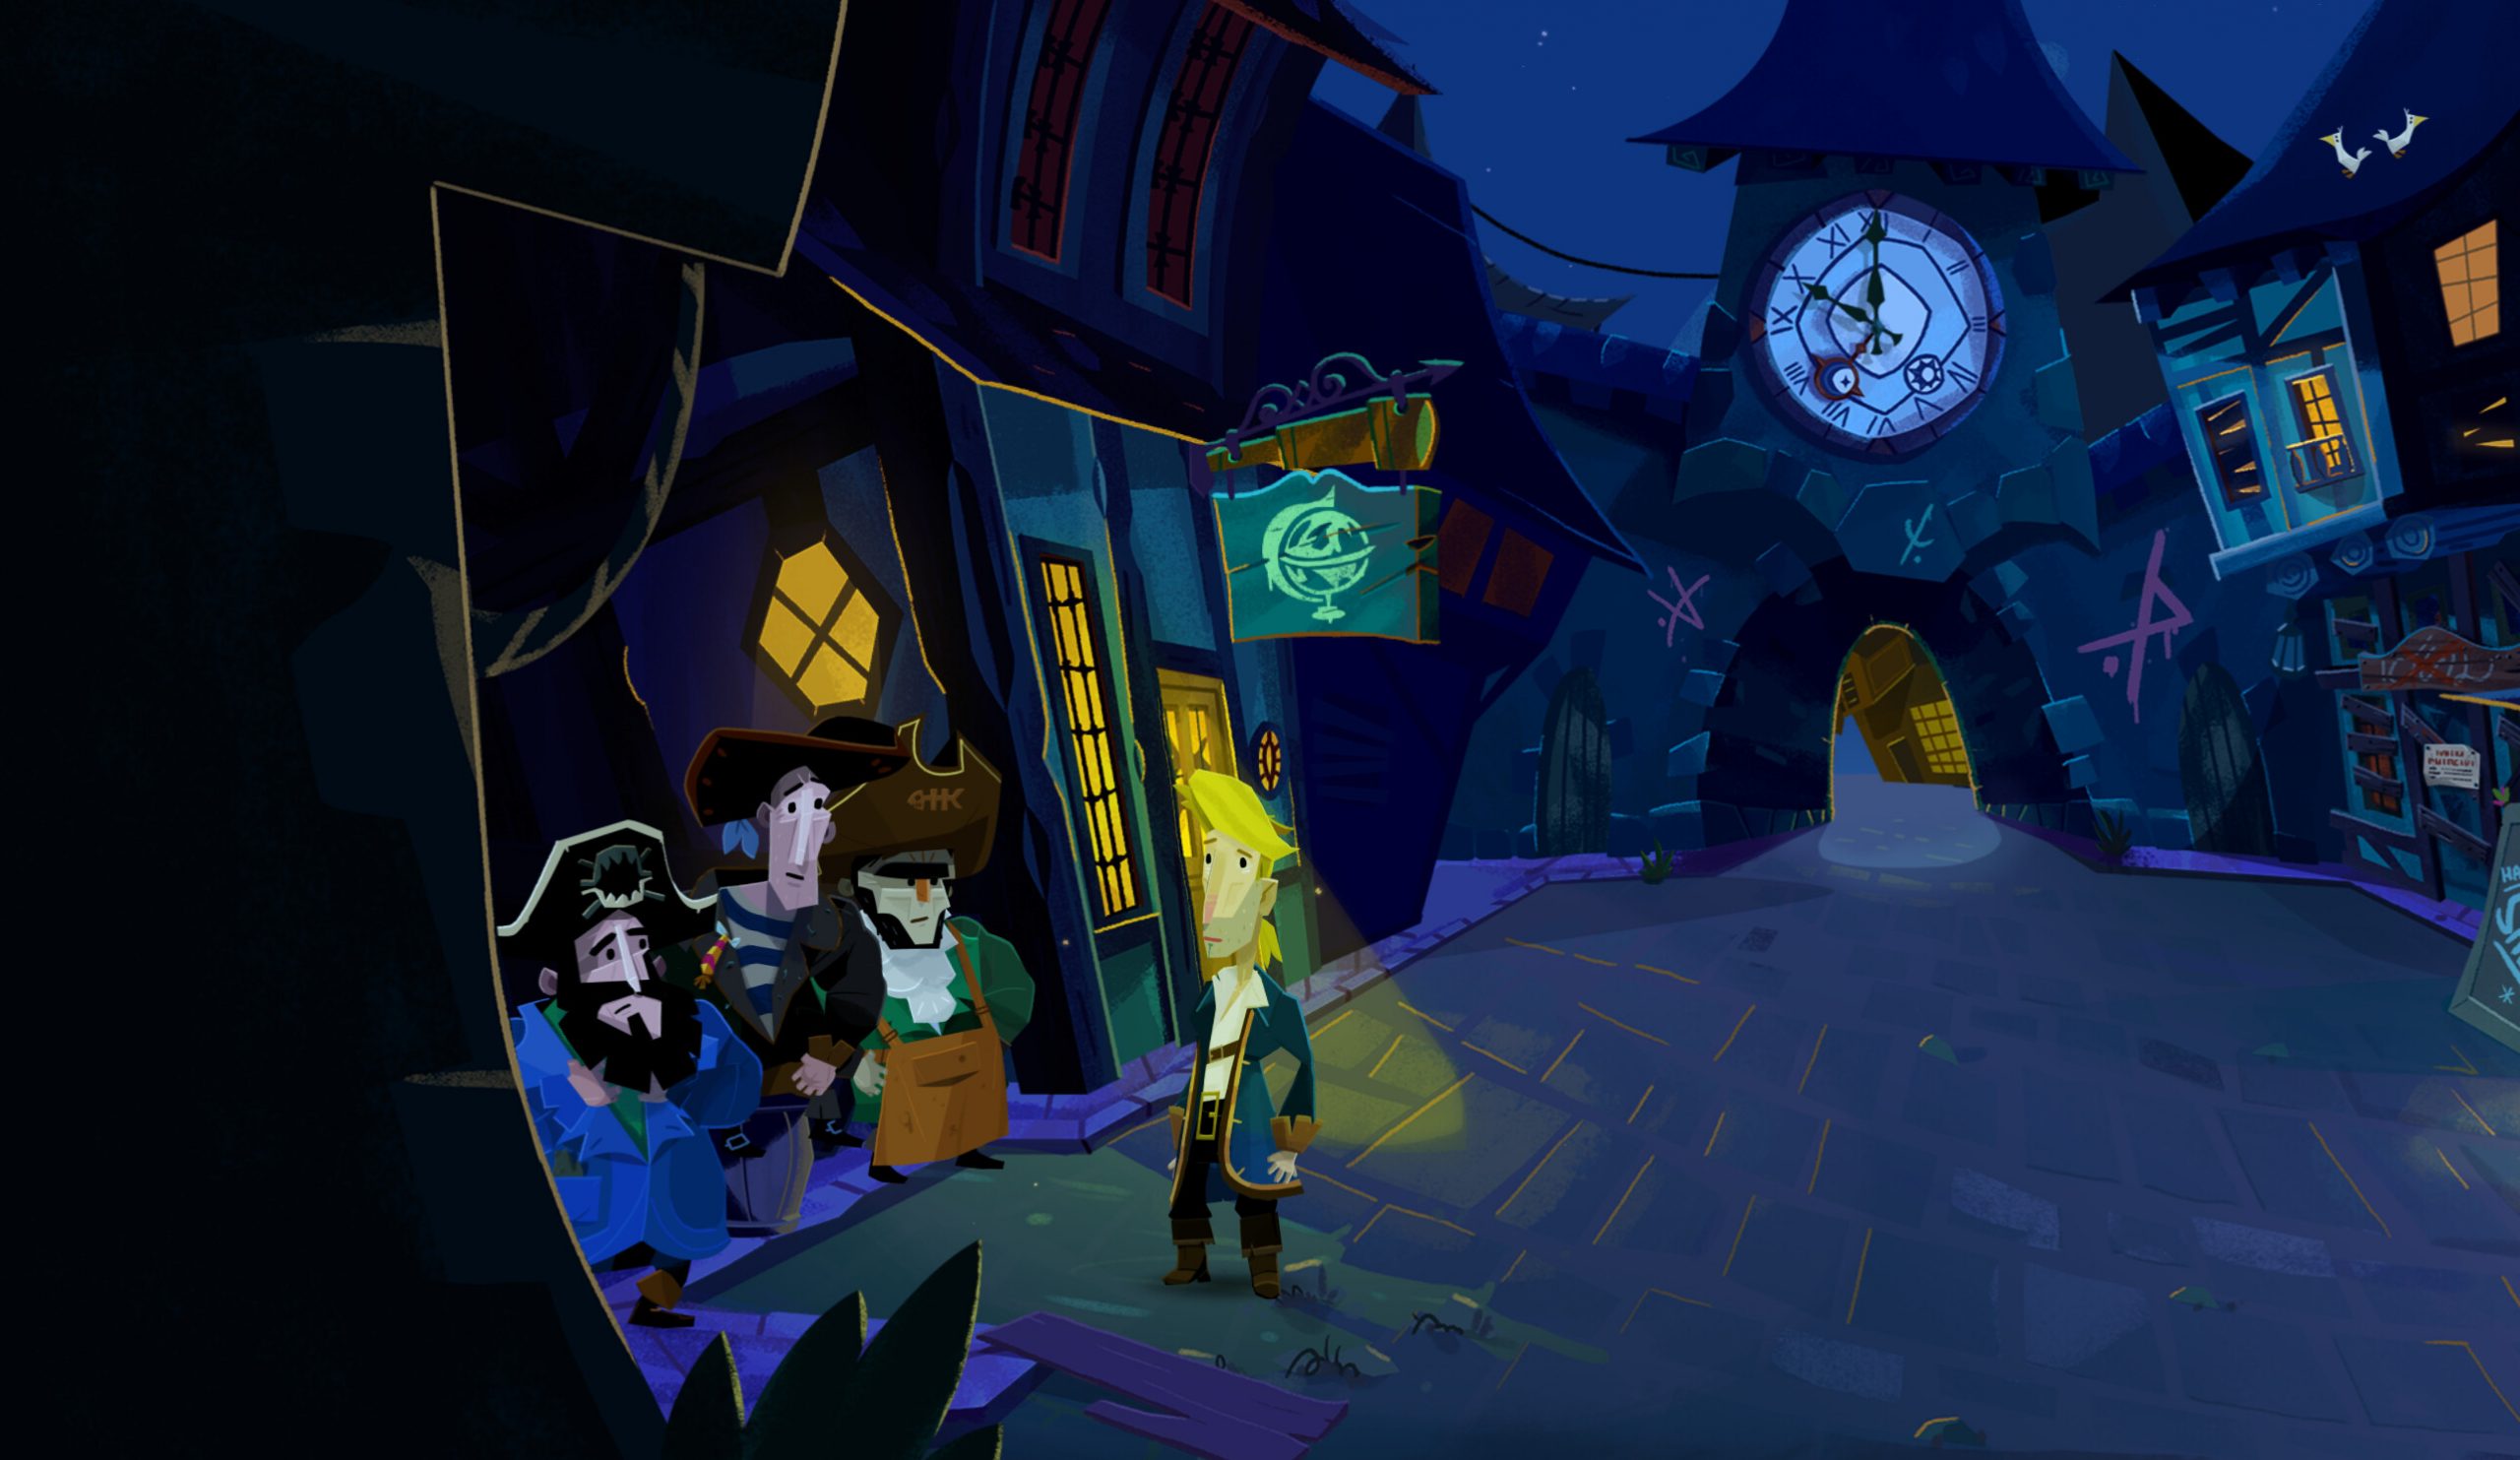
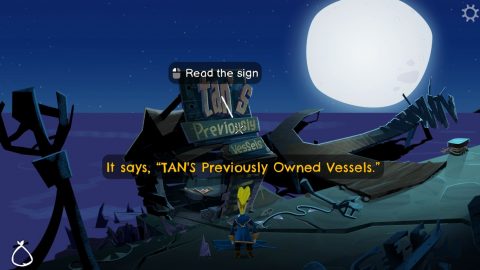
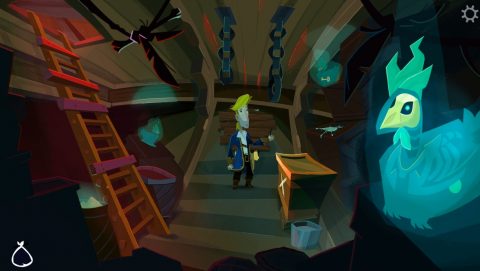
After travelling to Monkey Island you realize that the secret was right under your nose on Melee Island. Walk to the right from the docks and talk to the Chef and Pirate at the destroyed Scumm Bar, then make your way to Low Street and enter the Voodoo store.
The Voodoo Lady tells you that the secret is hidden in the safe with 5 locks. It can only be opened by finding the 5 Golden Keys. The safe is enchanted and can not be moved.
When you leave the Voodoo Shop you’ll be confronted by Widey Bones who tells you that she’s also trying to find the Golden Keys and has one of them. She will consider working with you if you can find at least two of the other keys and tells you who has them or where they were last seen.
Golden Key Locations
Widey Bones has one
Mrs. Smith who lived on Melee Island
Bella Fisher, lost at sea
The island of Brr Muda
Terror Island
When Widey leaves enter Wally’s map store and ask for a Sea Map. He’ll be happy to oblige.
What’s New on Melee Island
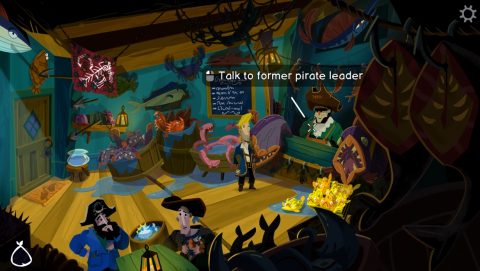
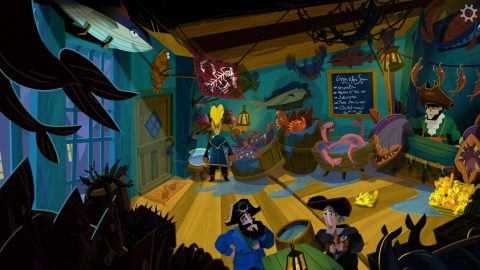
Walk up to High Street and enter the newly opened Fish Shop. Inside you’ll find the old pirate leaders from the previous games.
Talk to the shopkeeper about everything. Bella Fisher did have a favorite fishing spot and that’s likely where you’ll find the key. Her flag is the large red flag displayed in the corner of the shop with all the holes in it.
You won’t be able to take Bella’s flag until you become a Chum. To become a Chum you need to be able to tell a good story. You’ll be given a Lure and told to practice with all the other characters who have lures.
Grab the Blowfish in the barrel by the other two pirates and try to win the burping competition. You won’t succeed at this stage.
You can order one pile of fish at a time so order the yellow Lumpsuckers for now, then leave the store.
Enter the locksmiths and talk with Lock Smith. Her grandmother was Mrs. Smith and had one of the Golden Keys. Unfortunately she tells you the key was likely destroyed and hands you the Probate Order. Leave and head north to the Governor’s mansion.
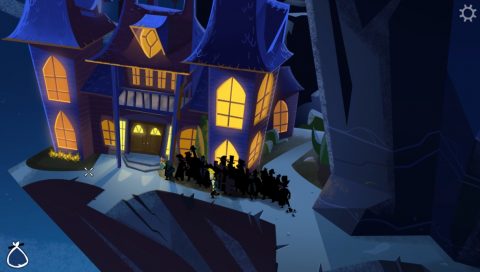
There’s a line of people waiting outside. Just cut past them and enter through the front door. Carla is giving out IOUs. Ask for one of them and tell her it’s for “Rebuilding Local Businesses”.
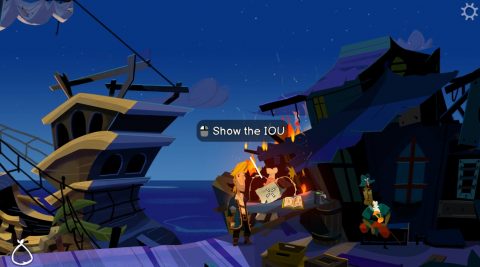
Return to what’s left of the Scumm Bar and give the chef the IOU. He’ll be thankful and let you take back the “Ingredients” book. While you’re here grab the Mug of whatever it is the pirate is drinking.
Return to the fish store, take a sip of the green liquid in the mug and then try the burping competition again. This time you’ll win and be given the Blowfish as your prize.
Head back to the mansion, return the “Ingredients” book and take out “The Endless Voyage That Would Not End”. Go to the island interior and head over to the Shipyard. Stan’s ship store is more than a little run down. Grab the Picture of Stan and Toothbrush and then leave.
Before going back to your ship to sail off to the other islands you may want to practice your storytelling. Both Locke Smith and the pirate outside the bar have fishing lures. Show them your Lure and practice storytelling. They’ll give you tips and more lines of text to say.
The other members of Chum are Elaine in the Lime Grove of Scurvy Island, the Ice Quarry Guard on Brrr Muda and Apple Bob on LeChuck’s ship. We’ll get to them later.
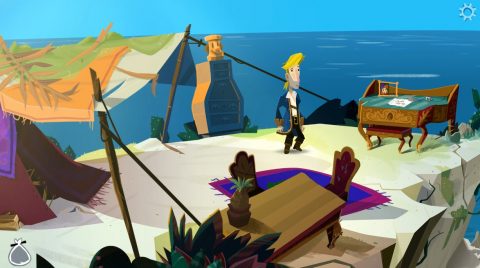
Scurvy Island
Walk to the back of the beach to go to the Scurvy Island Overworld and head to the camp to the north. Elaine isn’t here but she’s left a Note on her desk. Pick it up, along with the Picture Frame. Also grab the Firewood near the entrance of the camp.
The letter says that Elaine is east of the Waterfall and South of the camp. Find out where these two lines intersect and walk over there to find Elaine.
Have a chat with her about everything. She’s having trouble convincing pirates to eat Limes and she hands you a Flyer. Grab some of the Limes and then leave.
LeChuck’s Ship
Sail over to LeChuck’s ship and get on deck. Talk to Apple Bob and give him “The Endless Voyage That Never Ends” book and he’ll give you back the Joke Book.
Head into the ship, go to the galley and take the Demon Pepper from the counter. Open your inventory and combine the Demon Pepper with the Lumpsuckers.
Scurvy Island
Return to Scurvy Island and go to the Seagull on the eastern side. Throw the seagull the newly Seasoned Fish and it will fly away, letting you pick up the Picture of Guybrush.
Scurvy Inspection Point
Get back on your ship, sail to the north and you’ll be stopped at the Scurvy Inspection Point.
You can get past unless you have Limes on you. Then you’ll be told to fill in the Customs Form. You don’t really need to fill out the form correctly. Just tick the last box and sign it, then you’ll be on your way.
Brrr Muda

When you first arrive you’ll be in the town center. The Town Hall is locked for now but you can enter the Courthouse to the left. Talk to Judge Plank and show him the Probate Orders. He tells you the box was taken but the key wasn’t destroyed and gives you your first Golden Key.
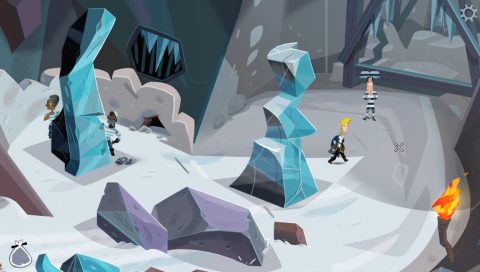
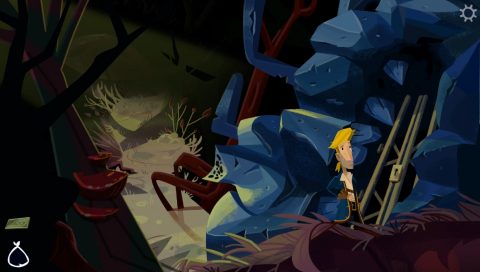
Go to the Ice Quarry and talk to the guard outside. He’s one of the Chums so show him your Lure and practice your story.
Open your inventory and switch the photos around so the photos of Guybrush and Stan are in the frame. Show this to the guard and he’ll let you in. Head all the way to the back of the quarry to find Stan.
Talk to him about everything. He doesn’t want to leave because he’s only in for a month. You’ll need to find some way to convince him so he can help Elaine with the pamphlets. For now head through the hole in the wall to the left to escape.
Rescuing Stan
Sail to the west of Brrr Muda to Barebones Island and speak with Stan’s accountant. Show him the Judge’s Order and he’ll give you Stan’s Financial Records. Open them up in your inventory and go through them to find Ned’s Accounting License.
Use the Accounting Licence on the photo frame and then place Guybrush’s picture next to it. Return to Brrr Muda.
Go back to the judge and show him the Financial Records. He won’t let you bring evidence unless you’re licensed. Show him the picture with Guybrush and the Accounting License. The judge will update the sentence to 10 years.
Go back to Stan in the quarry and show him the judgement. He’ll agree to let you help him escape. Use the Monocles on the shackles to get the key number and have the Shackle Key made back on Melee Island. Come back and use the Key on the shackles to free Stan.
After the cutscene you’ll be on Scurvy Island. Pick up the Pamphlet from the table and head back to your ship.
Back to Brrr Muda
It’s time for another key so head over to the castle and make you way up the long path to the top. Once inside the castle grab the Matches on the shelf by the pile of firewood, then head up the steps and talk to the queen.
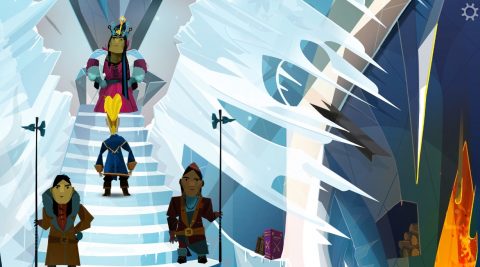
You’ll spot a Golden Key on her crown but only the queen may wear the crown. You can challenge her for the title by besting her in three challenges, the contest of heartiness, seriousness and intelligence. Agree to challenge her and you’ll be back at the town hall. The town hall will be open from the outside from now on.
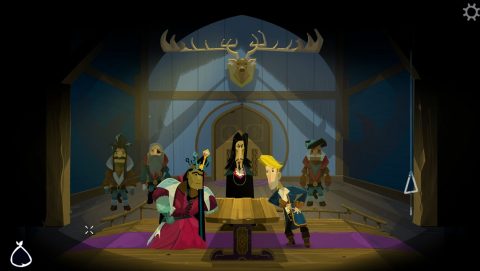
After the cutscene look around the town hall. There are three rooms where each of the challenges are held. When you are ready for each challenge just ding the bell.
Contest of Heartiness
For the Contest of Heartiness you’ll need to have the Fish of the Day. The room where this takes place will show a picture of the fish you need. In my playthrough it was “Bloater”.
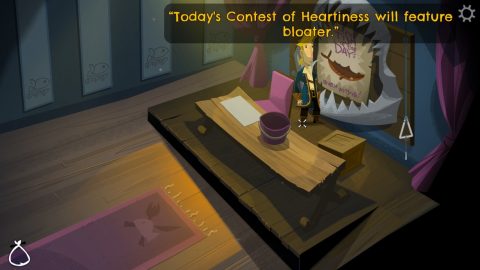
Go back to the Fish Shop on Melee Island and order the fish. Come back to the contest room and place the fish in the bucket, then season the fish in the bucket with Demon Pepper. Ring the bell to start the contest.
When it’s your turn to eat don’t grab a fish from the bucket, instead eat one from your inventory that hasn’t been seasoned. You’ll win the contest.
Contest of Seriousness
Enter the room where the Contest of Seriousness takes place and ring the bell. When it’s your turn to tell a joke use the Joke Book that you got back from Apple Bob earlier.
The queen will laugh and you’ll win the contest.
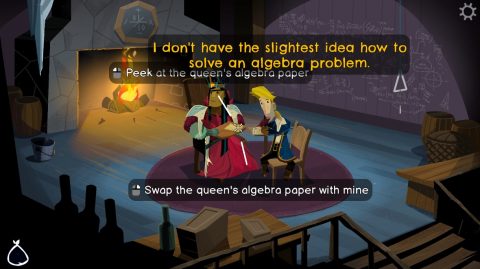
Contest of Intelligence
Enter the room with the fireplace. Place Wood in the fireplace and light it with a Match. The room will warm up making the ice stalactite drip into the bucket. Ring the bell to start the contest.
The question is too difficult for Guybrush so wait for the water to drip into the bucket and distract the queen. While she’s distracted switch the papers.
After the contest you’ll be crowned queen and find your second Golden Key!
Bella Fisher’s Golden Key
By now you should have spoken to all the members of the Chums and refined your story. If you haven’t here are the members:
Lock Smith
The Pirate outside of the Scumm Bar
Elaine on Scurvy Island
Guard outside of the Ice Quarry
Apple Bob on LeChuck’s ship
Return to the fishing shop and tell them your grand story. You’ll be accepted into the Chums. As a new member you’ll be allowed to take Bella Fisher’s Flag hanging in the corner. Once it’s slowly lowered down you’ll grab it.
Enter the jungle to get to the island map and go to the Museum. There are now two parrots keeping watch. Give them both some crackers and they’ll stay quiet. Use the display case key which you will still have from a previous chapter and open the display case. Take the Flag and leave.
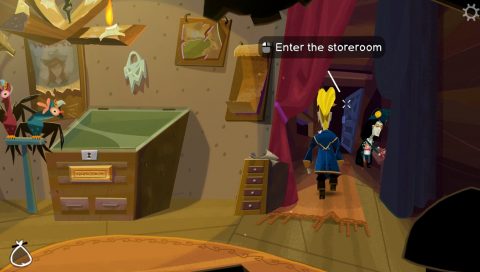
When you look at the flag you’ll see it’s a replica and not the real thing. Enter the museum again and this time open the display case without feeding crackers to the parrots. They raise the alarm and Conrad will unlock the storeroom and start folding up the replica flag. While he’s doing this you can sneak behind him into the storeroom.
Replace the real Bella’s Flag with the Replica Flag that you stole earlier and leave the museum. Just one more to find.
Get back on your ship and sail to the Adrift Ship just to the east of LeChuck’s ship. They’re scared of scurvy and won’t let you aboard. Show them the Pamphlet that Stan drew up.
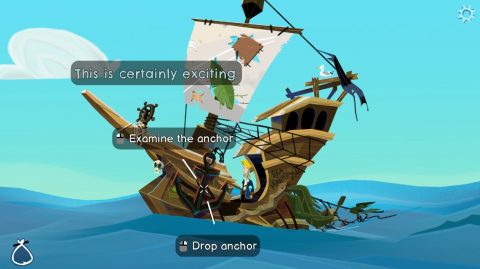
They’ll let you take the third Bella’s Flag. Open your inventory and combine the three Flags with the Sea Map. The flags will cover up all but one point on the map. This is Bella’s favourite fishing spot. When you get there drop anchor.
Blow up the Blowfish and then climb down the anchor. Once you get about half-way down you’ll start to run out of air. Take a breath from the Blowfish and continue climbing down.
Once you reach the sea floor walk to the right to find Bella Fisher’s boat the Golden Key. Take the key and then climb back up the anchor.
Widey Bones’ Key
Now that you have at least a couple of keys go and talk to Widey Bones. You can find her hanging out the window above the fish shop. She’ll tell you that a short female pirate stole her key and she doesn’t know where it is. Sounds like one of LeChuck’s crew got to her first.
Sail out to LeChuck’s vessel and enter the ship. Go down to the hold and take a look at the chicken in the corner. That’s where the key has gone! Take some Ghost Chicken Feed and feed it to the chicken.
Leave and come back. The ghost chicken will poop out the Golden Key. Grab it leave the ship. Just one more Golden Key to find!
Terror Island
The final key can be found on Terror Island. It’s on the eastern side of the Sea Map.
Go to the island interior to see the Terror Island map. There’s a few places to explore here. First go to the Unlucky Place and pick up the Silver Key from the skeleton bones. Then go to the Mysterious Clearing and grab the Oil Lamp to the right.
Now make your way to the Twisty Path. Continue along it until you find the gate with a sign on it. Use the Ceremonial Knife to pry off the sign and then open the lock with the Silver Key.
Enter the Dark Cave and combine your Matches with the Oil Lamp. Make your way along the path to an intersection. Head in one direction and pick up the Scrap of Paper. Take another direction to find another Scrap of Paper. Continue until you have 5 Scraps of Paper.
Examine the Sign that you pried off earlier to be taken back to the beginning of the cave. Take a look at the Scraps of Paper that you picked up.
The scraps of paper have clues to the paths you need to take. They go in the order of Spring, Summer, Autumn, Winter and Spring again. The symbols on the scraps of paper tell you which tunnel to take.
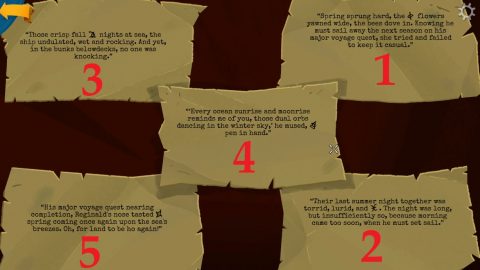
Once you enter the cave and find the first intersection look at the symbol for Spring and go in that direction. The symbols or passages may change from game to game. Continue to the symbol for Summer, Autumn, Winter and then the second Spring.
You’ll come to a “Pit of Agony” filled with water. You can jump into the water if you want but your lamp will go out. Instead examine the Sign in your inventory to get out of the cave and go back to your ship.
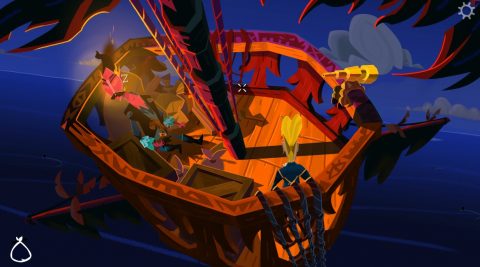
Sail to LeChuck’s ship and climb up to the crow’s nest. Use the Oil Lamp on Flambe’s flaming head.
Go back to the cave on Terror Island. Don’t worry you don’t have to navigate through the tunnels again. Dive into the water and the lamp will stay lit because of the demon fire.
Walk to the right, venture deeper into the caves and you’ll fall off a precipice. Down the bottom you’ll meet Herman Toothrot. Talk to him about everything and eventually you’ll end up with the final Golden Key. Read the sign to get out of the caves and then head back to the Voodoo store.
Use the 5 Golden Keys on the large safe. Inside you’ll find another locked chest! Before you can open it LeChuck enters and steals the chest.
Next: Part 5 – Beneath the Monkey Head
Back: Part 3 – Return to Monkey Island