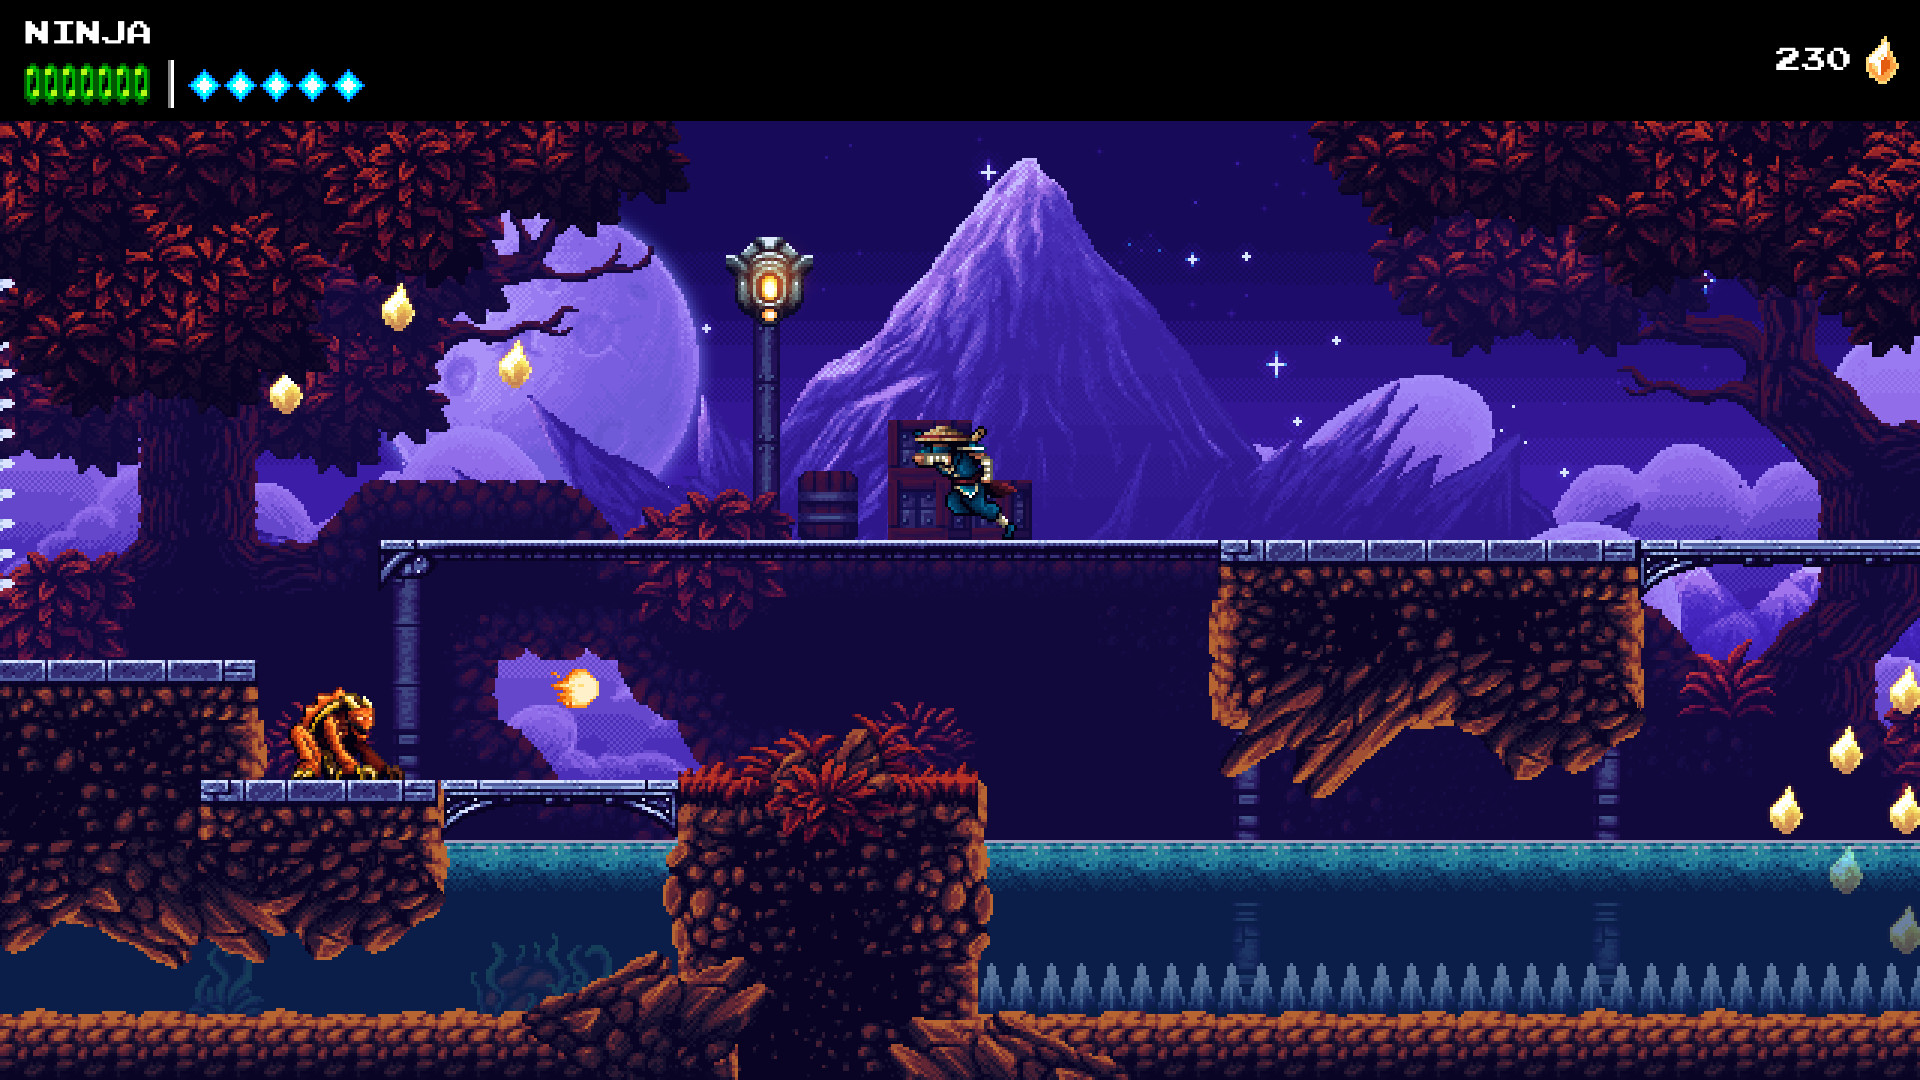
Howling Grotto
Back to The Messenger
Howling Grotto
Power Seals: 1
The first time through this level you’ll be able to find one Crystal, one Power Seal and one new ability. Head to the right, drop down and enter the shop.
Checkpoint #1 (Shop)
Talk to the Sage and he’ll give you the Wingsuit. You can use it to float across gaps. Press and hold jump while you’re in the air to float.
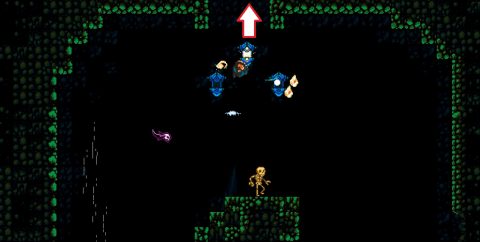
Head to the right, drop and float up on the air current on the other side. Take the exit to the top right. Make your way down but stop when you see the 3 Orange Demons. Break the 4 blocks on the right side.
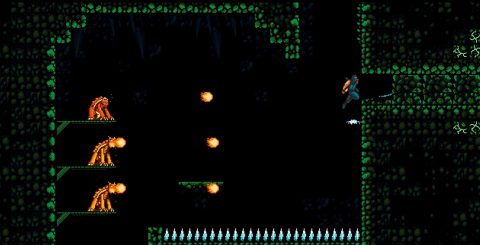
Go through to the right and use the air currents to float past the spinning blades and spiked balls. If you’re lucky you’ll make it across to Power Seal #4.
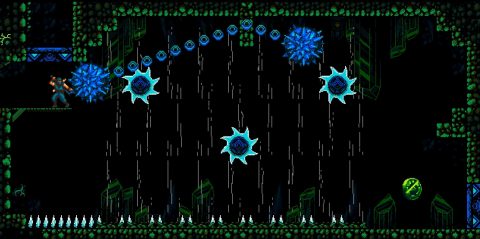
When you grab it the barrier to the right will open. Head through, climb up and around back to where you came from.
Back in the room with the 3 Demons drop down and continue gliding down past the rows of spikes. Head to the right to the next Checkpoint.
Checkpoint #2
Make your way up and around, following the only path available. After fighting the Mage make your way to the right and up while dodging the spinning blades and Earth Elementals.
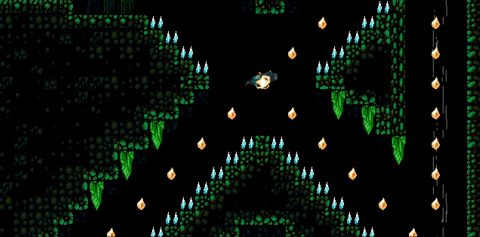
Exit at the top right and glide down in the next room. Try to grab as many Time Shards as you can along the way.
Take the exit at the bottom right, make your way up and then glide down on the right side. At the bottom take the exit to the right. This takes you to the next Shop.
Checkpoint #3 (Shop)
Glide down, grab the Health Flask on the way down, and take the exit at the bottom to the right. Continue through the next few rooms to the next Checkpoint.
Checkpoint #4
Use the air currents to glide up to the top and take the exit to the right. Glide up and use the 3 Lanterns to jump up to the room above for a large Crystal.
Drop down and glide down on the right side. Grab the health on the way down if you want and continue down to the bottom. Take the exit to the right and glide up on the next screen. Head to the right for the final Shop.
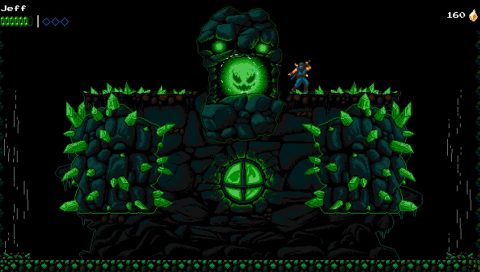
Golem Boss Fight
When the Golem appears you’ll need to hit the heart gem until he opens his mouth. Quickly climb up and hit the Wisp in the Golem’s mouth. You’ll have a few seconds before crystal shards appear on its shoulder.
Drop back down and do the same thing. The fists will move in slightly different patterns so watch out for them. After going through 3 or 4 cycles the Golem will drop down and the Wisp will appear.
Use the Wingsuit to glide around and pick up the Ki charges. the Wisp is not too hard to dodge. Fly around and shoot the Wisp until its defeated.
Back: Bamboo Creek Next: Quillshroom Marsh