Key of Chaos
Back to The Messenger
Enter through the Portal to Glacial Peak. Climb up a short way to find Ruxxtin’s Staff. Now that you have the Amulet you’ll be able to use the staff to transport you to the Cloud Ruins above.
Cloud Ruins
If you’ve been following this walkthrough you would have picked up one of the four Power Seals the first time we visited this place. We still have the first, second and fourth power seal to grab, as well as the Phobekin.
Make your way up to the first Shop. Head to the right two screens and drop down to the room with the large Crystal and the Time Barrier. Change the time to 16-Bit and climb back up. Head to the right to the next Checkpoint.
Drop down and continue making your way to the right. When you come to the room with the large gap, before the next Shop, climb up the wall on the left side. Jump up as high as you can and jump and glide to the right side. Use the lamps to cloud step up to the exit above.
Head to the right past the Checkpoint and drop down. You’ll need to rope dart the 3 Ghosts so you can get across to the right and up to Power Seal #33.

Head back the way you came. Drop down and continue to the right to the Shop. From here you’ll want to navigate through the level, past a Shop, Checkpoint, another 2 Shops and finally a Checkpoint. When you drop down you’ll change to 8-Bit. Climb back up and take the exit on the left side.
Drop down and use the rope dart on the ring to get across to the secret area. This is one of the easier power seals. Just avoid the spikes on the ground and head across to the left to pick up Power Seal #34.
Head back the way you came and drop down. Make your way across to the right by using the rope dart on the ghosts. When you make it to the next Shop drop down and continue to the right.
Eventually you’ll find a little Phobekin called Acro all alone on a little platform. When you speak to her she’ll run off to help build the bridge to the Forlorn Ruins with the other Phobekin.
Continue making your way to the Shop on the eastern side of the level. Climb up for Power Seal #35. This is probably the easiest one in the game.
Drop down, head into the Shop and go back to the Tower of Time HQ. Go through the Portal to the Searing Crags.
Searing Crags
Run to the right and use the boots to run across the lava. On the other side you’ll find a little Phobekin called Pyro.

This should be the last Phobekin which means the bridge to the Forlorn Ruins should now be built. Continue to the right and down until you enter the Underworld.
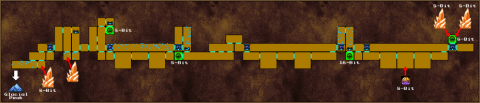
Underworld
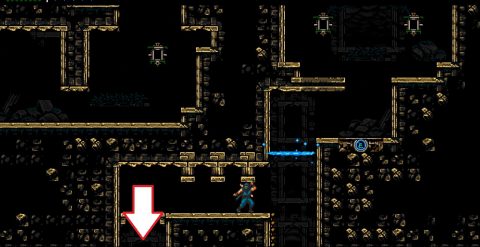
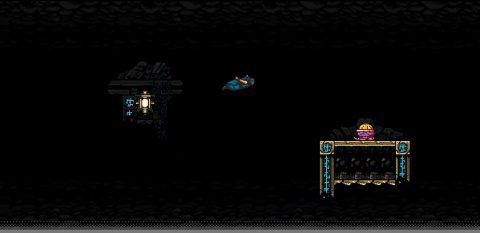
Make your way through the Underworld and head to the screen to the right of the first Shop. From here you want to break the blocks to the top right to reveal a secret area.
Pic 7
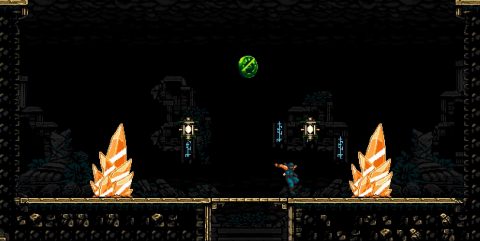
Use the air currents and wheels on tracks to make your way up to the top where you’ll find Power Seal #36.

Drop back down and continue through the Underworld. Pass the next Checkpoint and then head up to the Shop above. The path across the lava to the right leads to the Key of Chaos but we’ll grab the final 2 Power Seals first.
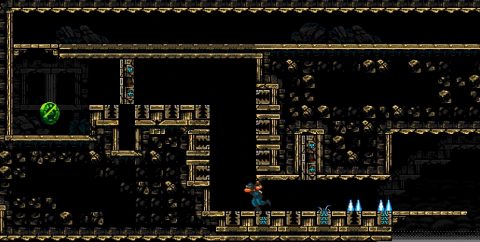
From the Shop continue to the right. Drop down to trigger the spikes, run to the right and jump up. Drop down behind the spikes and take the exit down on the left side.
Use the Magic Fireflies to cloud step up to the right so you can grab Power Seal #37.

Break the blocks under the power seal and drop down to another secret area. Either run across the lava or rope dart across the gremlins to get over to the left wall. Climb up and grab Power Seal #38.
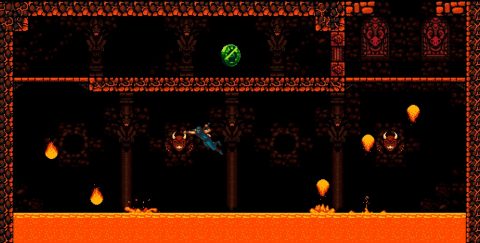
Climb back up and head back to the Shop. Drop all the way to the bottom and run across the lava to the right.
You’ll have a difficult platforming section that ends when you find the Key of Chaos.

Grab it and then head into the shop so you can get back to the Tower of Time HQ.
Back: Riviere Turquoise Next: Key of Symbiosis