Riviere Turquoise
Back to The Messenger
Riviere Turquoise
You’ll drop down from the Dark Cave into the Riviere Turquoise. There’s only one path to follow to the west but we’ll stop off at a few side rooms for the 3 Power Seals.
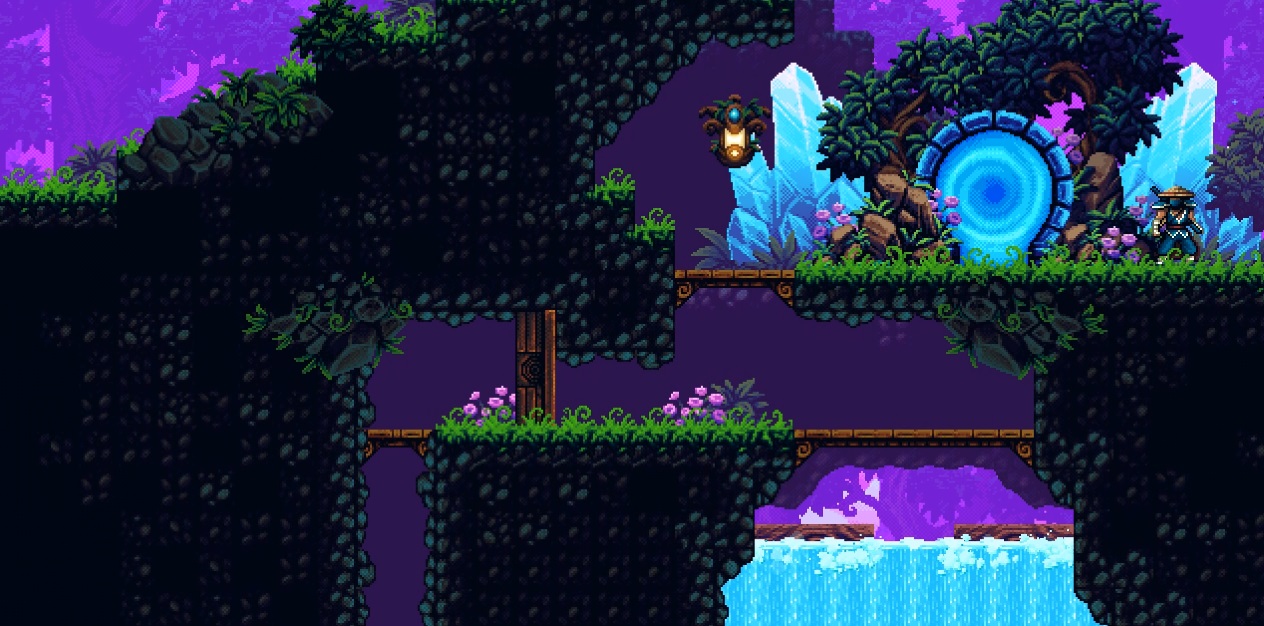
Make your way across to the west and use the log to ride along the river. Pretty quickly you’ll come to the Portal leading back to the Tower of Time HQ.
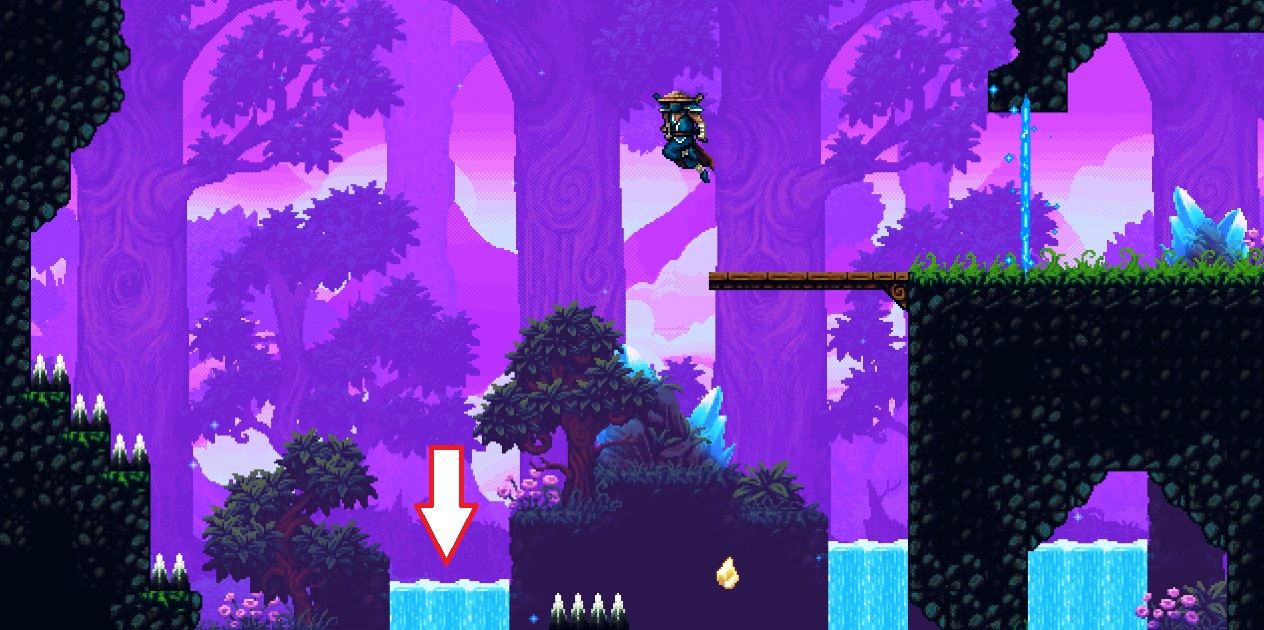
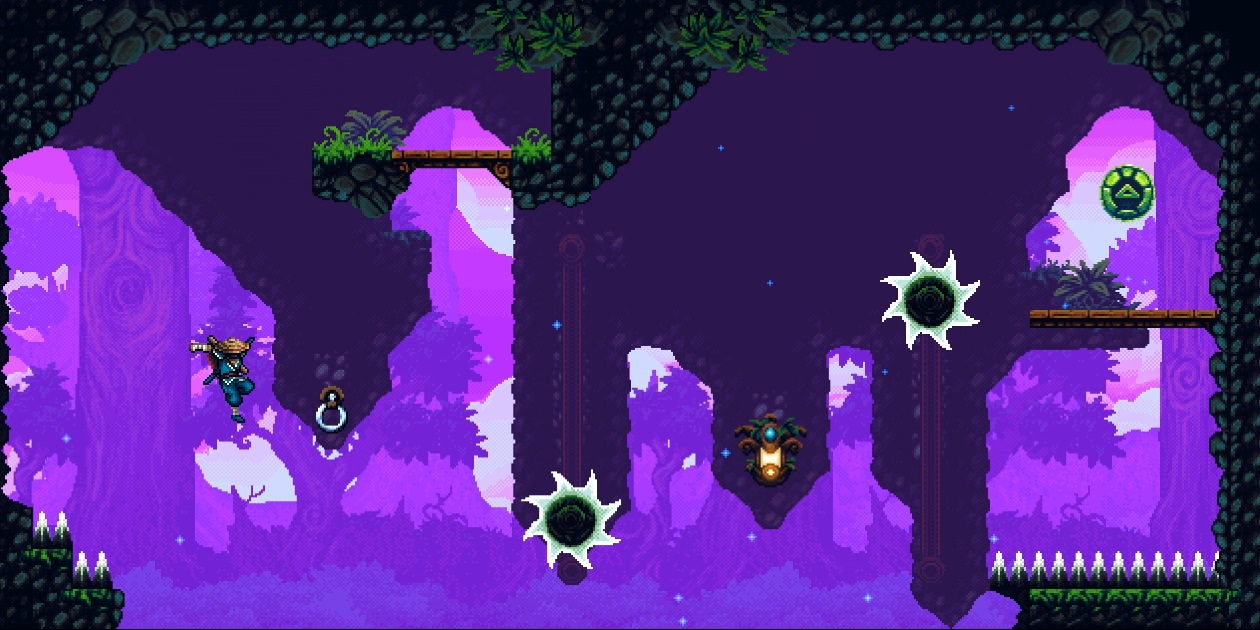
Drop down the waterfall and glide to the right. Opposite the first set of spikes you’ll find a breakable block on the right side. Break it and go through.
The Power Seal is located on the other side of an impassable wall. You’ll need to use the lamps to cloud step your way around. Luckily you can cling to the wall so this might make it easier to damage boost your way through the spiked spheres.

Once you’ve made your way around and up again grab Power Seal #30. You’ll need to use a downward strike and then a cloud step to make the distance between lamps.
Drop down to the cannon flower and you’ll be shot back up to the top. Glide down to the bottom of the waterfall and make sure you land on a log.
Head to the right for the first Shop. Use the Cannon flowers to navigate around and continue making your way to the west. Just past the Magic Fireflies you’ll come to the next Shop.
On the next screen drop down the waterfall furthest to the left.
You’ll land in a Cannon Flower that will shoot you back up. Use the ring and the lamp to dash across to Power Seal #31.
Drop down again and this time glide to the left side. Jump across the falling logs to the other side and then climb up the next waterfall to the Shop above.
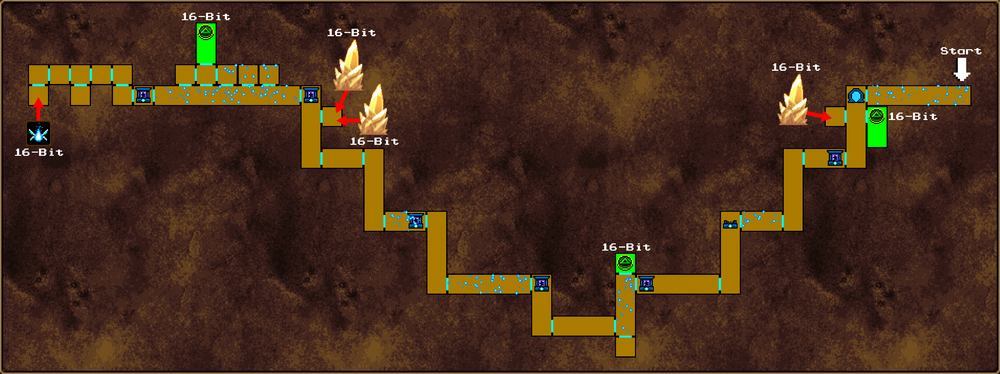
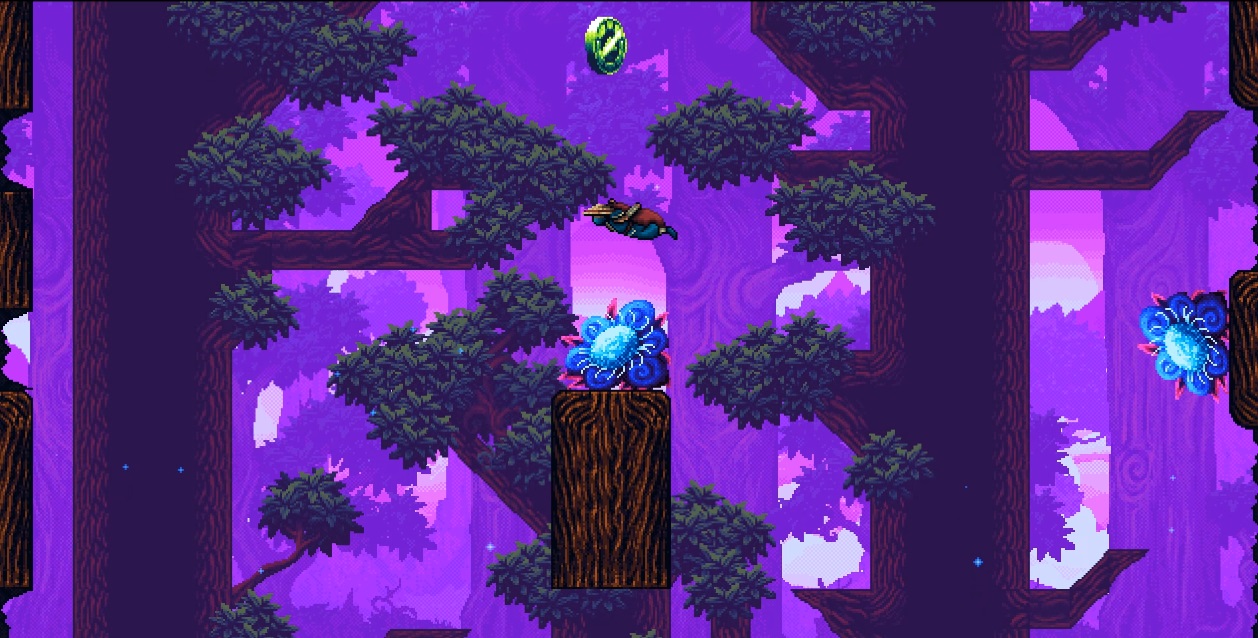
Use the Cannon Flowers to navigate through the level and you’ll pass by another 2 Shops. When you get to the screen with the 4 Blue Demons in the tree change the time to 16-Bit using the circular Time Barrier. A breakable block will appear on the left side.

Break it and go through. Hit the flower to turn it around and then glide across to the left. Use the Cannon Flower to be shot back to the bouncy flower. From here jump up to the left. Cloud step off the bouncy flower to grab Power Seal #32.
Glide back down and and drop down. Head back to the right to the screen with the 4 Blue Demons. Use the swinging Cannon Flower to be shot through the gap. You’ll continue on your way to the west.
Turn the next flower around and use the Cannon above to be shot over to the final Shop. Just to the left you’ll find the boss.
Butterfly Matriarch
This boss has 2 attacks, a disorient ray and spectral bats. The ray doesn’t hurt but it will switch your left and right controls. The bats can be easily dodged.
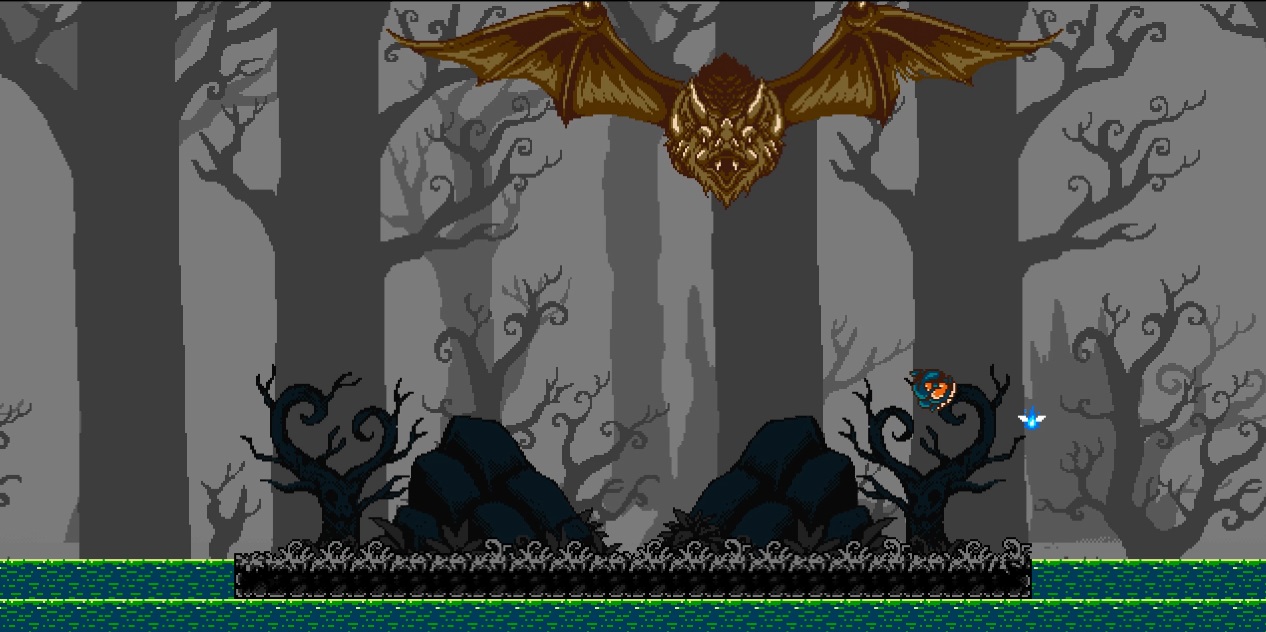
When the Magic Firefly appears hit it and the Matriarch will turn back into a butterfly. She’ll give you some ledges so you can jump up. When the butterfly turns back into a bat hit it as many times as you can.
You’ll need to repeat this three times with smaller and smaller areas to run around. The third time the Matriarch will be defeated and she’ll return to her butterfly form.
You’ll get a Magic Firefly as a helper. Return to the Shop and go back to the Tower of Time HQ.
Go through the Portal to the Searing Crags.
Queen of Quills
From the portal go to the left and follow the cavern around to the entrance to the Quillshroom Marsh. Navigate your way around to the Queen of Quills. You’ll need to be in 8-Bit mode to see her.
The Magic Firefly will remove the curse on the Queen and turn her back into the Monk. She’ll help you later. For now take the shop back to the Tower of Time HQ.
Back: Path to Dark Cave Next: Key of Chaos