The River Ganges
The River Ganges
Objectives: Take one of two paths, either down river with the quad bike or through the ruins to find the level exit.
Secrets: 5 (4 if going through the ruins)
Items: 2 Keys (If taking the ruins path)
The First Secret
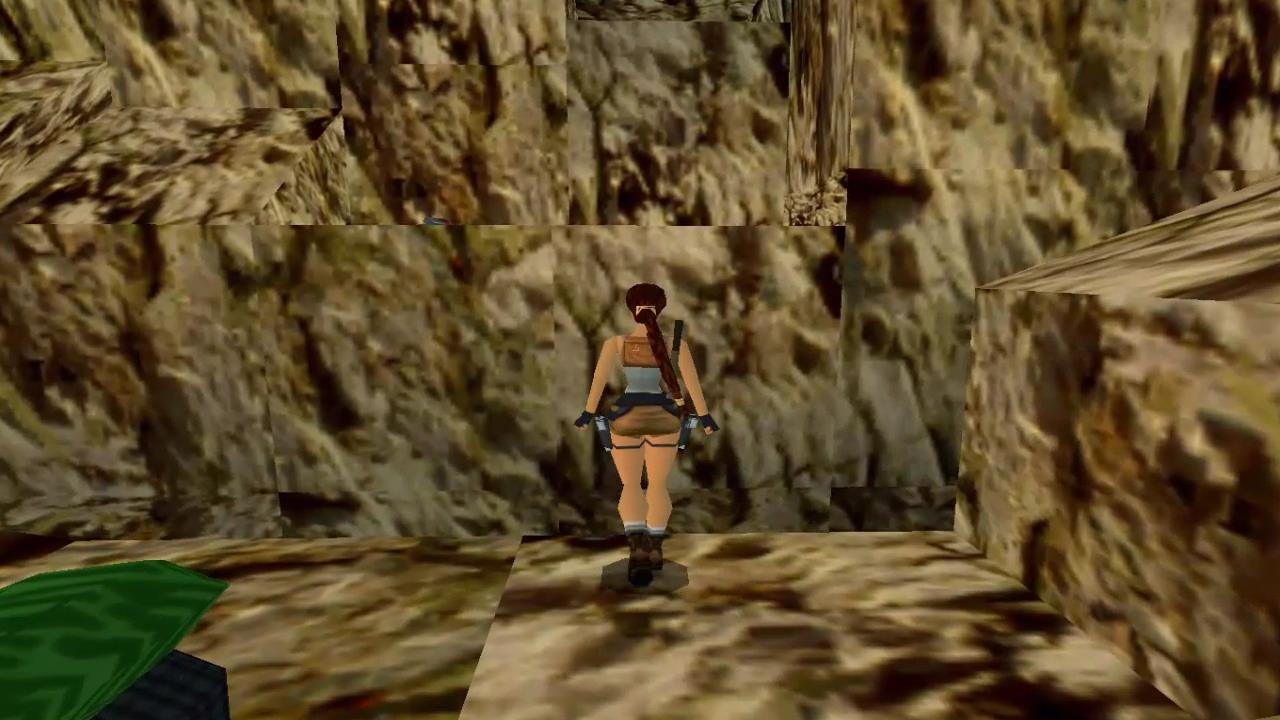
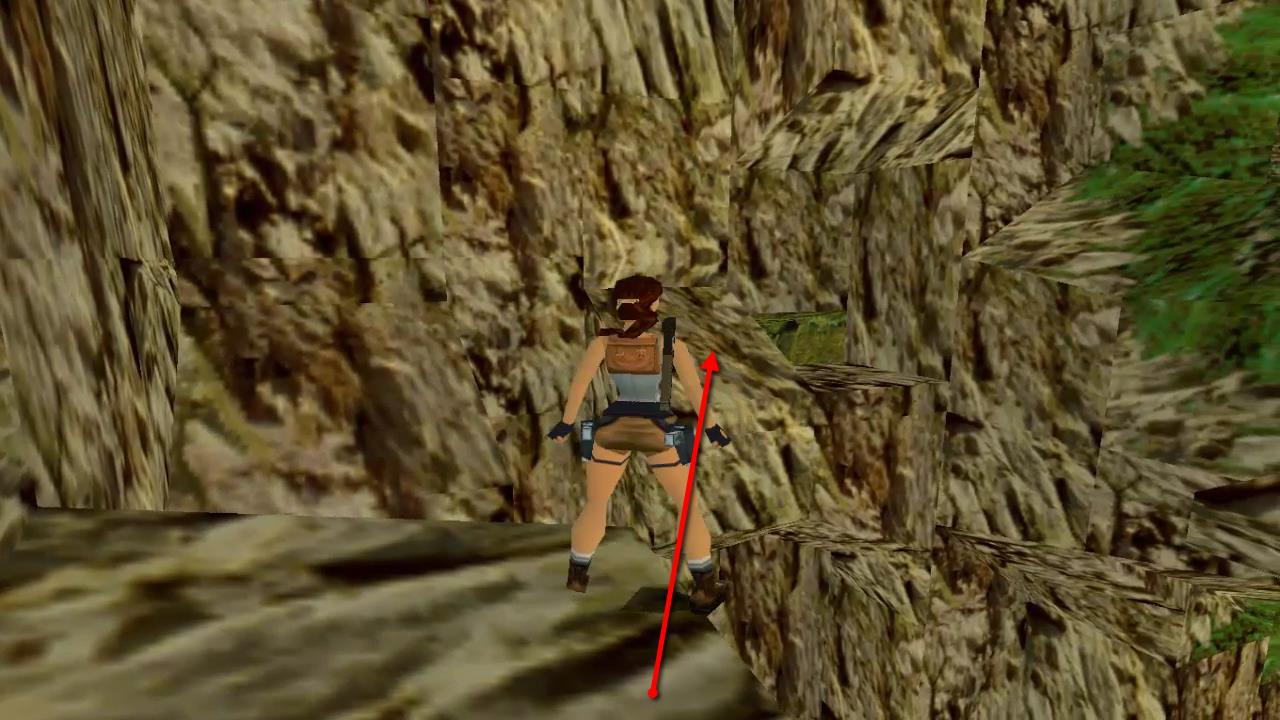
While the quad bike might look tempting instead turn around and follow the path along the river to the end. Turn around and drop backwards to hang onto the wall.

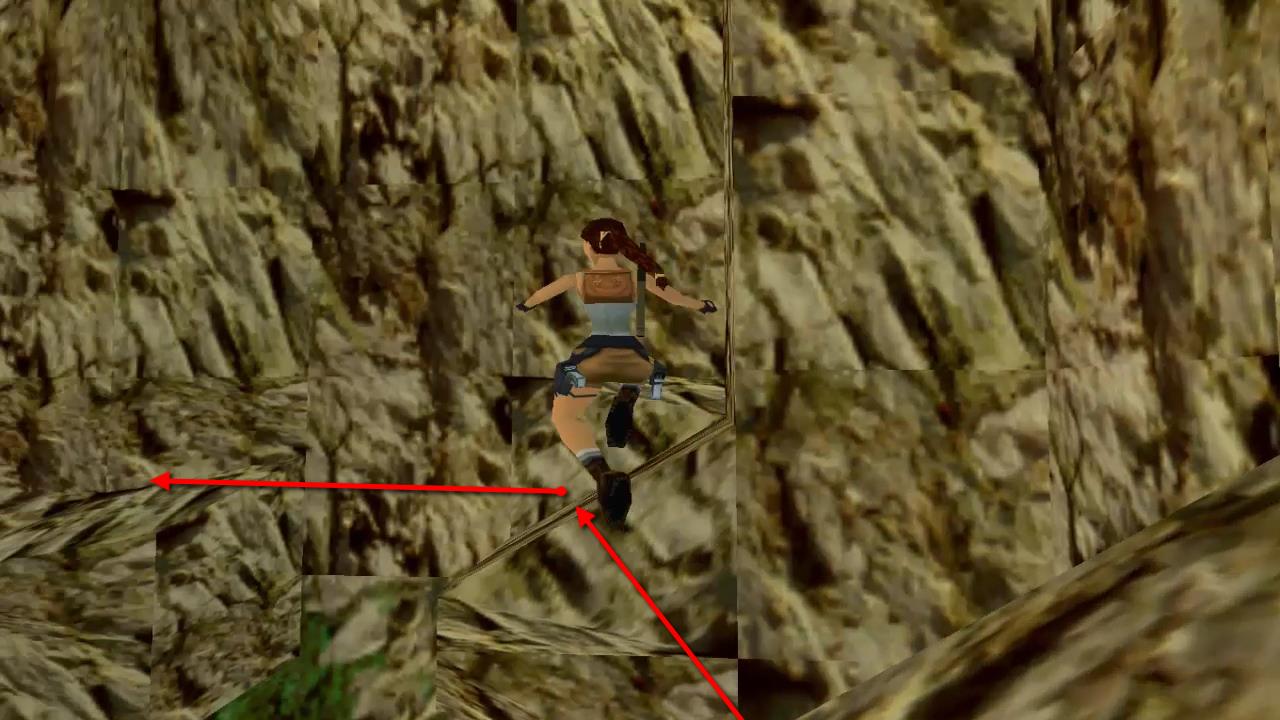
Climb all the way across to the left and drop down onto the green block. Turn around and take a running jump to the ledge diagonally to the right. Take another standing jump to grab onto the next ledge. Pull up, turn left and taking another running jump to grab onto the next ledge.
Turn right and take a running jump to land on the next ledge. Walk around this ledge and take a standing jump to the next one. Make the jump from the left side so that you can make the jump under the sloping roof. Take a standing jump diagonally left to land on the next ledge. Finally take a running jump to grab onto the last ledge.
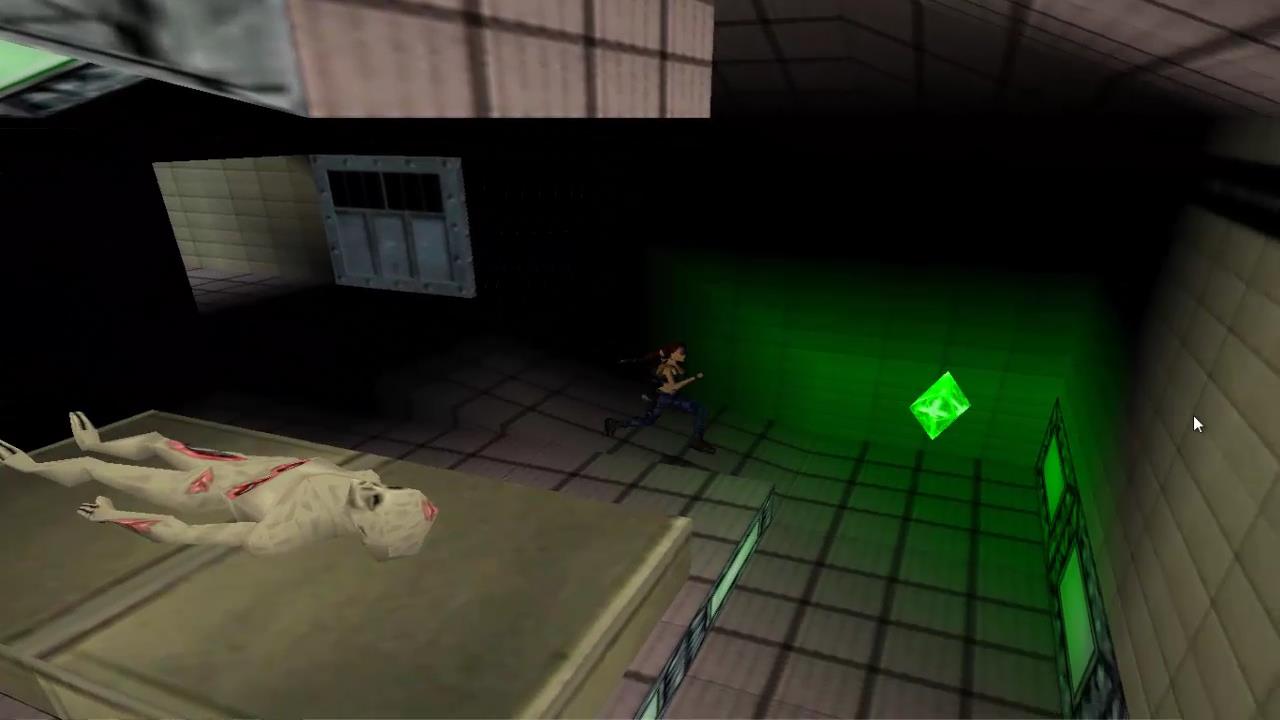
Enter the room for Secret #1, Climb up the block on the left and jump before you slide down into the spikes. Jump and jump again on the sloping blocks to finally land on the flat block in the center. Jump ahead to pick up the Power-Up Crystal and the Large Medipak. There’s also Shotgun Shells on a ledge on the other side of the room.
Drop down, avoiding any blades and exit the room. Follow the ledges back along the river and climb up to the beginning of the level. Run back to the quad bike but before you get on it jump up to the small passage behind it and crawl in to grab the MP5 Clips and Flares.
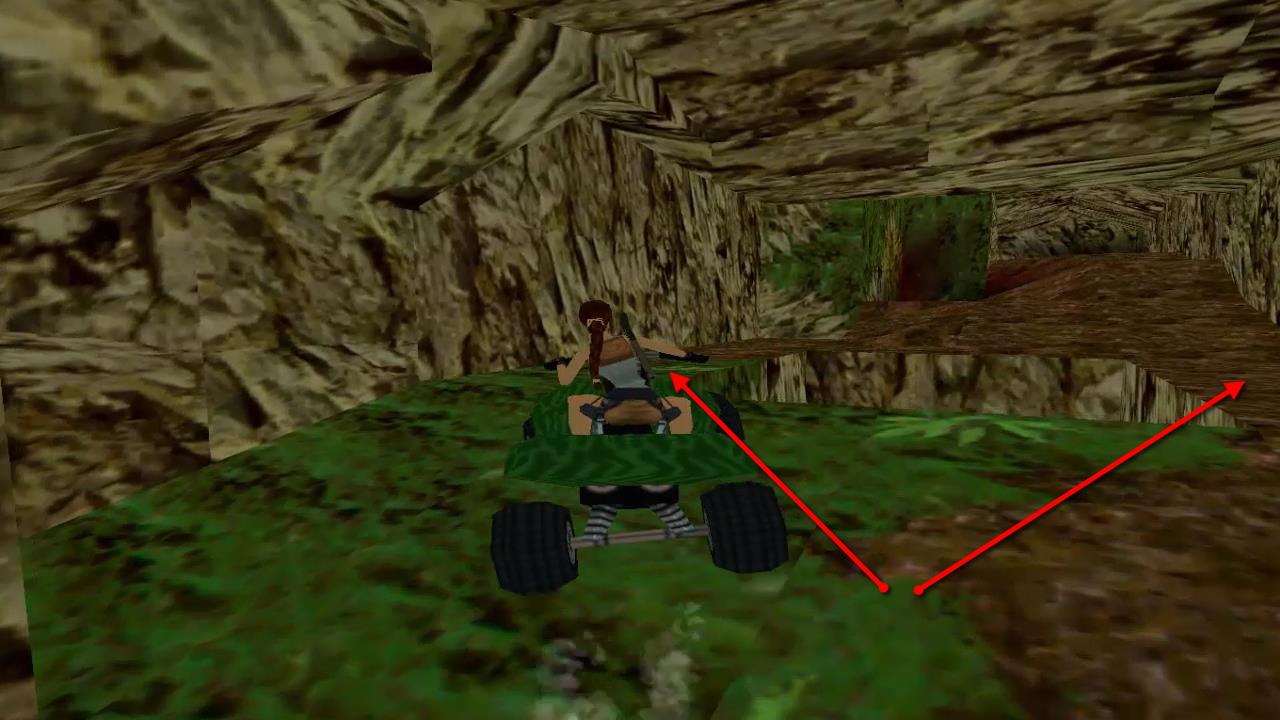
The Quad Bike
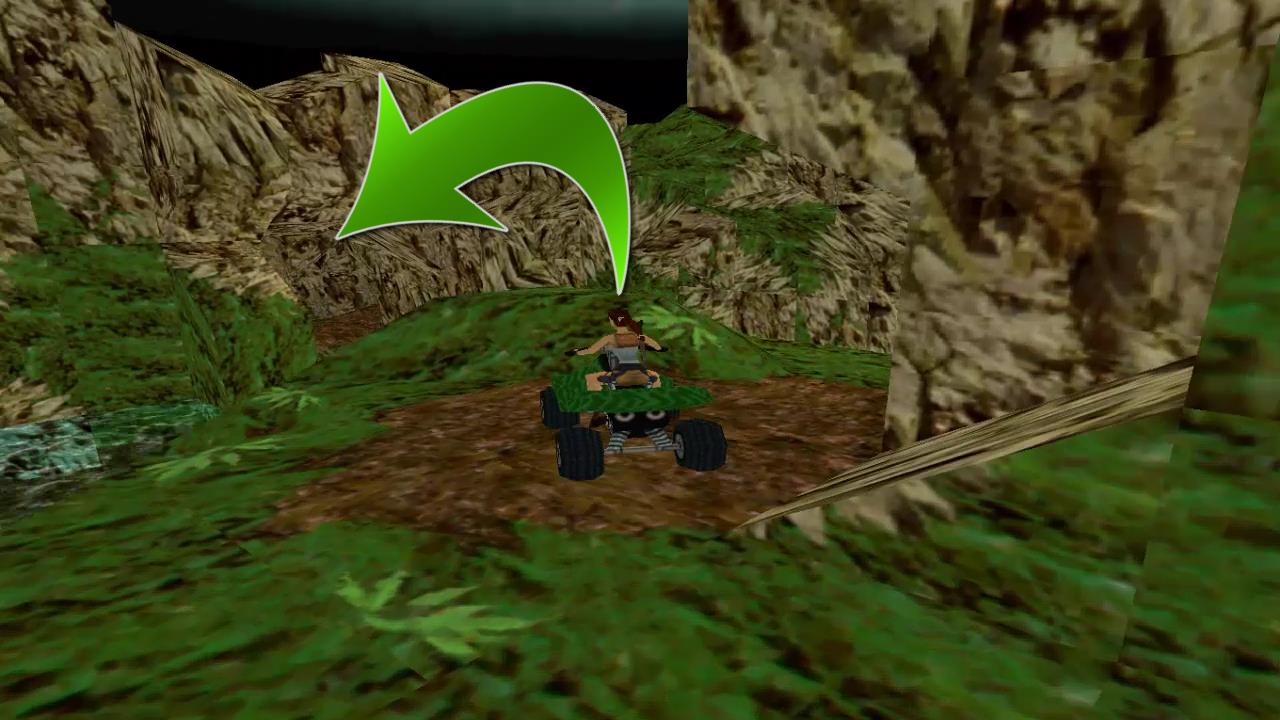
Hop onto the Quad Bike and ride along the river until you come to the small hill. Gather up your speed and drive up the hill so that you jump across the river and into the cave on the other side.
Drive carefully through the cave, avoiding the hole to the left and then stop before the next gap in the floor. Get off the quad bike and walk up to the gap. Turn around and drop backwards, grabbing onto the wall. Climb down to the floor for Secret #2. Here you’ll find Shotgun Clips, Flares and a Large Medipak.
Get back on the quad bike and leap across the gap. Continue through the cave, spiralling upwards and jumping over two gaps until you come to the top with a lattice door. You may need your turbo boost to get over the last gap.
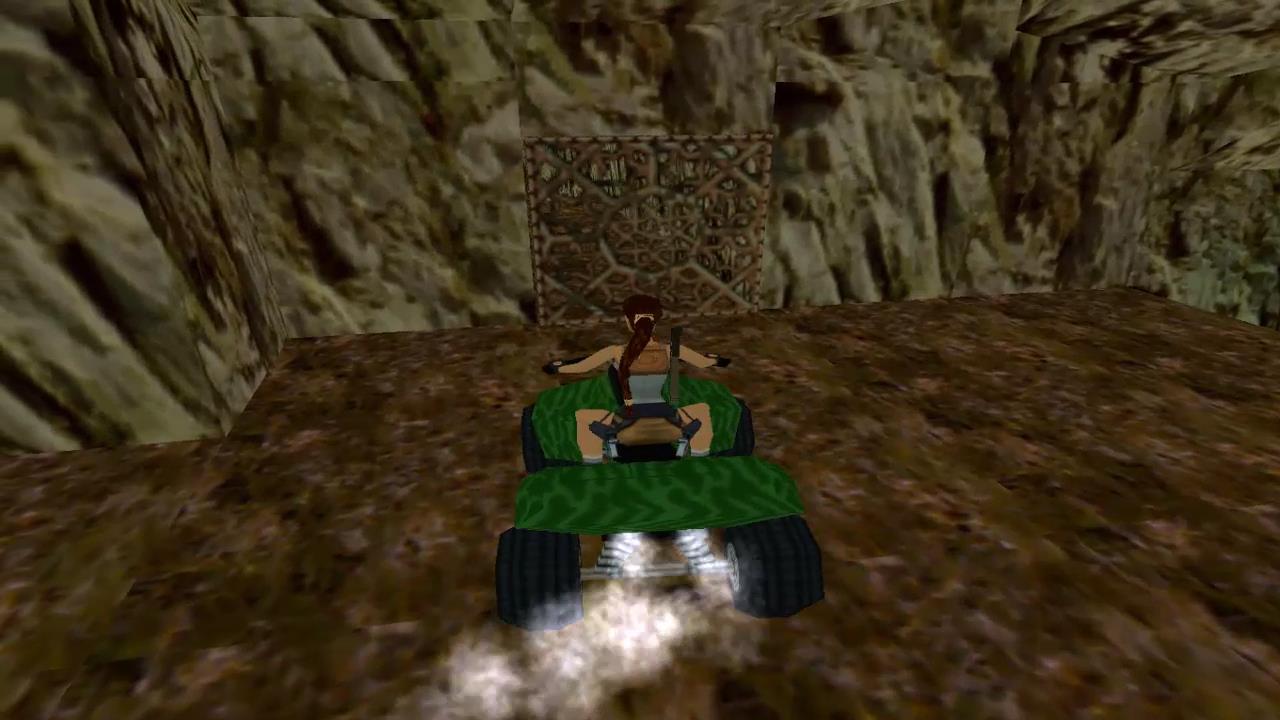
Hop off the quad bike and return to the ramp. Take a running jump to grab the other side. Pull up and turn right. You’ll see a passage in the wall. Take a running jump to grab onto the passage entrance and then pull up.
Run through the passage and watch out for the Cobra around the first corner. Continue forwards, climb over a block and crawl through a passage. Pull up onto another block and hop over the hole in the floor.
There’s another Cobra around a corner next to a Small Medipak. Kill the cobra and then safety drop down the hole at the end of the passage. This will take you to the other side of the lattice door. Push the button to open the door. When you open the door 2 Monkeys will attack. Kill them and then grab the Power-Up Crystal.
Get back on your quad bike and go through the door. There are two paths here that will take you different ways to the end of the level. The right path going down leads through the ruins. If you take that path you’ll miss one of the secrets. The left path goes up through a cave system and along the river. This is the path we’ll take.
Left Path Along the River
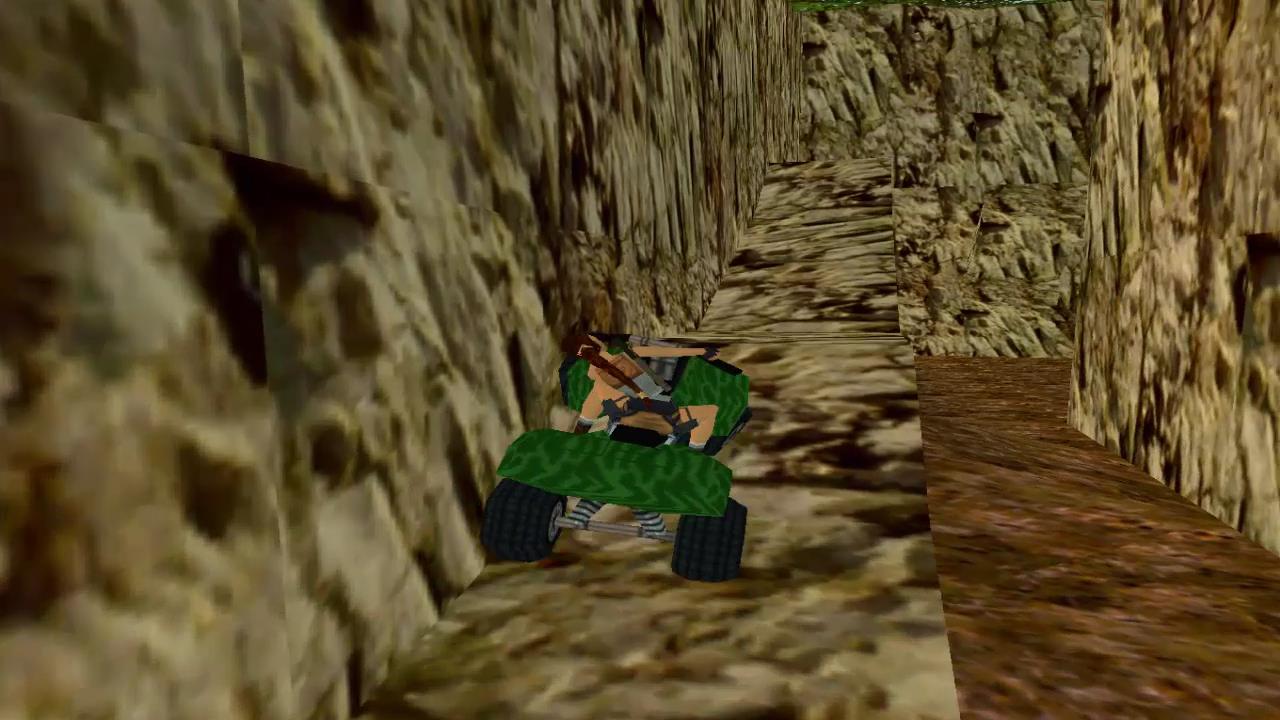
Follow the path to the left, hoping over the first gap. Stick to the right wall to avoid the drop off to the left and follow the cave around to the right. There is a hole in the center so hug the left or right wall to avoid it.
At the end of the cave turn left and drive through the gap down the stone bridge. Stop the bike and get off. On the right side of the bridge is a ledge. Take a standing jump to grab onto it.
Grab the Desert Eagle Clips on the ledge and then climb into the gap above for Secret #3 where you’ll find Harpoons, a Power-Up Crystal and some Uzi Clips.
Leave this small cave and jump back across to the bridge. Get on your quad bike and use the boost (hand brake plus accelerate) to make it across the large gap in the bridge. Continue forwards and once again you’ll find two paths. You want to turn hard to the left and follow the left path to a ramp.
Carefully follow the twisting ramp up the side of the cliff. When you come to a gap in the ramp stop and use your boost to jump over the small gap. Continue forwards and jump off the edge of the ramp to sail across to the other side of the river.
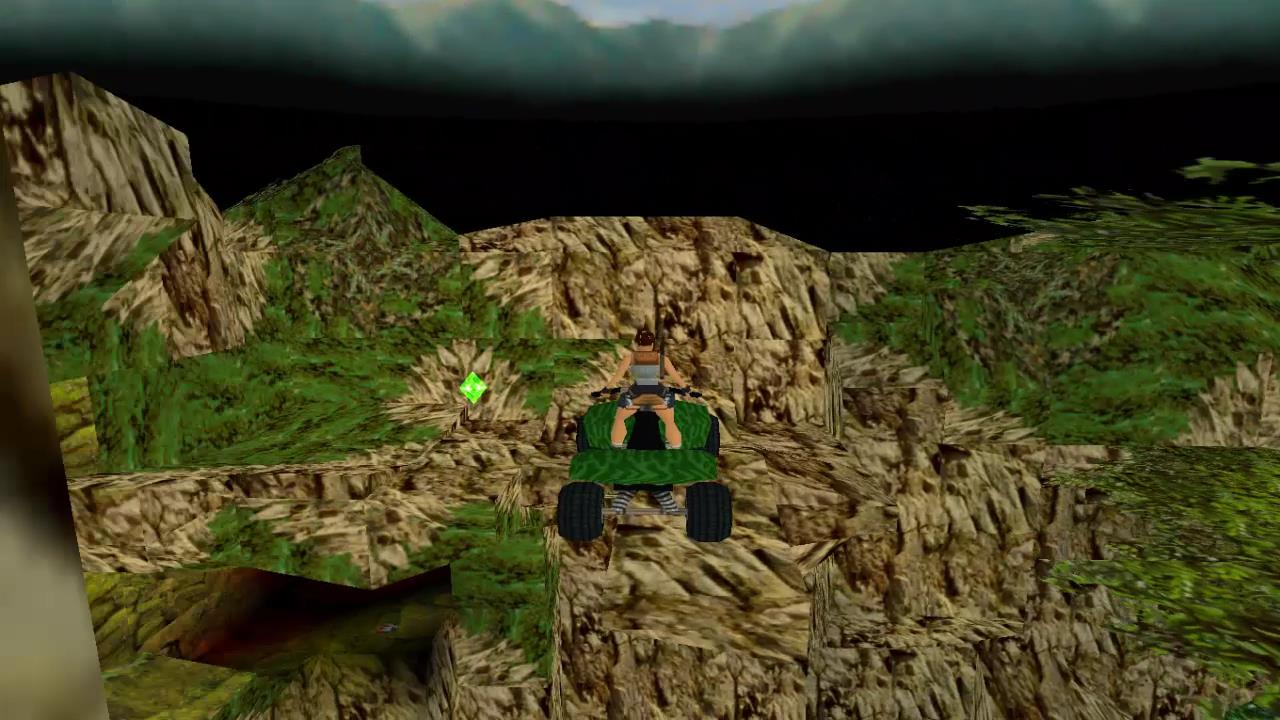
Hop off the quad bike and grab the Power-Up Crystal. To the left of the crystal you’ll see a climable wall. Climb to the left and down and then right into another cave. Watch out for the Cobra! Once you’ve dealt with it pick up the Desert Eagle Clips and then climb back up to the Quad Bike.
Follow the ledge to the left, towards the climable wall and line up a jump across the gap.

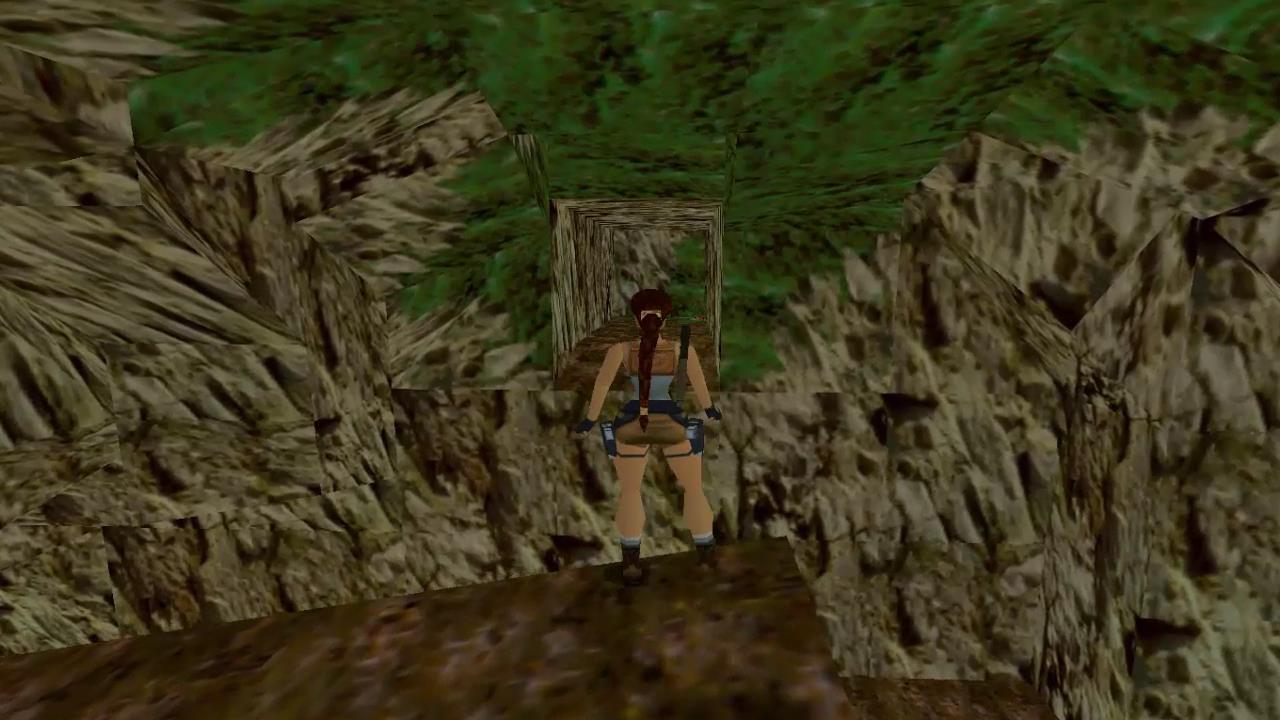
You’ll end up at the top of a canyon. Sadly that’s the end of Quad Bike driving for now. Get off the bike and slide down on the left side of the slope. Make a standing jump to grab onto the rock ledge.

Pull up and get ready to kill 2 Vultures that attack you from above. From here take a standing jump to the ledge between the two rocks and follow it around a little to the right. Take a running jump across the gap to grab the ledge on the other side of the canyon. Pull up and turn right. Take a running jump diagonally across to the sloped block and grab on as you slide down.
Traverse across to the right and pull up. Crawl through the small passage for Secret #4. Inside you’ll find Desert Eagle Clips and a Small Medipak.
Exit the cave. The jump back is pretty tricky. You’ll need to face away from the cave and diagonally to the right. Take a running jump to land on a sloped block, then jump to land back on the ledge you came from.
Take a running jump to grab the ledge on the other side of the canyon. Go through path with two rocks on either side and drop down to the canyon below.
At the bottom of the canyon you’ll notice a cave entrance made with green-mossy stone. Two Monkeys will attack as you enter. Pick up the Power-Up Crystal and then backtrack a little to exit the cave above the waterfall.
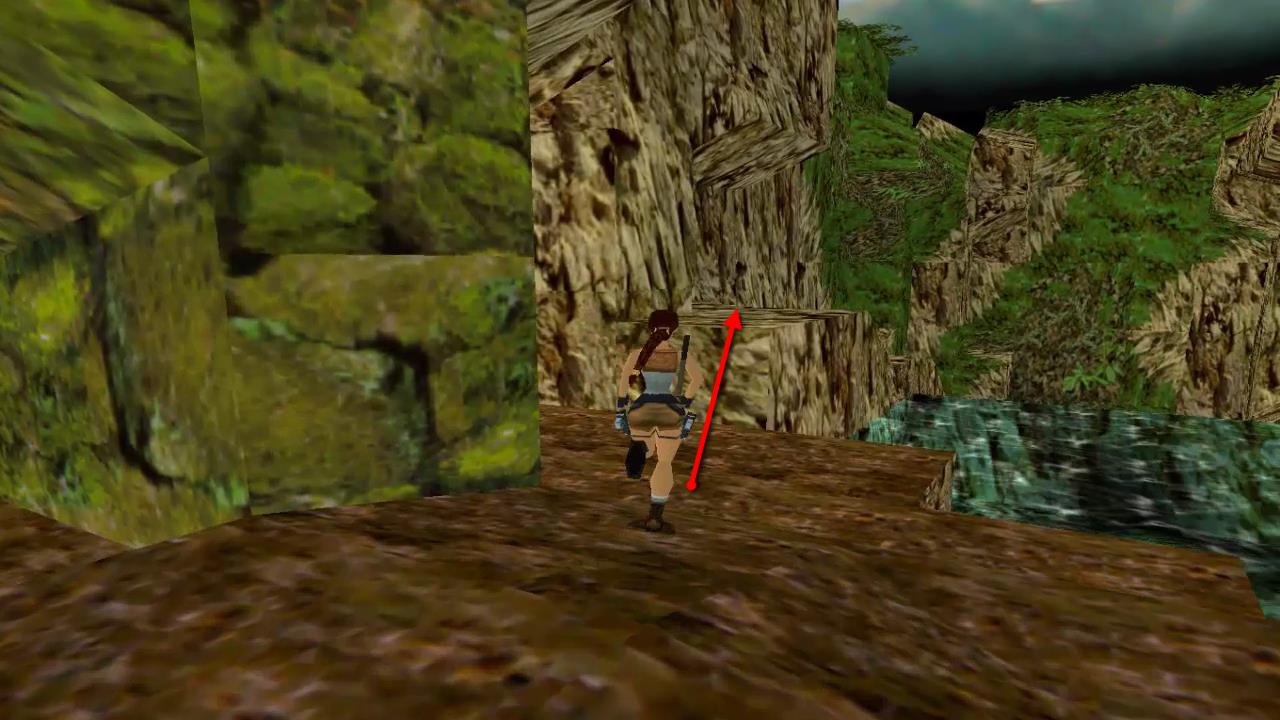
Take a running jump onto the rock ledge to the right. Run down it as far as you can go and then take another running jump across a gap to another rock ledge. You’ll be attacked by 3 Vultures here so kill them before continuing.
At the end of this ledge take a running jump to another lower rock ledge. Turn to the left and hop backwards to drop down to the ledge below where you’ll find Harpoons and MP5 Clips.

From here take a running jump to grab the crevice in the rock wall and traverse across to the right and pull up into the small cave for Secret #5. Here you’ll find a Power-Up Crystal, Harpoons and Shotgun Shells.
Leave the cave and drop down into the water. Pick up the Small Medipak by the raft underwater and then climb up behind the waterfall, into the passage beyond to end the level.
Next Level: Caves of Kaliya