Level 2: Peru
Back to Tomb Raider: Legend
Peru
Collectibles: Gold: 1, Silver: 2, Bronze: 8
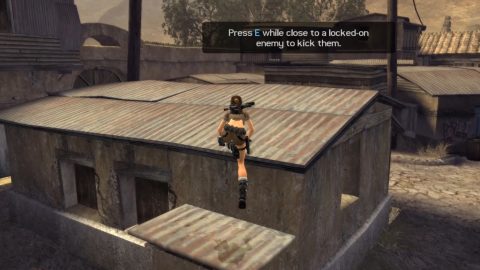
Paraiso Streets
When you begin the level you’ll see a training dummy in front of you. You can use it to practice your attacks. When you’re ready head around to the right and climb onto the small structure next to one of the houses.
From here you can climb onto the roof of the house. Use the telephone pole to swing across to the next house and drop down the back for Bronze Statue (1/10). You can grab it with your grapple to save dropping down. If you do drop down push the wooden box near to the fence so you can climb it and jump back to the main street.
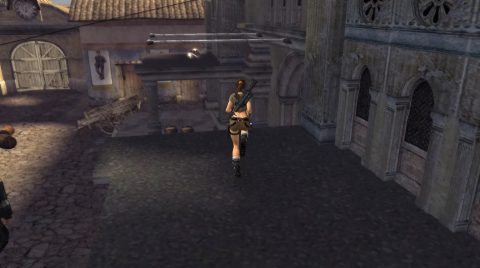
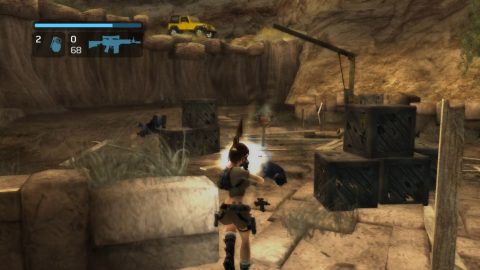
Head down the main street and through the arch. You’ll meet up with Anaya. During the conversation 4 Mercenaries will arrive. Quickly take cover and deal with the Mercenaries one at a time. There are a few explosive objects, the truck’s gas tank, a barrel of fuel and a propane gas tank. They might help you take out some of the enemies.
Once the first four have been taken out another 4 Mercenaries will emerge from the building with the menswear posters on the outside. Once you’ve taken these four out a Sniper will break through a door on the top level of a building across from the town hall steps. Try to shoot him from the ground if you want but otherwise keep moving and you’ll deal with him in a minute.
When facing the town hall steps head around the alley to the right for a Bronze Statue (2/8). For another one jump on the cart to the right of the steps and from there climb up to the roof of the nearby building. Turn right and either swing over to Bronze Statue (3/8) or use your grapple to grab it.
Climb up the flag pole in front of the steps and jump across to the balcony. Go through the door for Silver Statue (1/2). Go through the door to the right and from here you can easily take out the Sniper if you haven’t already.
Swing across to the balcony where you killed the Sniper and head through the broken door. There should be another Mercenary inside. Make sure you grab the Grenades from the table and then head through the door to the left.
When you’re out on the roof you’ll immediately spot another 5 Mercenaries. They also have grenades so make sure you roll out of the way if one is thrown at you.
Take them out and run down the street. It curves to the right and there’s another 3 Mercenaries waiting for you but run straight ahead and look down the alley to the right for Bronze Statue (4/8).
Make your way back and take out the 3 Mercenaries here. As you walk down the street more will arrive on a truck and there’s another 3 blocking the town exit. Take them out with a grenade or from cover and then approach the bike.
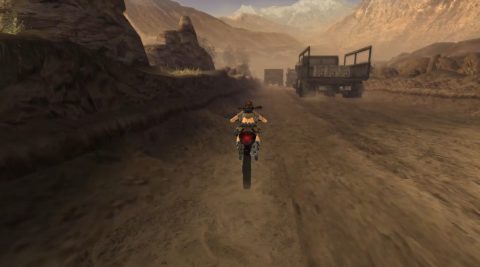
Motorcycle Chase
The next sections takes place on a motorcycle. As you ride you’ll eventually be caught up by half a dozen or so Mercenaries. Try to take the closest ones out as quickly as possible. There’s a few Health Packs lying on the road so heal up before you ride over them.
Just continue riding as fast as you can. Eventually you’ll ride over a burning bridge. There’s a couple of Health Packs on the other side so heal up to full if you’ve taken damage. There’s more Mercenaries on this side of the bridge but this time you’ll be facing 3 or 4 at a time.
Eventually you’ll make it to three large trucks. Stay on the left side as the truck on the right will drop its cargo.
Catch up to the trucks and ride in between the two trucks on the right. Once the truck on the left drops its cargo pull over to the left and ride up the ramp of the left truck to end this section.
Flashback
When you arrive at the dig site Lara will have a flashback. All the movements are the same but you’ll have Flares instead of Grenades. Start by rolling through the opening ahead. Slide down the slope and monkey swing across the hole.
As you run down the passage part of the tunnel will collapse and you’ll lose sight of Amanda. Instead take the passage to the right. Use a flare if it’s too dark and duck under the half-open gate at the end of the tunnel. When you emerge into the room ahead you’ll see one of Lara’s companions, Sarah, lying dead on the ground.
Grab the box next to her and push it to the right side of the broken spear trap. Jump up to the spear and use it to swing across to the ledge.

In the corner to the right you’ll find Bronze Statue (5/8). Take a jump diagonally across to the far wall with the face carved into it and climb across to the left. Jump over to the ledge to the left and drop into the next room.
Run over to the gate to the right and you’ll see another one of Lara’s colleagues trapped behind it. Pull the metal sphere off the pressure plate to release the spear trap.
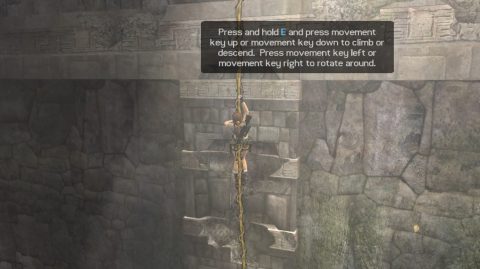
Run back to the platform in the far corner and climb onto it so you can jump across to grab the dangling rope. Swing on the rope a few times and jump across to the ledge with the open gate. Drop down the other side.
Kent will run off and get himself killed. During the cut-scene you’ll take control of Lara when you see the small blue icon.
Make sure you jump over the two rock walls and then jump across to grab the rope. After Lara falls down climb up to the ledge in the corner and push the metal sphere down the ramp. It should land on the pressure plate to trigger the spear trap. If not drop down and give it another little push and then climb back up to the ledge.
Face the spear trap and jump across to the higher ledge. You’ll meet Amanda behind the gate to the left. After she get’s chased off by the creature jump across to the spear and then to the dangling rope. Swing across to the ledge and pick up the Bronze Statue (6/8) in the corner to the right.
Continue down the passage and monkey swing across the gap for a cut-scene. Amanda pulls a stone from an ornately carved door and the cavern fills with water. Lara escapes but Amanda is apparently trapped inside.
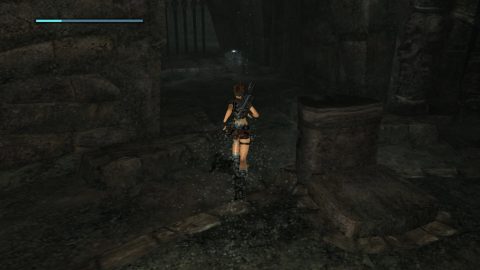
Present Day
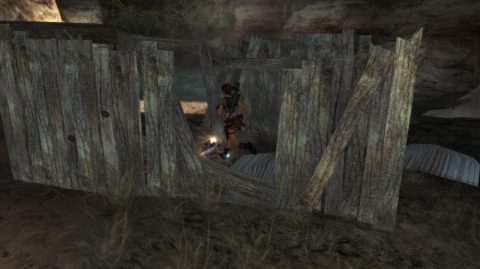
Back to the present day Lara will drop down into the dig site. Turn to the left and pick up the Bronze State (7/8) behind the boxes. Head to the other side of the side and pick up the final Bronze Statue (8/8) in the remains of a wooden shed.
Flooded Chamber
Dive into the pool of water and dive down until you can swim along a tunnel. Pull up at the next vertical shaft for a breath.
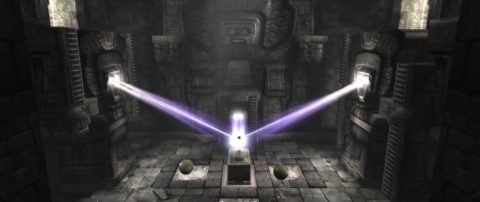
Dive down and swim all the way to the bottom. Follow the passage along to another vertical shaft where you can pull up for a breath. Dive down once more and continue through the passage to a large chamber. Pull up for a breath and then dive down. You need to pull the stones out of all four of the statues within a short period of time. Do it all in one breath and press E to swim faster.
If you pull out all four stones in time one of the statues will open and all the water will drain out of the chamber. During the cut-scene Lara will find Amanda’s shoe. She believes she’s still alive. Just to the left of the passage where you entered is a side passage with Silver Statue (2/2).
Head back and jump through the hole in the door. Approach the carvings on the wall for a cut-scene.
Crumbling Passage
After the cut-scene continue around to the left or right and grab onto the wall on the left. Jump up and then across to the ledge on the right. From here jump and use the grapple hook to swing up the slippery ramp.
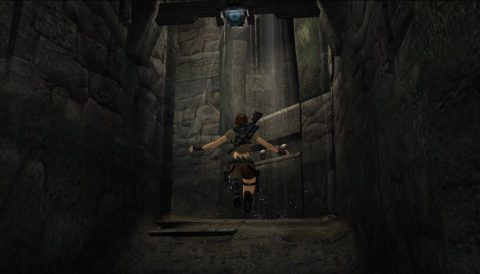
Jump up to the alcove on the right and grapple up the next slippery ramp.
When you come to the crumbling path you’ll need to get through a Quick Time Event. Press Up, Up and Right to make it to the other side.
Secret Chamber
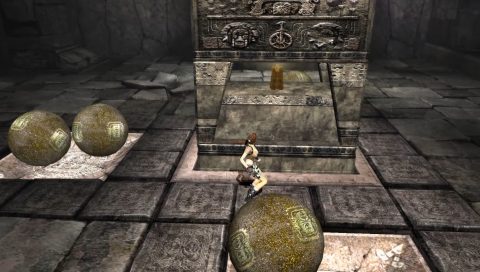
To open up the secret area of the temple you’ll need to place a stone sphere on each of the three pressure plates. Grapple onto the pillar to the left as you enter and pull it down.
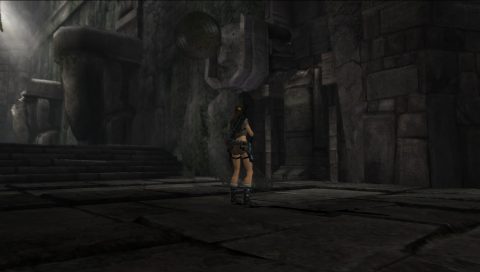
Roll the stone sphere onto one of the side pressure plates. Use the other stone sphere for the other side. The side plates open up the side statues.
Climb up the statue on the right side and push off the stone sphere from the top. Climb back down and roll it onto the center pressure plate. Now that you’ve weighed all three plates down the central wall will open up.
Climb up the ladder and enter the chamber for a cut-scene. Lara will realize there’s more to the sword than she thought.
The Gold Statue
After the cut scene climb onto the ledge to the right (when looking out across the chamber) and jump across to the ladder.
Climb up and jump across to the left. Grab onto the wall and shimmy your way along. Drop down onto the ledge and then jump across to the rope. Climb up a little and swing up to a handhold just to the right.
Jump up to the next handhold and then climb along to the left. Pull up into a passageway and run up the slope to the right. Push down the stone sphere. Climb down to the floor and place this stone sphere on the central pressure plate with the other one.
The central altar will lift up so you can grab the Gold Statue (1/1).
Getting Out
Now you’ll need to retrace your steps back to the rope. This time swing over to the ledge on the right side. Jump to the next ledge along, slide down the ramp and get ready to take out a couple of Mercenaries.
Retrace your steps back out of the temple. There’s a few more Mercenaries to take out along the way. Once you get to the entrance climb up the rope and take out the 6 Mercenaries.
A few more will drop down from the cliff face where the car is parked. Take them out to complete the level.
Back: Level 1: Bolivia Next: Level 3: Japan