Level 3: Croft Manor
Back to Tomb Raider: Underworld
Treasures: 13
Relics: 1
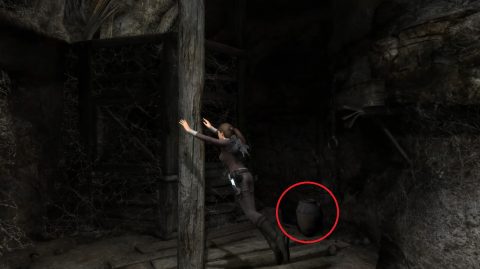
After the cutscene you’ll be in the tunnels underneath the Croft Manor. Break the jar on the right for Treasure 1/13. Climb up onto the ledge ahead for Treasure 2/13.
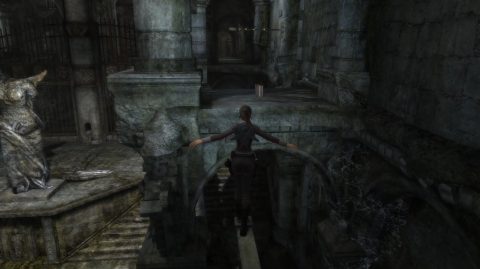
Climb up the vertical pole and perch on top of it so you can jump to the wooden ledge. Follow the tunnel out to an old chapel. You’ll see the next treasure on a ledge on the other side. Drop down to the wooden beams and make your way towards the ledge. Jump the last gap and pull up to the ledge. Spiders will swarm out from a crack in the wall so kill them off first and then pick up Treasure 3/13.

Use the horizontal bar to swing across to the next ledge for Treasure 4/13. You’ll need to swing diagonally across to make the jump or shimmy across to the left a little bit once you’re on the pole.
Drop down to the floor and take out another swarm of little spiders. Head over to the right side of the room and break the jar for Treasure 5/13.
Climb up the scaffolding and walk along the beam. Jump to grab the ledge and pull up for a Health Pack.
Jump to the horizontal pole, climb on top of it and then swing and jump over to the ledge.
Jump to grab the pole in the wall and stand on top of it. Climb up the wall to the small alcove above where you’ll find Treasure 6/13. Climb back down and grab the wooden pole from the wall. You’ll need it in a little bit to find another treasure.
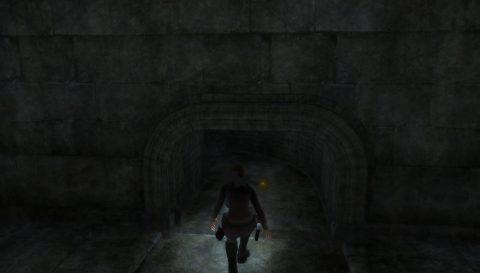
Continue forwards and walk down the stairs to the landing. Drop the pole and break the jar on the landing for Treasure 7/13. Kill the spiders that come out from another crack in the wall, grab the pole and continue down the stairs.
Turn right at the bottom of the stairs and continue through the next room. Take the first right and head all the way up the stairs. In the first alcove on the right with the cube you’ll find a spot for the pole. Place it in the wall and climb up for Treasure 8/13.

Drop back down and this time you can leave the pole in the wall. Head back down the stairs and turn left to go into the large room. Grab the cube from the other side and and continue forwards down the hall.
Grab the Health Pack from the floor and you’ll spot a second cube. Take both cubes down the hall and place them on the pressure plate. This opens the gate ahead and a smaller gate back in the hall. Backtrack to the smaller gate and crawl inside for Relic 1/1.
Go back to the pressure plate and throw the cubes into the large room. Then quickly roll under the gate as it closes.
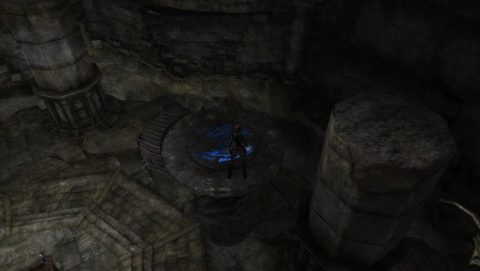
Grab the cubes and place them on the pressure plate in this room. You’ll see the a light shining in the room beyond the bars.
Run back down the hallway to the room with the wheel mechanism. If you look at the back wall you’ll see the image lit up. You’ll need to turn the flags on top of the central structure so the angels are lit up correctly.
To line up the image stand with your back to the wall looking at the central structure. Pull the Switch on the front right twice, then go around to the back left and pull the Switch three times.

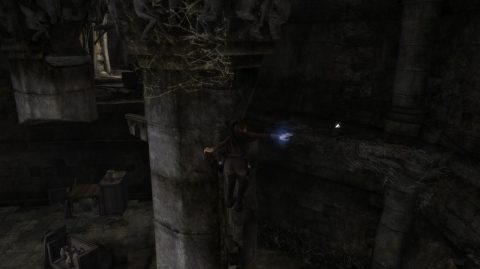
Turn the wheel mechanism as far as it will go to open the door above. This is a timed sequence. Quickly run around to the side of the column on the right side by the gate and climb up. Climb around to the right so you can pull up to the top platform. Run forwards and use the grapple to swing through the doors before they close.
Head up the stairs and kill the Spiders along the way. Break the jar at the base of the next set of stairs for Treasure 9/13, then go around the corner for Treasure 10/13. Head up the stairs for a cutscene.
When Lara picks up Thor’s Gauntlet the Thralls will attack. Once you’ve killed them you’ll need to press interact on them to smash their bones otherwise they’ll get back up again.
Use the gauntlet to move the small pillar around to the left so it’s near to the broken cage. Climb up on the large pillar then across to the smaller pillar.
Jump back to the top of the larger pillar and over to the stone platform. Walk to the other side of the platform to find Treasure 11/13.
Jump back down the pillars and move the smaller pillar past the broken cage to the next large pillar. Climb onto the cage so you can jump up to the small pillar and then the larger pillar. Jump to the broken beam where you’ll see the next treasure.
Hang off the edge and shimmy around to the right until your back is to the platform. Jump backwards to the platform and grab Treasure 12/13.
Jump back to the pillar and continue climbing around to the right. Climb onto the beam and jump to the next pillar. Climb around to the right and jump backwards to the exit.
After the short cutscene continue down the passage. Along the way you’ll spot a jar on the right side. Break it for Treasure 13/13.
Continue down the end of the passage and pull the Switch to open the door. When you go through you’ll notice the same cutscene from the prologue.
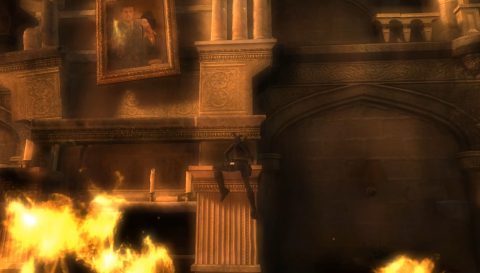
Continue through the mansion exactly as you did in the prologue until you meet Zip and Winston. After the exchange climb up the wall by the fireplace.
Climb as high as you can, traverse to the right and drop down onto the landing above. Head towards the tech room and jump to the horizontal bar. Climb onto the glass wall and jump to the other side for the final cutscene.
Back: Level 2: Coastal Thailand Next: Level 4: Southern Mexico