Level 5: Jan Mayen Island
Back to Tomb Raider: Underworld
Jan Mayan Island has 30 treasures and 1 relic. For most of it you’ll have access to your motorbike. It’s split into two sections, Gate of the Dead and Valhalla.
Gate of the Dead
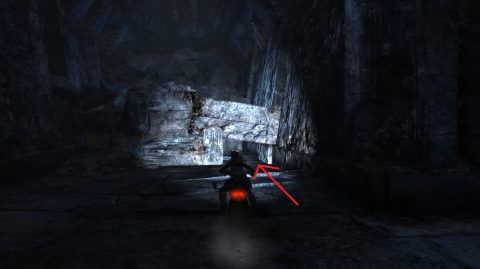
After the cutscene get off your bike and turn around. Grab the Health Potion in the cave behind you and then return to the bike. Ride down the long passage to the doorway and use the gauntlet to open it.
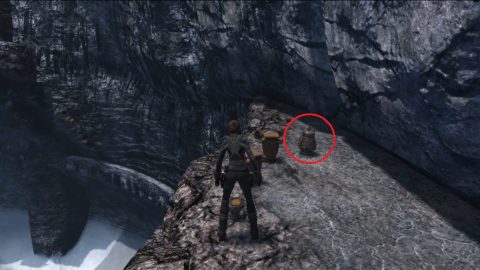
Continue on your bike to the large outdoor spiral. Before riding down get off your bike and grab the Health Potion and Treasure 1/30 at the end of the spiral path.
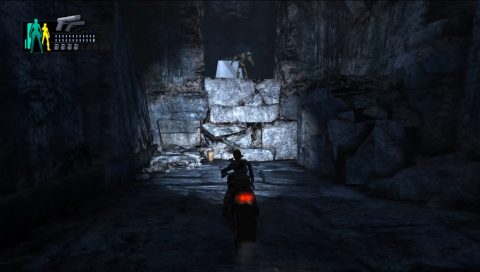
Jump on your bike and ride all the way down the spiral. You’ll need to avoid a number of Thralls and dodge gaps in the road along the way. For some large gaps you’ll briefly need to ride up the side of the wall.
Once you reach the bottom Lara will take a look at the large door to Valhalla. After the cutscene take out the 4 Thralls. A grenade might help to quickly dispatch one or two of them. Remember to use the Action key and stomp on them to make sure they won’t come back to life.
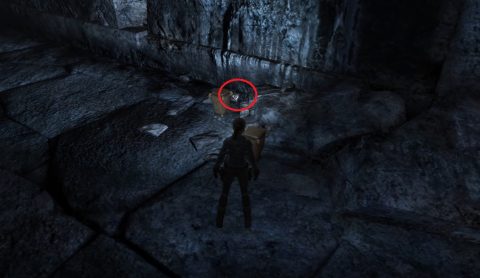
At the base of the spiral path you’ll find a Health Potion. Just ahead under the spiral path you’ll find Treasure 2/30 in a jar and then Treasure 3/30 is located in a jar in the corner to the left of the Valhalla gate.
Once you have the treasures pick up the three carved stones and place them in the slots at the base of the tower. Once the stones have been placed the tower will activate and sections of it will start turning.
Climbing the Tower
The tower forms part of a locking mechanism. It has 4 panels that need to be turned to the right direction to unlock the Valhalla gate.
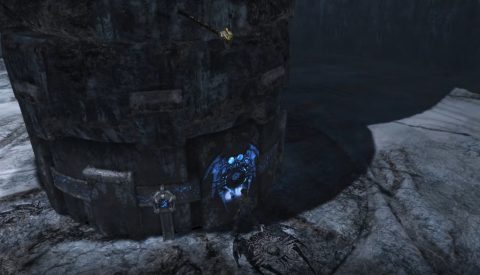
The first panel is at the base of the tower. Run around until you find the panel that lights up then move it around to the right until find the matching symbol on the ground. When it’s in the right spot you’ll get a cutscene and see a beam of light shining on the ground in front of the gate.
Climb up to the next ledge is fairly self explanatory. Find the handhold at the base where you can jump up and make your way up to the first ledge. Grab the Health Potion and then run around until you find the panel that lights up. Grab it and move it around to the left until you can match it up with the symbol on the ledge. A second beam of light will appear.
Continue up the tower to the second ledge. Run around until you find a breakable jar with Treasure 4/30. Then grab the panel with the glowing runes and move it around to the right until it matches up with the symbol on the ledge. A third beam of light will appear.
Make the climb up the final section of tower. This time you’ll have to avoid steam venting from pipes around the tower. Move quickly past the vents and you should be fine.
Climb up to the third ledge and find the breakable jar for Treasure 5/30. There’s also a Health Potion and Treasure 6/30 just out in the open. Grab them all and then move the final panel into position. The quickest path is to move it to the left. A fourth beam of light will appear and the gate to Valhalla will open.
Valhalla
Once the gate has been unlocked you’ll need to climb all the way down to the bottom. This is much easier than climbing up. Just make sure to avoid the steam vents while climbing down the top section of the tower.
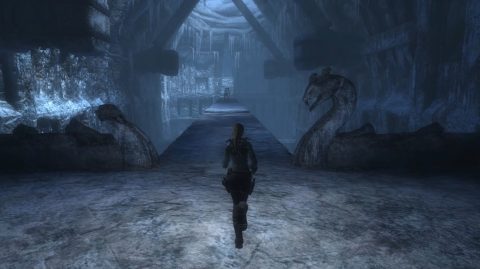
Once you’re back on the ground use the gauntlet to open the gate, then jump on your bike and head through to the maze of hallways.
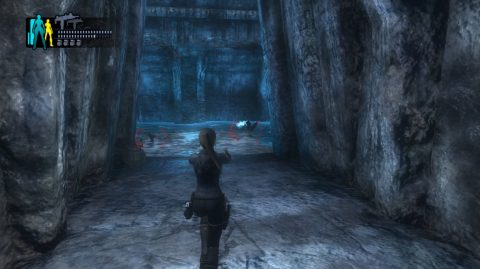
Maze of Hallways
There are 15 treasures in this section and 1 relic. As soon as you enter get off your bike and grab Treasure 7/30 in a jar on the right side by the gate and Treasure 8/30 ahead and to the left by the ramp. Bats will attack as you approach it.
Get on your bike and run over the Thrall who should be shambling up the ramp. Get off at the bottom of the ramp and grab Treasure 9/30 at the base of the ramp on the left side in a jar. Drive forwards and get off at the intersection. Grab Treasure 10/30 behind the pile of rocks on the right side.
Get on your bike and take a left at the intersection. Drive around the corner to the right and take out the 2 Thralls that shamble up the ramp. It’s probably easier to run over them with the bike.
There are 4 treasures here. Treasure 11/30 at the base of the ramp on the right side, Treasure 12/30 around the corner to the left and Treasure 13/30 and Treasure 14/30 in the corridor ahead both in jars. There’s also a Health Potion at the end of the corridor. The large stone door in the passage to the left doesn’t open yet but behind it is the Relic. We’ll get it later.
For now ride your back back over the ramp and head towards the t-intersection where you arrived. This time continue forwards, head around the corner to the left and down a ramp. Kill the 2 Thralls then pick up Treasure 15/30 in a jar on the left side at the base of the ramp.
Drive over the ramp ahead and around the corner to the left. Pick up Treasure 16/30 in a jar on the back left side of the stone arch and a Health Potion at the end of the passage.
Return to the previous intersection between the ramps and turn left. Shoot the Bats and run over the Thrall. Get off your bike and climb under the rocks to the right.
Behind them you’ll find Treasure 17/30. Grab it and then return to your bike. Ride down the passage the other way and either jump over or ride around the ramp. Watch out for the Thralls on the other side.
Once the passage is clear get off at the 4-way intersection. The passage to the right is blocked by a timed door. The blocked passage ahead has Treasure 18/30 in a jar. The passage to the left has Treasure 19/30 in a jar to the left after the first ramp but before the stone arch.
Continue under the arch, get off the bike and roll under the gap in the rocks ahead. Smash the jar for Treasure 20/30 and pick up the Health Potion.
Go back to the intersection and take out the Thrall waiting for you by the exit. We’re not quite done so don’t leave this area yet.
Grab the large stone block just to the right of the arch and drag it back to under the hole in the wall for the pole. Pick up the pole, climb onto the stone block and attach the pole to the receptacle. When you grab onto it the pole will lower. This lowers the timed gate near to the entrance.
Quickly hop on your bike, ride over the ramp then take the first right, right, left, follow the corners around to the right and take a left before the large stone arch. Two Thralls will be waiting for you in the secret room. Pick up the Relic 1/1 and the Health Potion. Then pull the Switch to open the doors so you can get back out.
Make your way back to the passage with the horizontal pole and pull the stone block until it’s under the second pole. Position the bike under the small arch and hang onto the pole. When it lowers the second timed door at the end of this passage opens. Quickly hop on your bike and ride straight ahead to the end of the passage. Beyond the timed door you’ll find Treasure 21/30 and a Health Potion.
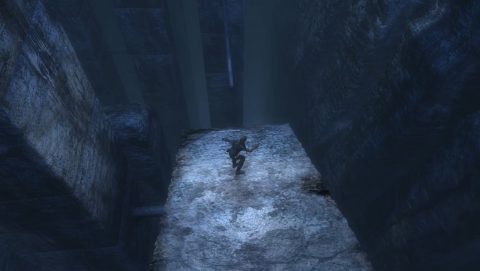
Pull the Switch to open the door and ride back out. Go back down the passage and take the second right to the exit. Chimney jump up the stones on the right side and jump to the ledge leading to the exit. You’ll come out to the Hammer Room.
Hammer Room
In a jar to the left of the entrance you’ll find Treasure 22/30. There’s one Thrall who will attack immediately and a second further down on the bridge.
As you run along the bridge the hammers will start swinging. The bridge will break and you’ll have a few seconds to jump from the crumbling platform to the pillar ahead. Grab the handhold and climb around to the left.
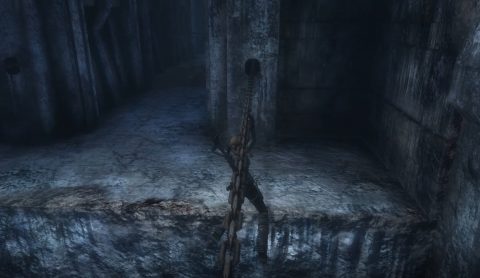
Jump across to the left and you’ll grab the horizontal pole. Monkey swing out to the ramp and drop down. Slide down and jump out to the beam.
Walk along the beam and jump up to the handhold. Traverse around to the right and drop down on to the next beam. Walk along, kill the Spider the climbs out and jump to the handhold ahead.
Climb around to the left, stand up so you can jump the gap and continue around to the left. Stand up then chimney jump between the pillars until you’re holding onto the top. Pull up to the ledge above.
Turn around and jump to the handhold on the pillar behind you. Traverse around to the left. Drop down twice, stand up and jump to the left.
Drop down onto the beam and walk across it. Jump up to the ledge, climb around to the left and drop onto the next beam.
Grab the handhold on the next pillar, climb around to the left, pull up and chimney jump up to the top of the pillar. Jump up to the walkway on the right, run forwards as part of the walkway collapses and grab the Health Potion at the end.
The first room is just to the left. Jump the gap, kill the Giant Spider and enter the room. You’ll be attacked by Bats and a Thrall. Kill them and then break the jar on the left for Treasure 23/30.
Come back out of the room, turn right, jump the gap and enter the next room along. Kill the 2 Giant Spiders and break the jar on the left as soon as you enter the room for Treasure 24/30.
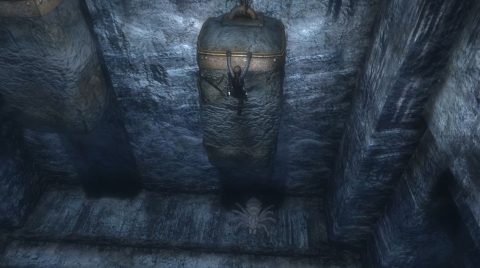
Grab onto one of the stone weights and jump up to grab the higher handhold. When it lifts up jump back to one of the bars. Climb onto it and jump up to the chain above. You can ride this to the ledge on the other side of the room.
On the right side you’ll find a Health Potion. Head out through the passage and swing across the poles to avoid the crushers. Then use the last pole to swing to the giant hammer.
Climb around to the right side and jump to the handhold on the far wall once you’re close enough.

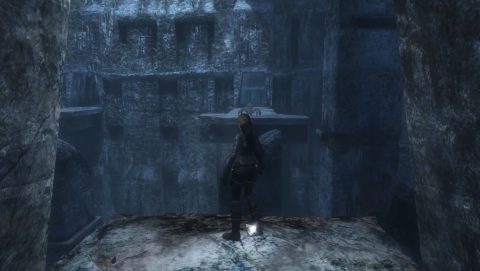
Climb all the way to the right until you can climb up onto the hammer lodged in the doorway. Drop down into the passage behind it and continue along to the upper ledge of the room beyond. Grab the Health Potion to the left and Treasure 25/30 in a jar on the right.
To get down to the floor monkey swing along the chain and drop down to the weight below. It will lower and crush the Giant Spider underneath it.
Drop down to the floor, turn around and take out the 2 Giant Spiders that emerge from the main passage. Pull out the stone block that’s stuck in the large gears in the wall. This should start the hammer swinging again.
Push the stone block towards the blocked up passage and use it to climb over the rocks. Make your way out to the main chamber, killing a Giant Spider along the way. At the end of the passage you’ll find Treasure 26/30. From here you can spot another Giant Spider across the other side. Use pistols or assault rifle with manual aim if you want to shoot it.
Run back down the passage and climb the rocks to the room. Chimney jump up the side wall and the moving weight to grab onto the top of it. Then jump to the horizontal bars and up to the chain above. Climb along the chain to the upper ledge then make your way down the passage. You’ll need to avoid the rolling crushers along the way.
Jump to the horizontal bars at the end of the passage and then onto the giant hammer. Climb around to the right side and jump to the wall on the other side.
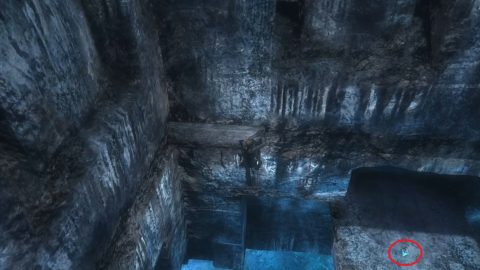
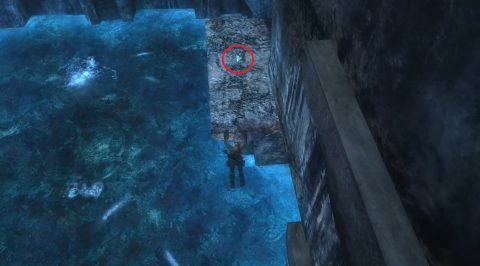
Drop down to the passage on the left leading to the next room. Grapple onto the ring and walk off the edge. Rappel down about halfway until you can swing over to the handholds on the right wall. Climb around the handholds on the wall until you can jump down to the ledge below with Treasure 27/30.
Jump over the water to the lower passage and head out to the main chamber. Jump over to the ramp and slide down to the beam below. Walk across it and grab onto the handholds on the next pillar. Climb around to the left, pull up and jump to the top of the pillar in front of you.
Jump across the tops of the beam and to the next pillar. Climb around to the right side and chimney jump up between the pillars to the walkway above. Take out the Thrall and then enter the next room.
As you enter you’ll be attacked by another Thrall. Use the grapple to climb up to the back wall. Swing to the handholds on the left wall. Climb to the left and then climb up into the tunnel above.
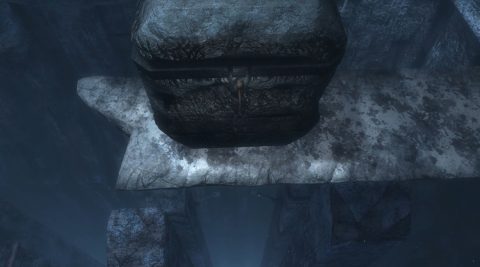
Make your way through the tunnel to the next room and drop down to the handhold. Climb to the left, jump to the handhold to the left, drop down once and then jump left to the ledge with Treasure 28/30.
You’ll need to go back the way you came so jump to the handholds on the wall and climb up to the tunnel. Run through and drop down on the other side. Climb around to the left until you can drop down to the lower passage.
Run out to the main chamber and follow the walkway around to the left. Grapple onto the ring and swing across to the small ledge with the Health Potion. Jump to the walkway to the right and enter the passage.
Kill the Giant Spider and enter the final room. When Lara gets close she’ll examine the Yeti creature. As Lara turns away the Yeti comes to life. Using grenades may help you to kill it quickly otherwise try to avoid it’s smashing attacks. Break the 2 jars in the room for Treasure 29/30 and Treasure 30/30.
Chimney jump using the side wall and stone weight to grab onto it, then jump back to the poles and up to the chain. Monkey swing along the chain to the upper ledge and grab the Health Potion on the left side.
Carefully make your way along the upper passage and swing to grab the hammer. This time you’ll need to time your drop so you land on the central walkway.
Run along the walkway before it crumbles and grab the Health Potion in the far right corner. Start climbing up the rocks and Lara will read the inscriptions on the wall and then grab Thor’s Hammer.
Back: Level 4: Southern Mexico Next: Level 6: Andaman Sea