Old Mill
Secrets: 3
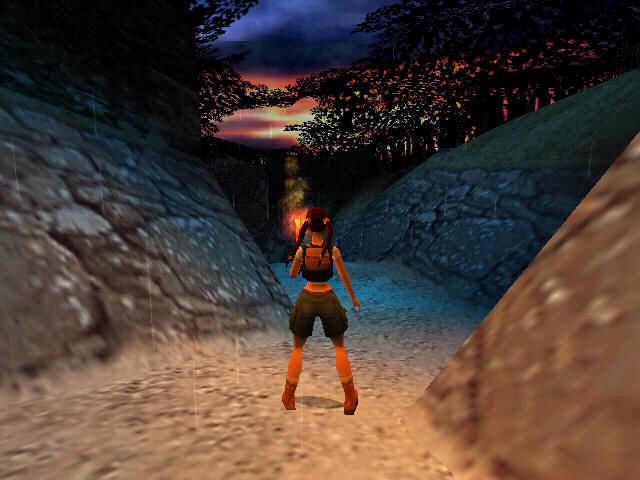
If you try to go forwards across the brown patch in the path you’ll be confronted by a Horseman and thrown back. Instead turn to the left and go through the passage. Follow it around and take the first right up a small ramp. You’ll come out to a large open area with Rope Swing and Changelings on a ledge to the left.
The Changelings will start throwing rocks at you as soon as they notice you so run forwards and take a running jump to grab onto the Rope. Turn around to face the rock just to the right of where you entered.
Swing up to land on the top of the rock and pick up the Torch. Drop down to the ledge below and go back through the entrance.

Continue forwards. Take a right at the end and another right to pick up a Small Medipack although you’ll be attacked by Bats. You’ll need to drop the Torch to pick up the medipack. Pick up the Torch again, turn around and follow the path around to the right to a lit torch on the wall. Light your Torch and head back out to the large open area.
Walk to the edge and throw the Torch over the edge so that it lands on the ledge with the Changelings below. They’ll get scared and stop throwing rocks.

Take a running jump to grab onto the Rope and turn around to the left until you’re facing the white speckled ledge with the gate. You’ll need to swing fairly high until you can jump off and land on the edge of the ledge.

Use Action on the darker coloured part of the gate to pull off a piece of metal so you can use it like a Crowbar. When facing the gate turn right and walk off the edge to the ledge below with the Changelings.
Turn around and crawl under the ledge and into the small passage on the right for Golden Rose #1. Crawl back out and carefully walk towards the large drop. Turn to face the ledge where you entered and take a running jump to land on the ledge below it. Climb back up to the entrance, turn around and take a running jump back to the Rope.
Turn to the left and swing up to grab the crevice on the left wall. Traverse across to the left if you need to and pull into the small crawlway.
Drop down the other side, pick up the Large Medipack and use the Crowbar on the rock to take a piece of Chalk. Crawl back the way you came and make your way back to the entrance to the open area. Go through the passage, take the first left, and follow it back to where you began this level.
Now that you have the chalk stand on the brown square in the path and use the Chalk. The Horseman won’t be able to touch you but he will capture Father Patrick.
After the cut-scene walk forwards and drop down the hole. Follow the passage around to the Barn and another cut-scene. Run between the right side of the Barn and the Small Mill.

Take the first right and hop over the fast stream of water. Follow the passage around to the Windmill. At the front of the Windmill is a winch and cage and around the back of the Windmill is the Sea Hag’s Lair.
Dive into the water on the left side of the Windmill. Swim down to the glowing yellow tunnel and around to the back of the Windmill. As you approach the Sea Hag’s Lair she will attack and Lara will fight her off but end up on the other side of the Windmill.
Swim back around to the Sea Hag’s Lair. This time waith for the Sea Hag to swim off to the right and then quickly grab the Silver Coin.
Once you have it the Sea hag will chase you so quickly swim to the front of the Windmill and use the Silver Coin on the cage. Lara will trap the Sea Hag inside.
Swim back around to the Sea Hag’s Lair and this time continue forwards and pull up so that you come up inside the Mill. Run up the ramp and pull the Wheel at least four times to open a door on the other side of the Mill.
Quickly step to the left and take a running jump to grab the pole in the wall. Let go of action and Lara will swing across to the other side. Take a standing jump to the ledge on the left and then crawl through the doorway before it closes.

You’ll be attacked by Bats on the other side. Turn left to face the ramp and pull up. Turn around and take a standing jump to grab onto a Switch. This open a trapdoor in the water below. This also slows the flow of water in the nearby streams.
Slide down the ramp and drop into the water. Swim through the tunnel to the left which leads back to the Windmill. Pull up out of the water where you entered the water on the right side, while facing away from the Windmill. Go through the opening straight ahead and crawl through.

Pick up the Large Medipack and Golden Rose #2 and then crawl back out again. Run back through the passage where you entered this area, opposite the Windmill which leads back to the Barn and Small Mill.
Run to the other side of the Barn, the left side when facing it, and dive into the narrow stream of water. Swim through and take the first left. Pull up for Golden Rose #3.
Swim back the way you came. Before getting out of the water pull up into an alcove in the wall.

Crawl through the passage and make your way around until you come out to a triangular ledge overlooking the Barn. From here you’ll need to make a series of jumps to get onto the roof of the Small Mill.

Turn to the left and take a running jump onto the flat block. Turn right and take a running jump onto the flat spot on the Barn roof. Take a running jump on the central part of the Barn roof and then another running jump to the next flat spot.
Stand in the very corner facing the Small Mill and take a running jump to land on the very edge of the Small Mill roof. Duck down by the opening and press the Jump button to flip down into the Small Mill. Turn the Wheel to watch a cut-scene and end the episode.
Next: The 13th Floor
Back: Tomb Raider Chronicles