Level 1: Mediterranean Sea
Back to Tomb Raider: Underworld
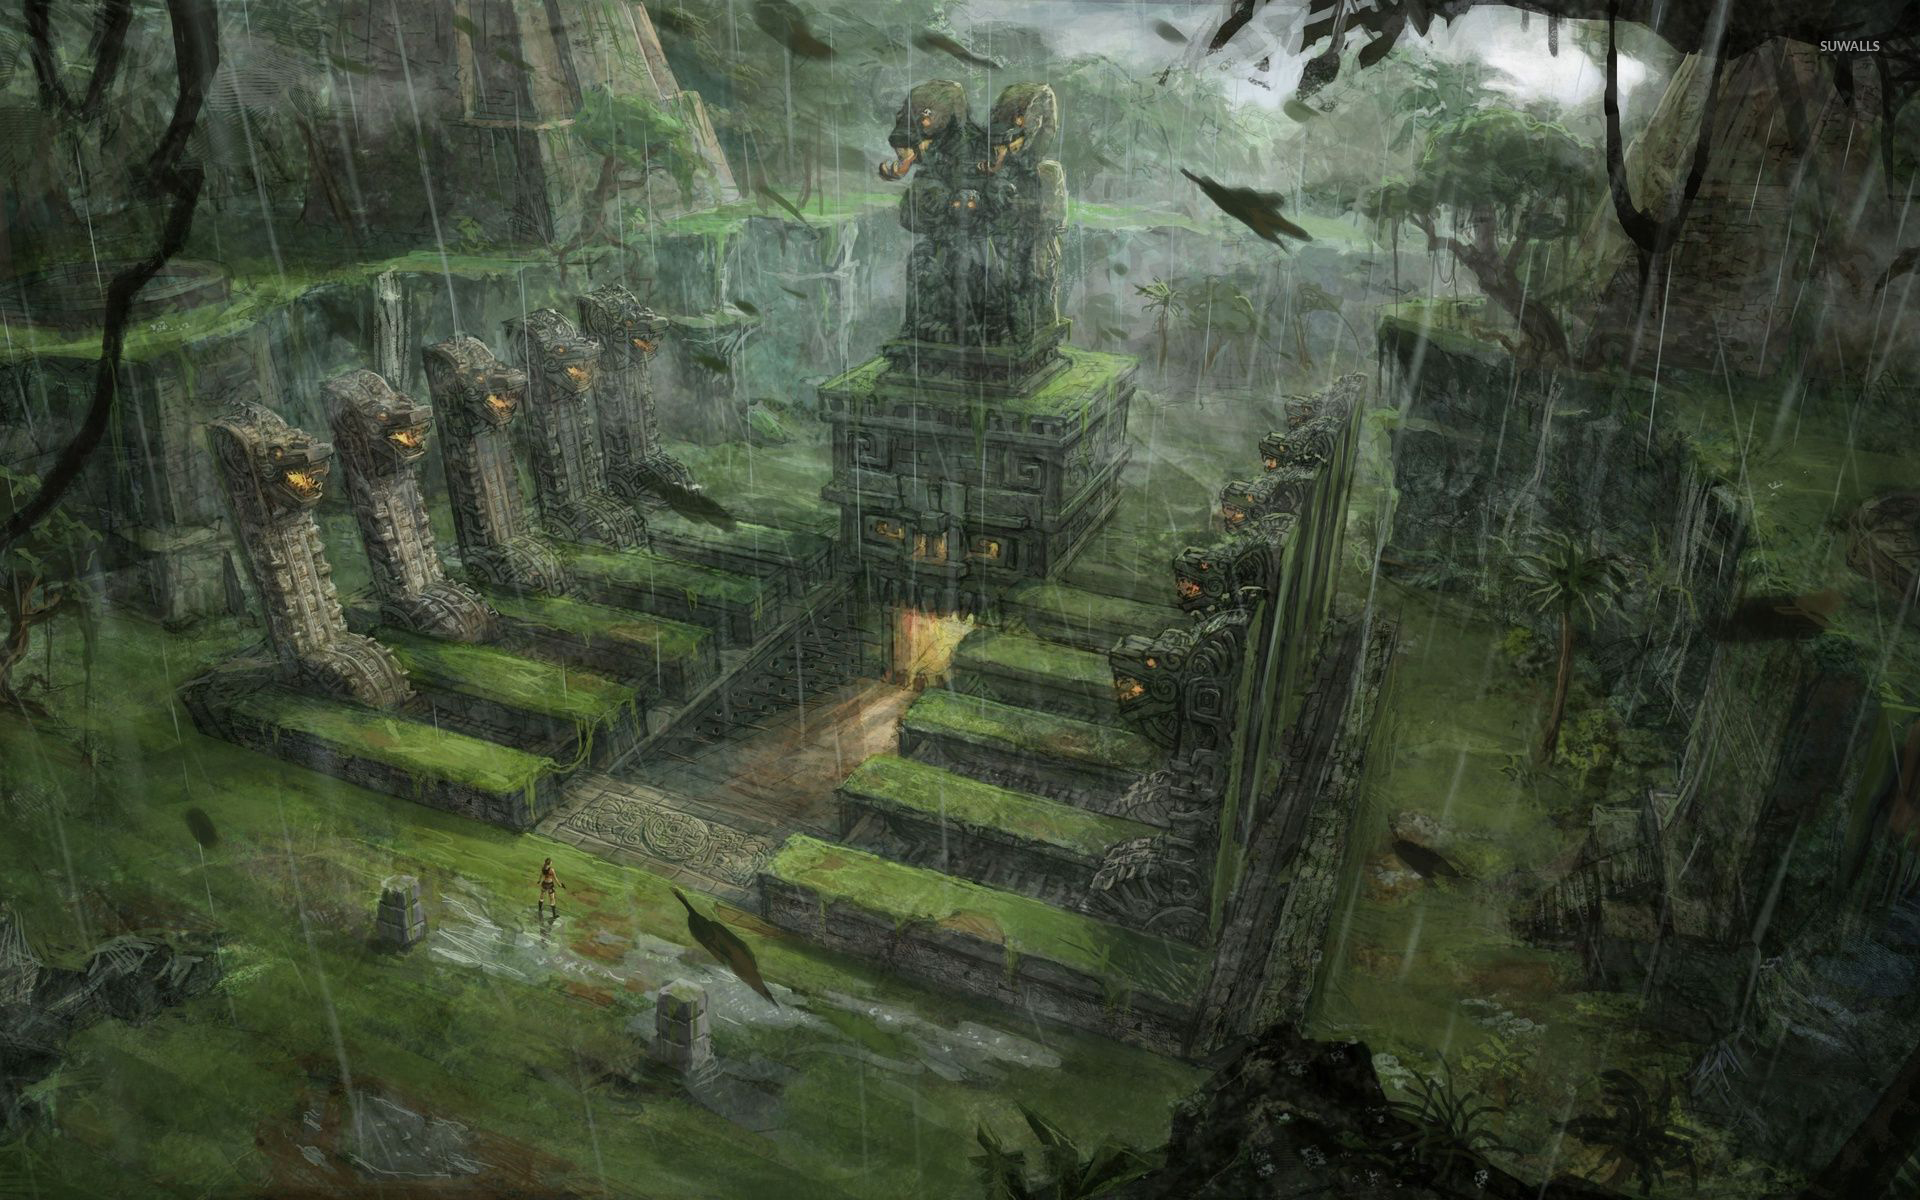
Path to Avalon
Treasures: 10
After the cinematic you’ll be on a boat floating on the Mediterranean Sea. Dive off and swim down to the ruins below. If you’re going for all the collectibles there are 6 treasures to find before opening the large door in the ruins. There are Sharks swimming around here but you can usually avoid them. If one gets too close dodge out of the way or use the Spear Gun.
There’s one in a cave near the slabs far to the left, one in a cave under an arch far to the right, one in a cave on the left side of the entrance to the spire, one in a cave on the right side of the entrance, one on a ledge halfway up the spire and the final treasure is inside the main entrance up on a ledge near an alternate exit. See map below for approximate locations.

You can grab them in any order you like. Treasure 1/26 can be found in a cave under a slab to the left (when facing the spire. Go inside the cave and you’ll find it sitting on some sand. Head back out and swim all the way over to the right. Under an arch you’ll find another cave. Go inside to find Treasure 2/26 lying on the floor of another cave.
Swim out and go through the vines on the left side of the main entrance to the spire. This one is a little hard to spot. Swim through the cave to the pedestal. Turn around and swim over the rock wall. On the floor on the other side you’ll find Treasure 3/26. Swim back out.
On the other side of the entrance to the spire is an obvious cave. inside you’ll find Handle #1. Ignore it for now turn around and swim under the slab to find Treasure 4/26. Swim back and grab the puzzle piece. Take it into the entrance and place it on the large door.
Swim back out and grab Treasure 5/26 on the ledge halfway up the spire on the left side. Swim back into the spire and grab Treasure 6/26 from a ledge up near the top exit.
Swim back down, grab Handle #2 and place it on the other circular door. Pull out the door handles to turn the large circular discs. You need to spin them around until all three eye sections are in the center. They will lock into place and the door will open.

Swim through the cave and turn around to look behind the rocks near to the third corner. Hidden behind the rocks you’ll find Treasure 7/26.
Continue forwards and swim through the hole where the tentacle disappears. Swim up and climb out. Climb up into the next section of cave, turn right and break the jar for Treasure 8/26.

Climb up the rock ledges on the left side and drop down on the other side. Dive into the water and swim down to the left for Treasure 9/26.
Swim back and climb up the ramp. Climb up the ledge on the left for a Health Pack. Run across the ramp to the other side of the pool and grab the handholds on the wall. Climb around to the right as far as you can go, jump up and then jump backwards to grab the higher handhold. Climb up for Treasure 10/26 inside a breakable jar.
Jump back and traverse around to the right. Jump to the horizontal bar and swing across to the next hold. Climb to the right and drop down to the floor.
In this room you’ll find a Switch and 2 blocks. Pick up the blocks and place them on the pressure plate to the left. On the right side use the grapple to pull down part of the statue. This will land on the right pressure plate. Now pull the Switch in the center to open the stone door and complete the section.
Niflheim
Treasures: 9
Head up the stairs and climb up the rock ledges. Jump across the gap and turn left. Inside a small alcove you’ll see three jars. One of them has Treasure 11/26.

Drop down to the floor and continue up the stairs. Crouch under the rock slab up the top and drop down. Crouch into the small tunnel on the left side and make your way through. Drop down on the other side and climb up the rock ledges. On the second one you’ll find a Health Pack.
Climb up to the bottom of the stairs and break the jar on the right for Treasure 12/26. Head up the stairs to the top and grab a Health Pack in the small room to the left and then break the jars in the room to the right to find Treasure 13/26. Run forwards for a cutscene and a meeting with a Kraken!
Go to the right first and use the handholds on the wall to jump across the gaps. Slide down the ramp, walk to the end and break the jar on the left for Treasure 14/26.
Drop down behind the jar and run to the left. In the corner you’ll find more jars. Break the one in the corner for Treasure 15/26.

Head back and climb up the stairs. Continue forwards at the intersection and run around the corner with the water dripping down. You’ll see a tentacle wrapped around a pillar. Use the grapple to grab onto it and pull it down. The tentacle will disappear.

Climb up the rock ledges to the top, slide down and jump to the handholds on the wall. Traverse to the left, climb up and pull the Switch. This starts the gears moving and pulls back one side of the bridge.
Jump across the bridge to the other side and you’ll see another tentacle. Use the grapple to pull on the ring to pull the gear out. Then pull the Switch. The tentacle will disappear and the gears will retract the other half of the bridge.
Head out to the bridge and run around the left side of the stone helmet. Jump to grab the wall and traverse to the right. Jump back to the ledge. Pull the Switch in the center to lift up the spiked platform.
Next use manual aim to shoot the broken chains to the left and right. The platform will drop and land on the Kraken. It will slither away giving you access to the exit. Before you go through there’s still a few treasures to find.
When facing the Switch walk to the right and chimney jump up to the ledge above. To chimney jump stand between two walls, jump to one and continue pressing jump as you make your way up. On the ledge above you’ll find more jars. Break them to find Treasure 16/26.
Walk to the edge of the ledge and swan dive into the water below. There are two treasures in the water. One just to the left and below where you dive into the water. This is Treasure 17/26.
Swim forwards to the stairs leading out of the water. Treasure 18/26 can be found on the first landing under the water.

Head up the stairs and climb up the rock ledge. Head around to the left and then go up the stairs. Climb up to the lower hallway. Run around to the left to find Treasure 19/26 in a jar at the end of the hall.
Run back the way you cam and jump across to the entrance where the octopus was hiding. Pull the Switch to the right of the large stone door to open it and go through.
Head up the stairs to the top, then use the stone bricks on the left wall to climb across the large gap. Drop down on the other side. Continue up the stairs and carefully make your way across the beam.
Roll under the rock slab on the other side and continue around to the gate to end the section.
The Norse Connection
Treasures: 7
Relics: 1
After the cutscene turn to the right and climb up the pole. Jump through the gap and pick up the Health Pack on the rock slab. Pick up the 2 stone blocks and throw them through the door while you’re standing on the pressure plate. Quickly jump through the open door before it closes.
Grab the 2 blocks and place them on the first pressure plate on the right side of the gate. Grapple the gate and stand on the left pressure plate. Pull the gate out to keep it open.

Run through the gate and grab the Gauntlet. After the cutscene you’ll need to make your way back out of the ruins. Start by turning around towards the statue of Thor and breaking the jar on the left side for Treasure 20/26.
Run back out through the gate and take the exit to the right. In a little alcove to the left you’ll find more jars break them to find Treasure 21/26.
Climb up the rock ledge to the exit above. Run through the cave but look out for a jar hidden in a corner to the left. Inside you’ll find Treasure 22/26.

Enter into the next room with the broken pillars. At the far back left corner you’ll find more jars. Break the unique jar to find Treasure 23/26.
Go back to the other side of the room and climb up the pillar. Jump to the next one along, climb up and jump back to the rock ledge.
Jump across to the pillar on the other side so you can get across to the next ledge. Jump to the pillar by the wall and then jump across the tops of the broken pillars to the other side.
Run down the corridor and crouch into the hole. Make your way through and then break the jar on the left for Treasure 24/26.

Turn around and continue down the corridor. You’ll come out at the upper area of the cavern that had the Kraken.
After the cutscene of the man running away use the ring in the center of the cavern to grapple across the gap. Break the jar on the other side for Treasure 25/26.
Run to the other side of this platform for a Health Pack, then climb up the rock ledges. Swing across the bar and slide down the ramp by the wall to drop down to the ledge below.
Hang off the edge and traverse across to the right. Pull up on the other side of the doorway for Treasure 26/26.

Jump across to the next ledge in the corner and duck under the rock slab. In the small room beyond you’ll find Relic 1/1.
Crawl back out and jump back the way you came. Drop over the edge and traverse back to the left.
Climb up, walk to the back wall and grab onto the handholds on the wall. Traverse to the right and then drop down.
Run along the corridor where you saw the man in the cutscene and head down the stairs. Drop down the gap and climb up on the right side into the small tunnel. Crawl through to the other side and climb up the rock ledges.
Head down the stairs, climb up the rocks and jump across the gap. Continue down the stairs back to the room with the Switch. Jump over to the rock in the pool on the left side and climb out.
Make your way through the tunnel back the way you come initially. Dive into the water and swim through the underwater cave. You’ll come back out through the large circular doors. Swim up to the boat to end this section.
God of Thunder
After the cutscene climb up the chain on the side of the large ship. Jump up to the top and climb onto the main deck. Pick up the Health Pack just in front of you and get ready for a gunfight. You’ll find one Mercenary on the deck below and another 3 somewhere around the containers. There’s a fifth up on a deck opposite where you climb aboard.

Once the first guard is taken out run down the stairs and deal with the other two. I prefer to use the Shotgun in close range. Either deal with the fourth mercenary from range or climb up the containers and jump across to the other deck.
Just by the white container you’ll find another Health Pack. Grab it and continue either around to the left or the right. There’s one Mercenary in the corridor to the right and two to the left.
At the rear of the ship you’ll find the helipad. There’s 3 Mercenaries on the deck before the stairs, one around the staircase and 2 more guarding the choppers. I find the Assault Rifle is best for this area.
Take them all out and then grab the Health Pack by the crate between the helicopters. Turn around and take the stairs down on the right side.
Make your way around and take out the 4 Mercenaries on the lower deck.

When the area is clear grab the Health Pack by the door and go through. Inside behind the boxes you’ll find another Mercenary.
Head down the stairs and through the door. Take out the 2 Mercenaries below and continue down another set of stairs.
Go through the door and follow the path over the bridge for a cutscene. After the Mercenary blows himself up continue making your way around the corridor until you run into Amanda and Natla.
Realm of the Dead
After Natla gets lifted up run through the open door in front of you. Follow the corridor around while avoiding the fire. Soon the ship will begin to lurch to one side.
Continue down the corridor and when time slows roll down the corridor to the right to avoid the flaming barrels.
At this point the ship really begins to tip over and you’ll need to start running along the walls instead. The panels to the left will fall off so take the opportunity to climb up.

Climb up onto the ledge to the left and continue to the ladder. Climb up the wall to the beam near the top and drop down onto the horizontal beam. Walk across and climb up the other side. Once you reach the top you’ll see a cutscene of the ship sinking and Lara climbing out a window.
Amanda will drop the Gauntlet and Lara will dive into the ocean to pick it up. After getting back to her ship Lara heads off to Coastal Thailand.
Back: Prologue Next: Level 2: Coastal Thailand