Level 13: The Forbidden Zone
Back to Ghostrunner
The Forbidden Zone
Collectibles: 5
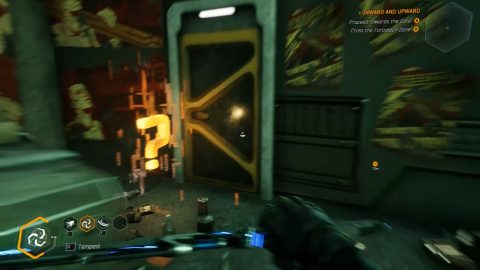
Run forwards but stop before you’re in view of the turrets. Drop down and sneak around to the turret. Destroy it and look out over the room. In the corner you’ll see a collectible.
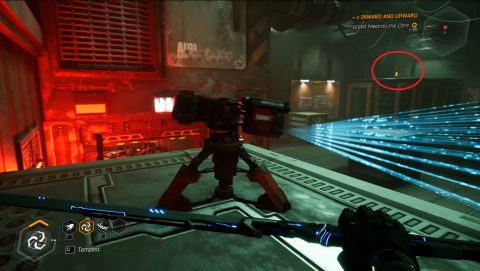
Make your way over to the collectible to grab Audiolog 5/7. Go through the door and take the zipline. Wall run past the view of the turret and head through the next door.
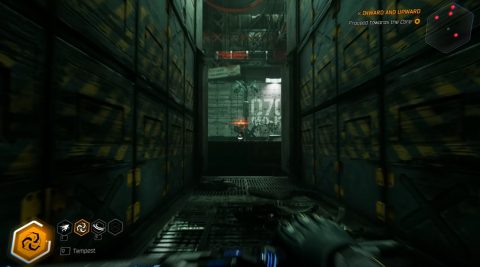
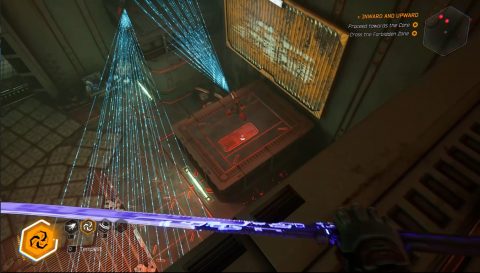
There’s another turret looking down so wall run around the panels when it’s looking the other way. Take the ziplines over to the next door and go through.
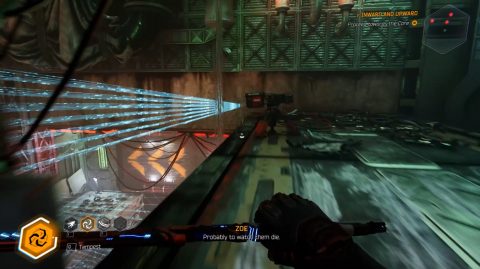
Wait for the turrets sight to move along the wall and follow along to the protected ledge. Wait for it to move past you and continue on your way. Head through the door, wall run around and take the zipline through to the vent. Slide down and deflect the bullets from the guard ahead and dodge around them.
Take out the second guard around to the left, climb up the ledge and kill the third guard. Wall run up to a small walkway and jump across to the collectible, a Whiskey Bottle.
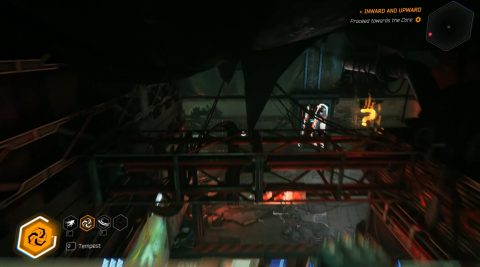
Jump back and wall run down to the door. Take out the guard and go through. Ride the ziplines, grapple up to the ledge and wall run past the gap.
When you see the sight lines of the turret wall run up to the ledge on the left so you can safely take out the turret.
Drop down the next two ledges and take out the turrets along the way. Wall run across the gap and look at the wall that says “Open your eyes”. Turn around and grapple up to the ledge above where you’ll find a collectible item, the Broken Glasses.
Drop down and go through the unlocked door but watch out for the 2 close combat enemies on the other side. Head to the left and take the zipline up to the building. Walk forwards and look over the edge. You’ll see the collectible Broken Blade down below.
Walk to the right and grapple up to a platform. Jump down to the start of this area. Take the zipline back up to the building and head to the left. Take out the shield guard and two guards then use the zipline down to another shield guard.
Wall run over to the final guard then take the ziplines back to the unlocked door. Take the long zipline to a rooftop with 2 ninjas, then zipline across to the door.
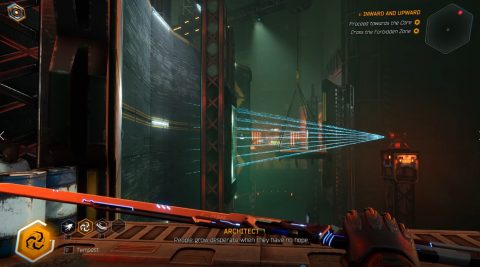
For this section you’ll need to make it past 2 turrets. Time your wall run so you can make it past the turrets sight while you’re behind the barrier. If you have Surge available you can use it to deal with one of the turrets.
Go through the door, grab the jump boost and jump up to the ramp. Slide down and take out the robot to the left, then the second robot behind the pillar to the right.
Grab the jump boost behind it and jump up on the left side. Slide under the sliding door and jump up to a platform with 2 ninjas. Take them out and then break the shield.
There are enemies on either side but I find it easier to drop off on the left side first and destroy the second shield. Deal with the 3 shield guards here, then go back to the previous room and take out the remaining guards. You can pick up a shuriken along the way if you want.
Drop down to ground level and slide under the door on the left side. Inside you’ll find the collectible sword Void Dragon TsuruGR.
Head back out and go to the other room with the unlocked door. Go through and wall run along the electrified panels. Grapple up on the other side and take out the turret.
Drop back down and take the other path to destroy the second turret. Walk to the right and look over the edge. Drop down and take out the next 2 turrets.
Head through the unlocked door and jump boost up twice. Wall run to the left and grapple across the gap. Continue the wall run and slide down the ramp. Make your way around the corridor to the zipline.
Grapple over to the next zipline and wall run around to the exit door. Take the lift up to complete the level.
Back: Level 12: In Her Own Image Next: Level 14: Reign in Hell