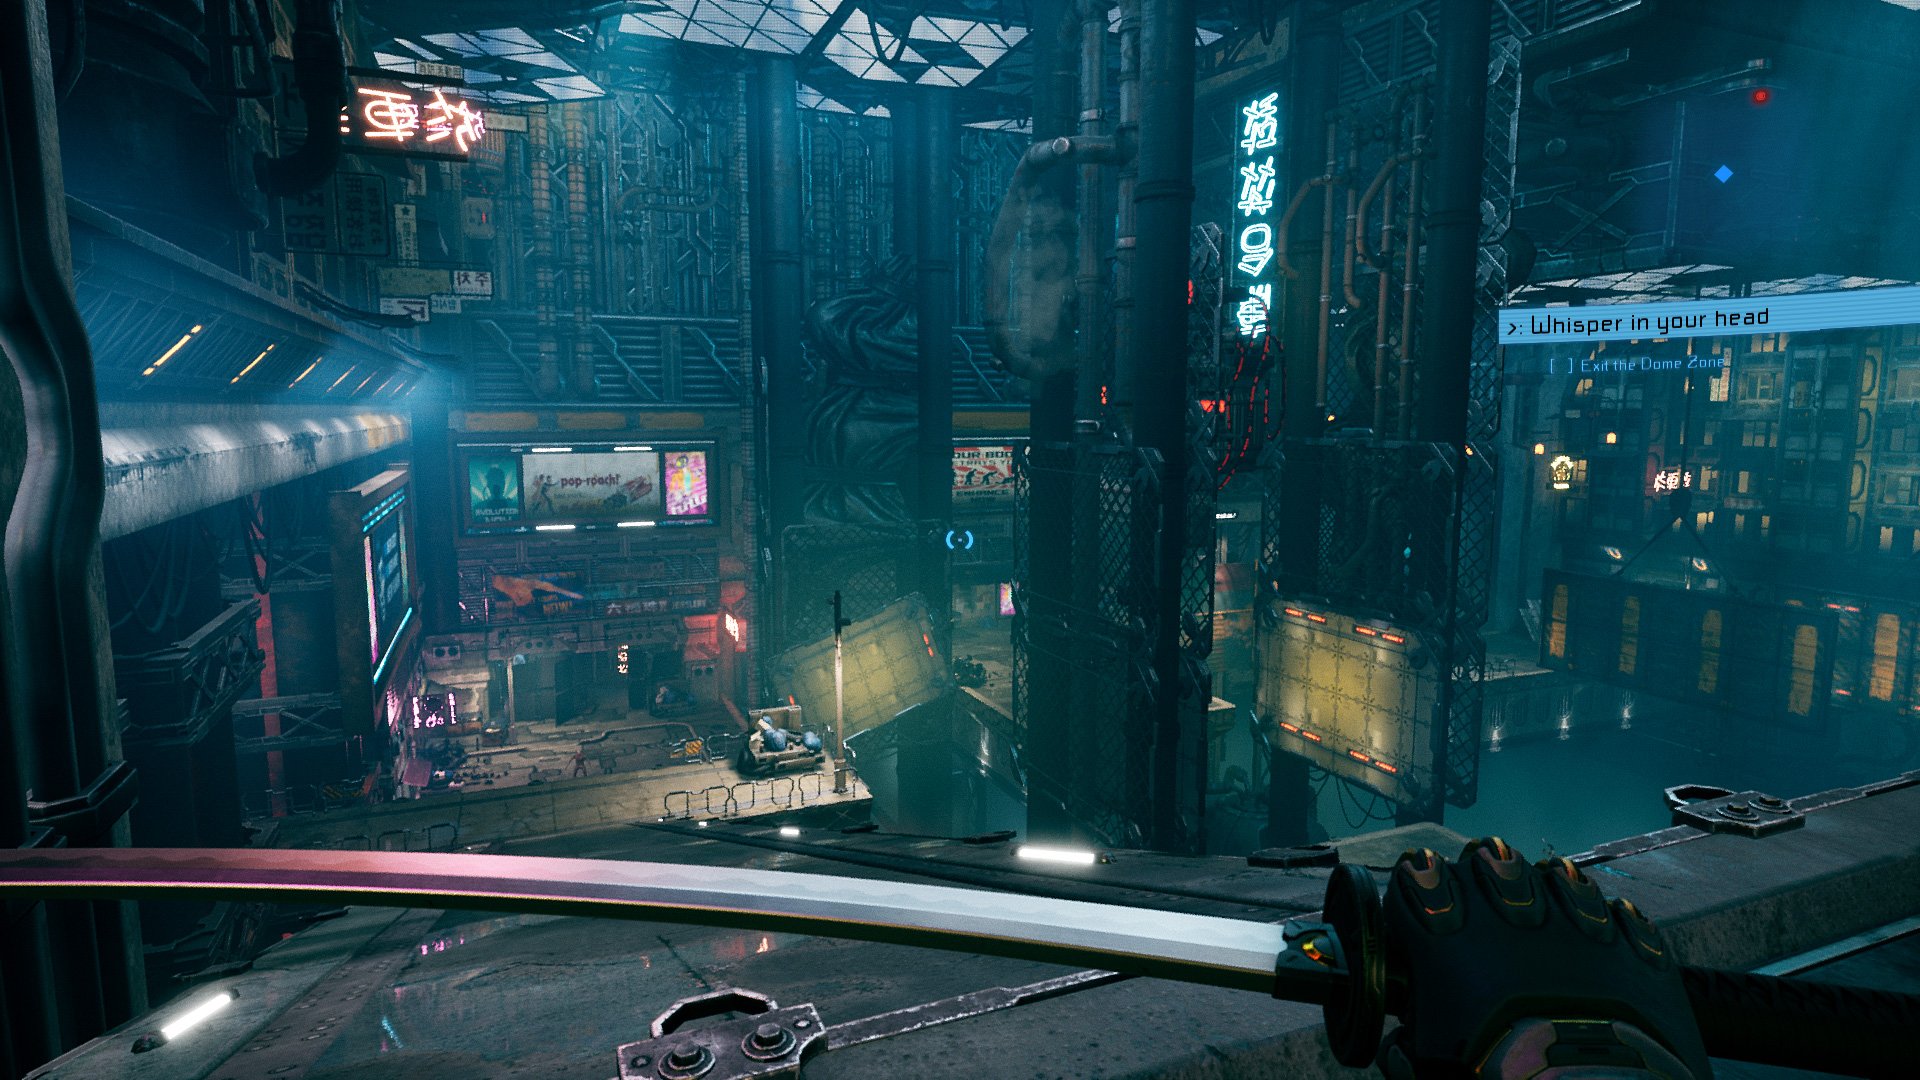
Level 5: Breathe In
Back to Ghostrunner
Breathe In
Collectibles: 9
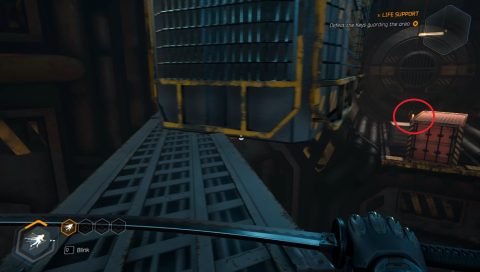
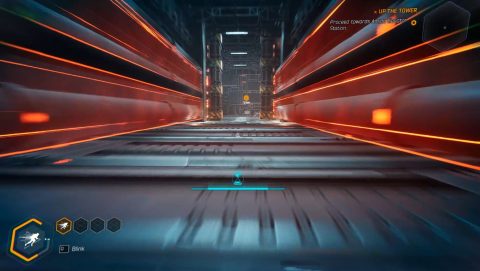
After riding the lift up run forwards grapple up to the large tunnel to the left. Run through and follow the instructions to grab the speed boost so you can get past the spinning fans. You need to do this twice, then grapple across to the tunnel on the other side. Grab a third speed boost and drop down past the third spinning fan.
Make your way around to the right, wall run across the gap and take out the guard on the other side. Make your way out to the large room and grab the speed boost.
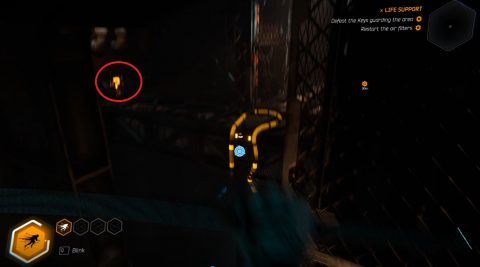
Turn around and go back the way you came. Quickly dash past the fan to find a collectible, the Projector.

Pull the lever to stop the fan and jump back to the corridor. Head back to the speed boost and use it to take out the machine gunner.
While you still have the speed boost head around to the left and take out the next machine gunner. Jump across the gap and finish off the final 2 guards. You may want to use blink to dash through their bullets.
Use the panel to move the crane and go back to the other side of the room. Use the grapple to get across to the ledge with the collectible, the Exam Guide.
Go back across the gap and grab the speed boost opposite the fan. Use the grapple to swing past the fan and make your way into the next room.
Use the grapple so you can swing up to the panel for a wall run. Turn around and wall run back the way you came. Jump up to the top of the crane and you’ll see the next collectible, a Home-Made Bomb.
Wall run back the way you came and continue down the passage to the next room. If you have the skill to deflect bullets you can take out the guard in front of you and to the left from a distance.
Run forwards and wall run across the gap, then deal with the machine gunner to your left. Just behind him you’ll find a speed boost.
There’s another regular guard ahead. Take him out and you’ll spot 2 guards to the right and one to the left. The speed boost will really help dealing with all these guards. When you’re done head to the next room.
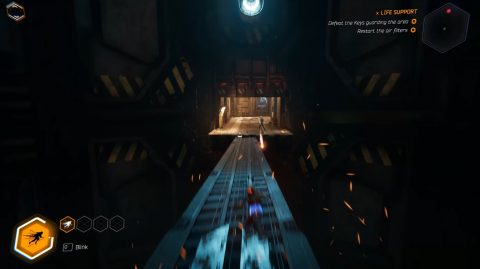
Pull the lever to start the bridge moving and jump onto it. Ride it all the way around while avoiding the dangling boxes. Skip the exit straight ahead and jump into the alcove with the boxes for a collectible, the Lemon Tree.
Jump on the bridge and ride it around to the other exit. Follow the passage around to the next large room.
This room is quite difficult. I start by running to the right and taking out the guard across the gap, then hiding behind the pillar and deflecting the machine gunners bullets through the red force field.
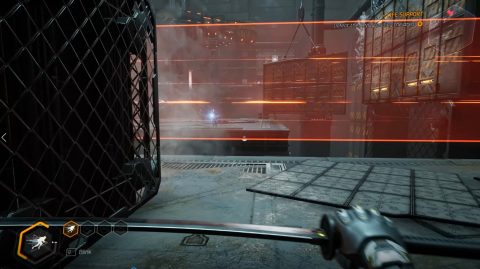
Step forwards and deflect the second machine gunners bullets, then wall run around the red force field so you can break the shield. Grapple across to the far corner to grab the speed boost and finish off the last 2 guards. Head through the door when you’re done.
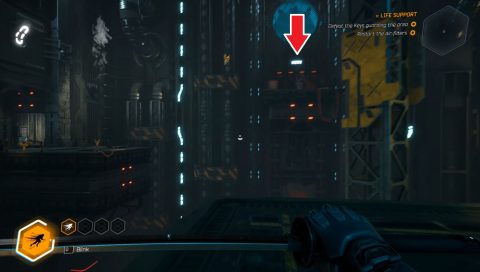
Ride the air current up and turn around for the collectible above the door. This is Audiolog 2/7.
Drop down and ride the air to the other platform. Wall run around to the right and go through the tunnel. Drop down to the left into the next room.
Use the air currents and sensory boost to take out the guards and machine gunners then continue to the next room.
Wall run around to the platform with the 3 guards. You’ll need to use sensory boost to dodge all of their bullets.
Follow the passage around to the left and use the air currents to get across the gap. You’ll enter a large room with a central platform.
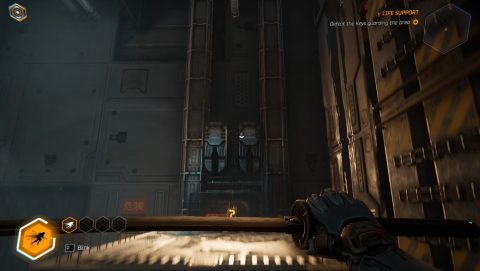
Head into the room behind the stopped fan to the left, cross the gap and pull the switch. This stops the fan on the wall to the right. Grab the speed boost and then go through the fan opposite.
Continue around to the right using the wall run. You’ll come to another platform looking out to the center. Grapple across to the center and then to the other side. Pull the switch to move the crane in the center so you can grapple to it later.
Grapple up to the wall run on the right, grapple over to the walkway, turn around and jump to the yellow pipes where you’ll find the collectible Stolen Firearm. You can also grapple up to the yellow pipes from the lower platform if you want.
Grapple back to the walkway and make your way around to the other side. Wall run across the gap and you’ll be in a room behind a spinning fan.
Grapple up to a platform and use the wall run and walkways to make your way up and around to the room where you go the speed boost.
Grab the speed boost and go through the fan towards the center of the large room. Grapple across to the center and then through the fan on the opposite side to get out of this room.
In the next corridor you’ll face a close combat enemy. It will jump towards you and attack so make sure you’re ready to dash out of the way.
Continue around the corridor and you’ll face another two of them. Continue around to a bridge where you’ll face 2 regular guards.
Jump over the pipes to the right and head across the corridor with the red force fields, close combat enemy and guard.
Continue around to face a machine gunner and close combat enemy in the next corridor and head out to the next large room. Watch out for the 2 close combat enemies as you deal with the machine gunner and guard then head through the unlocked door.
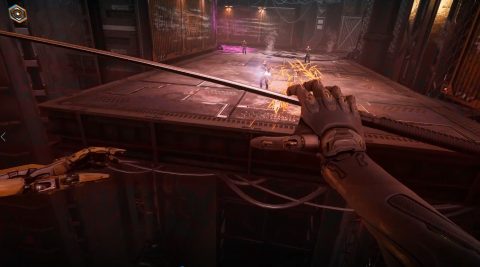
Grapple to the platform to the right and pull the switch to turn the crane around. As it’s turning grapple up to it as it’s swinging to land on a higher ledge where you’ll find the sword Twilight Seisouken.
Slide jump and dash down to the platform below and go to the next room. Grapple over to the ledge above and make your way past the spinning blades, force fields and guards.
Continue around to the next large room. You’ll have a number of guards to deal with. I prefer to grapple over to the right, head up the ramp, slide under the force field and deal with the first guard. Jump down to deal with the second and then clear out the rest of the room.
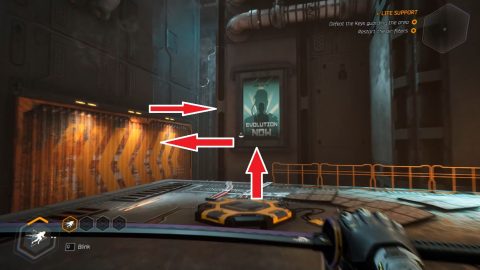
Go through the unlocked door and wall run around to the left. Turn around and take a series of wall jump from the poster, to the panel on the left, poster on the right, to the large poster on the far wall and then jump dash up to the ledge.
On the ledge you’ll find a speed boost. Quickly drop down and wall run to were you where before and go through the fan before you slow down. Behind it you’ll find the collectible sword Yama.
Use the switch on the control panel to stop the fan and jump back to the platform. Grapple up to the wall run so you can continue to the next room.
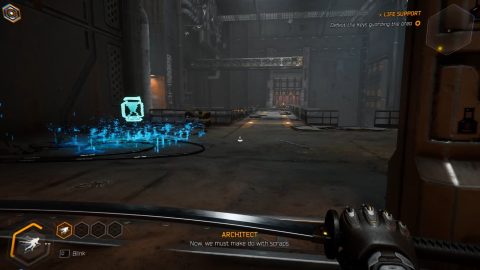
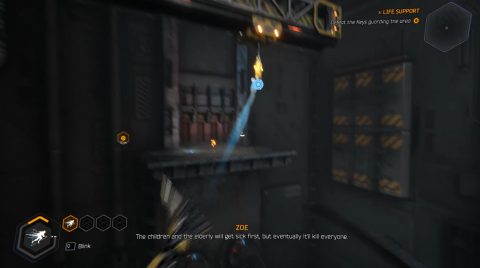
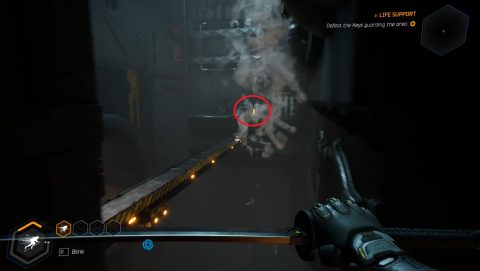
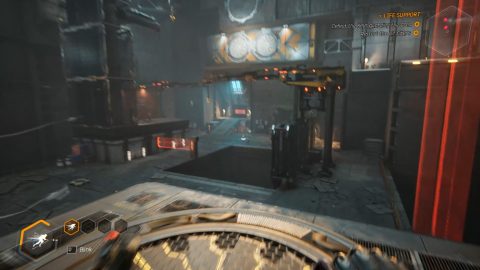
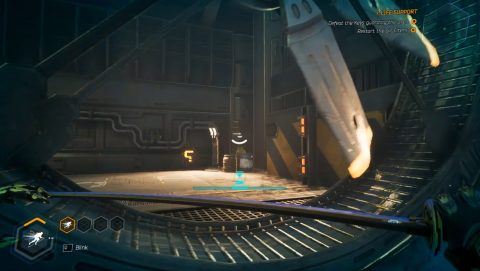
In the next room you’ll face a number of enemies protected by a shield. Take out the shield first and then deal with the guards and close combat enemies. When you’re done use the device to enter the Cybervoid.
Cybervoid
For the first puzzle you’ll need to press the buttons to turn the dials around. You want to bring power through both of the dials to open the door. Press the right button and then the left button to complete the puzzle.
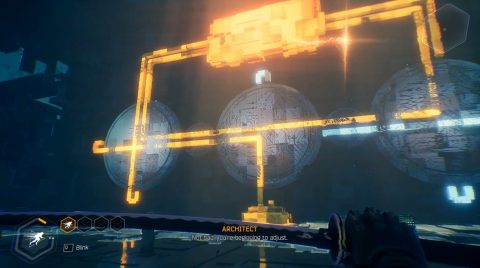
The next puzzle is more difficult. There are 3 buttons and 3 dials on the wall. The center button rotates and the side buttons turn the equals signs. When the equal sign is horizontal the side dials will turn also, otherwise only the center dial turns. You want the 3 dials to look like this.
Go through the door and you’ll be back in the real world.
Back to the Tower
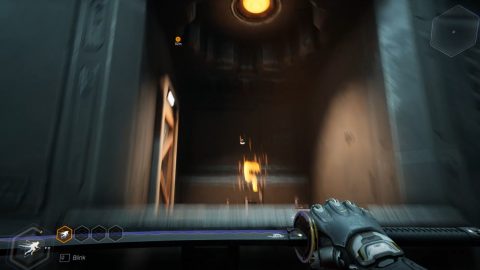
When you get off the device wall run to the left and use the air to get up to an alcove with a collectible, a Rebreather.
Now you want to make your way back the way you came only this time all the fans are activated. Some of them will cycle on and off.
Eventually you’ll come back to a fan that you can’t get past and an air current to the right. Ride the air current up to the room above
Use the fans to blow you across the gaps and make your way back past the red force fields and rotating blades.
A machine gunner and close combat enemy will be waiting for you in the room with the crane. Take them out, pull the switch to move the crane back and grapple over to the door. Go through and use the speed boost in the next corridor to make it past the crushers.
Do the same thing in the next corridor to run along the top of the crushers.
Jump over the pipes and ride the rotating bridge around to the exit door. Ride the lift up to end the level.
Back: Level 4: Jacked Up Next: Level 6: Road to Amida