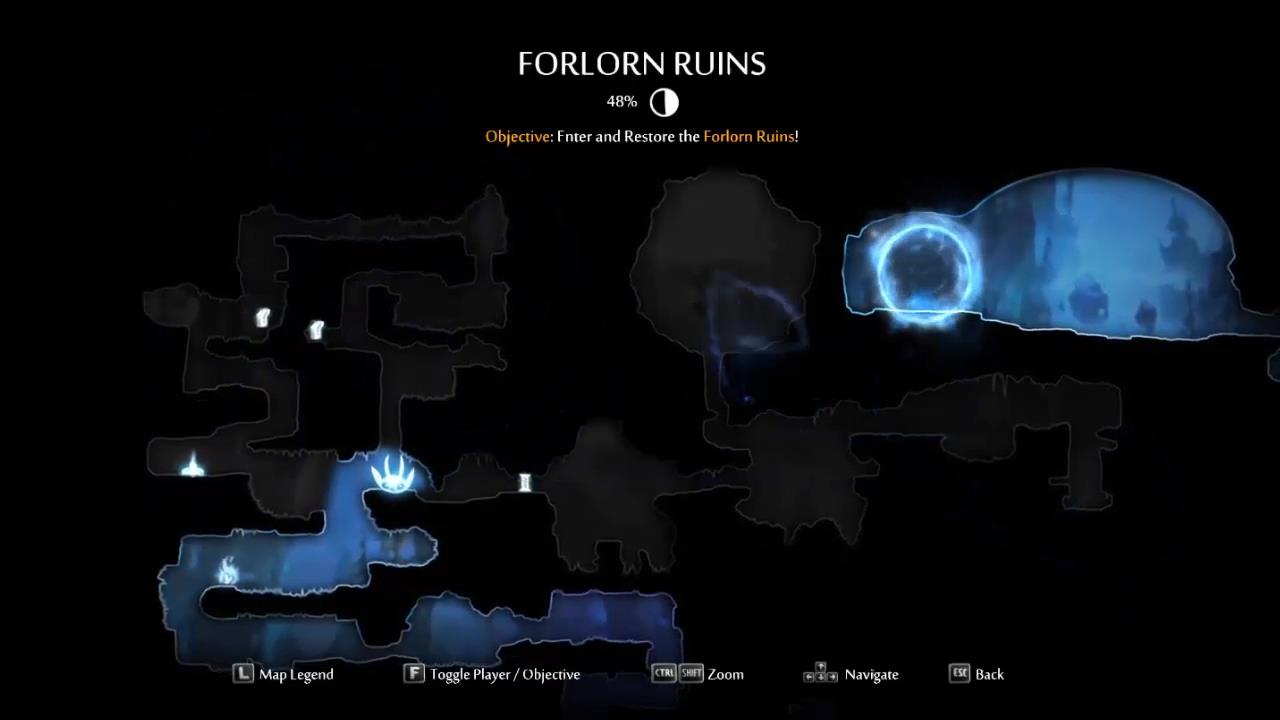
Forlorn Ruins
Back to Ori and the Blind Forest Walkthrough
Forlorn Ruins
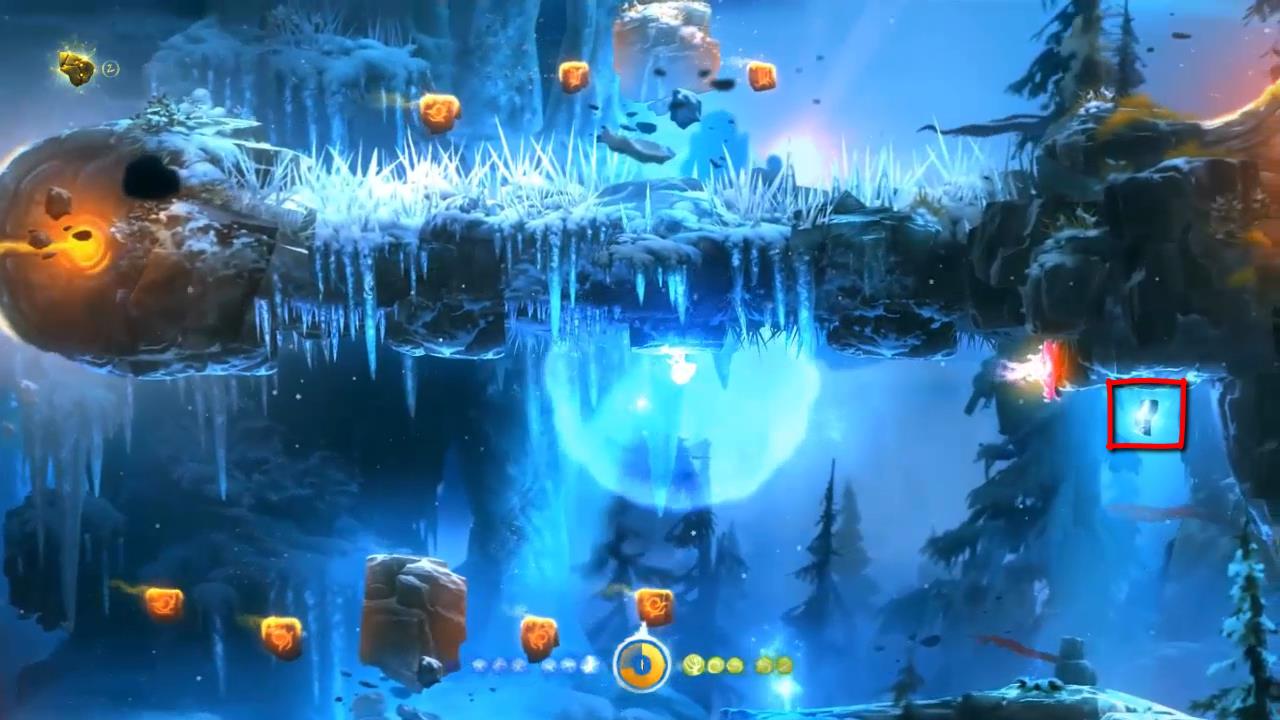
Double jump over to the left and pick up the Light Shield. You can pick it up and drop it down whenever you like. It will follow you around automatically when you’re not holding it. Holding it will allow you to walk on certain walls and even upside down.
To find a secret area head back to the right. Hold the light shield and walk up the right wall. Drop down to pick up the Spirit Light Container. Continue all the way to the left, use the light shield and walk up the wall. Go upside, drop down and use the light shield again to walk up the wall to the right. Jump across the pillars and continue until you’re upside down again. Continue along the roof and drop down on the other side of the spikes.
Bash the spider or it’s projectiles to make it into a secret cave for a Spirit Light Container.

Use your light shield and drop down to the pillars. To the left is a Keystone but you won’t be able to reach it yet. Walk around the wall to the left and onto the roof. Drop down and then back around to pick up the Keystone.
Walk back around to the left and either double jump to the center stone or use the light shield to ride on the smaller stones. Walk up the wall to the right and jump off to land on the gold stone. To use the gold stones you’ll need to be holding the light shield. You can walk around it and jump off to fall in one direction or another.
Walk to the right side of the gold stone and jump off again. Land on the gold stone to the far left. Walk around it to pick up the second Keystone.
Jump off again to land on the central gold stone. Walk to the underside, so you’re upside down and jump off to land on the roof. Drop the light shield and jump over to the right where you’ll find the Map Stone.
Jump back to the gold stone. Walk to the right side and jump off to fall to the left. Do this with the next gold stone and you’ll land on the Spirit Well. Drop the light shield.
Walk up the wall to the left and go upside down. Drop the light shield and drop down to the ledge. Hop up the wall to the right and then use the light shield to walk up the wall to the left.
Hop onto the gold stone and time your jumps through the lasers. At the top walk around to the left side and jump off to fall to the right, through the spikes.

Drop down and use the gold stones to make your way past the moving laser to the left. On the other side drop down and pick up the Keystone to the left. Hop down to the right, past the laser and you’ll fall down back at the Map Stone.
Go past the spider and put the Light Shield in the center of the broken bridge. Walk over the bridge and into a fairly tricky area with two lasers.
Optional Life Cell – Time your jumps over to the left and stomp on the stone pillar to open the door above. Go through the door and past the next laser. Drop down and go through the secret cave to the left for a Life Cell.
Go back to the room with 2 moving lasers and jump up to the left side. Jump up to the center of the large cavern and get ready to run!
Forlorn Ruins Escape
Make your escape from the Forlorn Ruins and into Kuro’s Nest. When you land you’ll need to hide from Kuro or she’ll kill you. Stomp on the ice and hide under the water. Swim to the right and pull up. Jump out and hide behind a tree.
Use bash on the spider’s projectiles and direct it towards the log so you can get through. Jump up and bash the exploding creature into the barrier to the right. Drop down and hide under the bit of a tree log. Push it across to the right. Jump up and run to the right to escape Kuro.
From here you need to make it back to the Valley of the Wind. Float up to the top of the Valley and take the top right exit which leads to Sorrow Pass.
Next Part: Sorrow Pass