Sorrow Pass
Back to Ori and the Blind Forest Walkthrough
Sorrow Pass
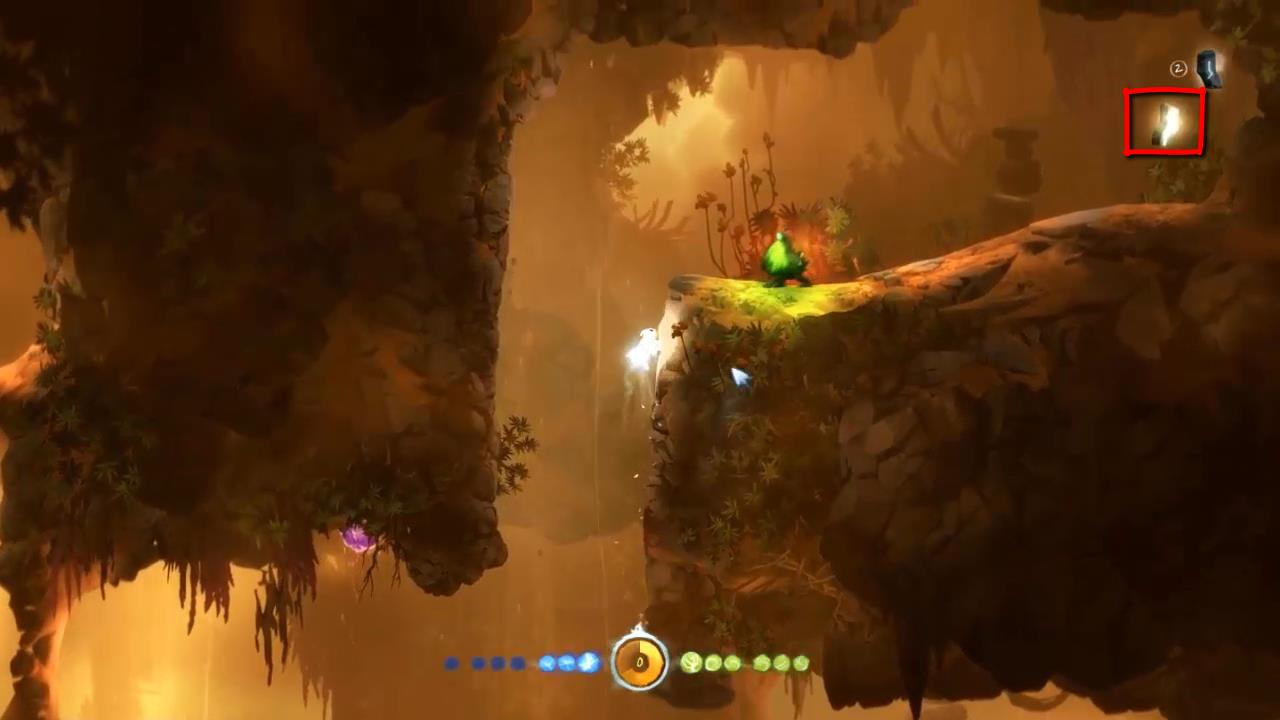
Float up and open the Spirit Door to the right with 4 Energy Cells. There is another way into this area by floating up and taking the next path to the right but it’s a little bit more difficult. Open the door and jump and bash your way around to the right and up. The Map Stone Fragment is up and to the left of this cavern. You’ll need to bash off of the boulders to make it up. Drop down, stomp on the barrier and use the fragment on the Map Stone.
Stomp on the barrier to the left and drop down. Float up to pick up the first Keystone. Float down and to the left you’ll find the second Keystone.

Continue across to the left and up into a secret for the third Keystone.
For the last keystone head to the right and then float down. You want to float all the way down and to the left, through the sloping corridor with the laser beams to the end. Pick up the fourth Keystone and then float back up to the secret area where you found the third keystone.
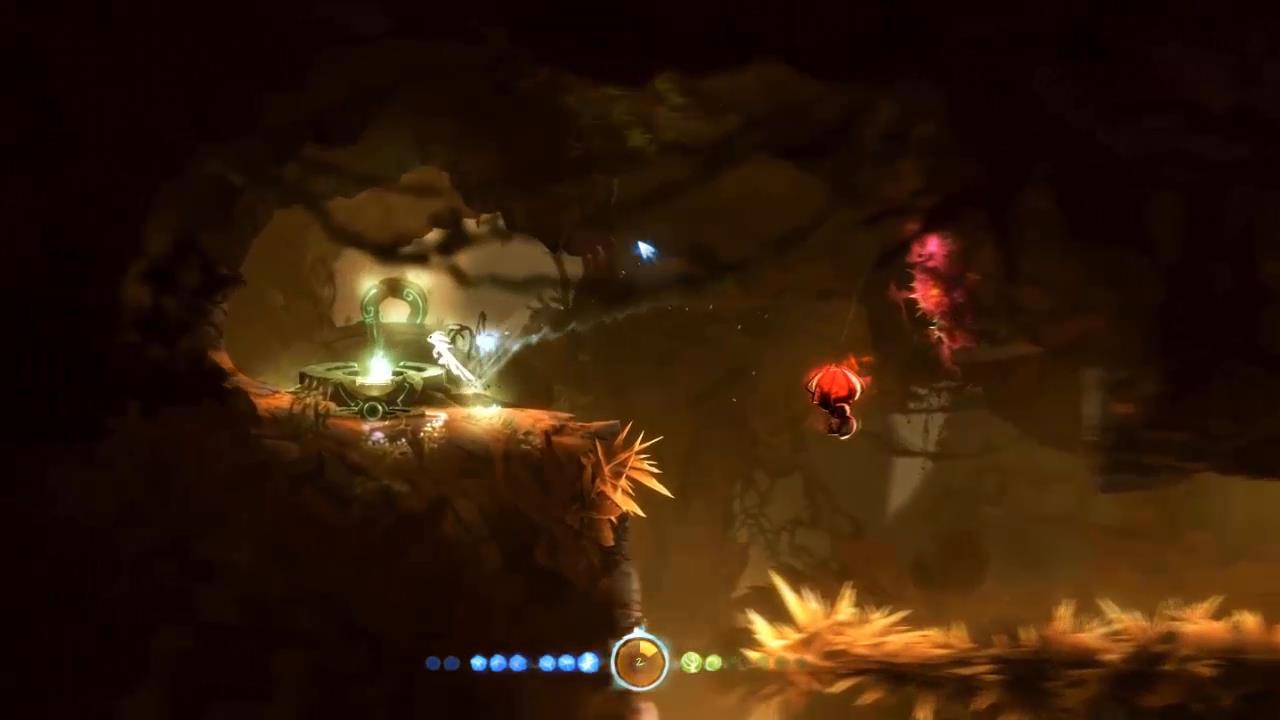
Bash the pink slime into the breakable wall to the left. Go through to the left, drop down and open the Spirit Gate with the four keystones.
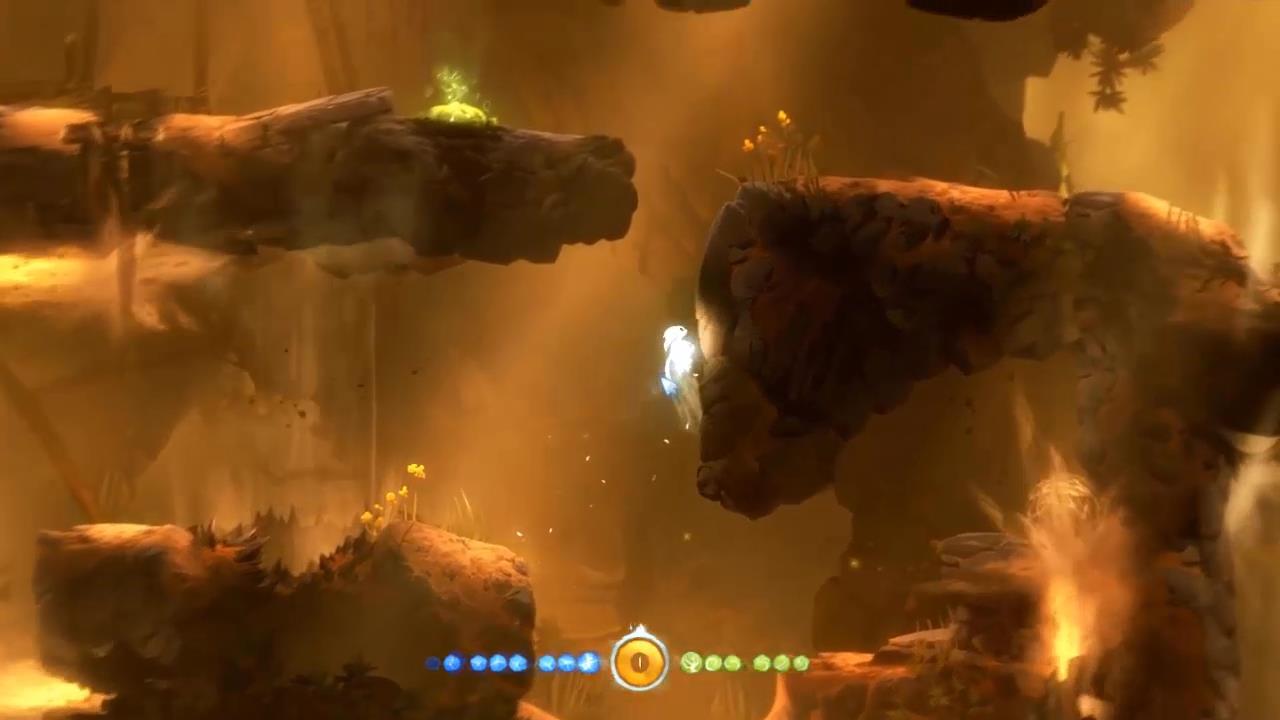
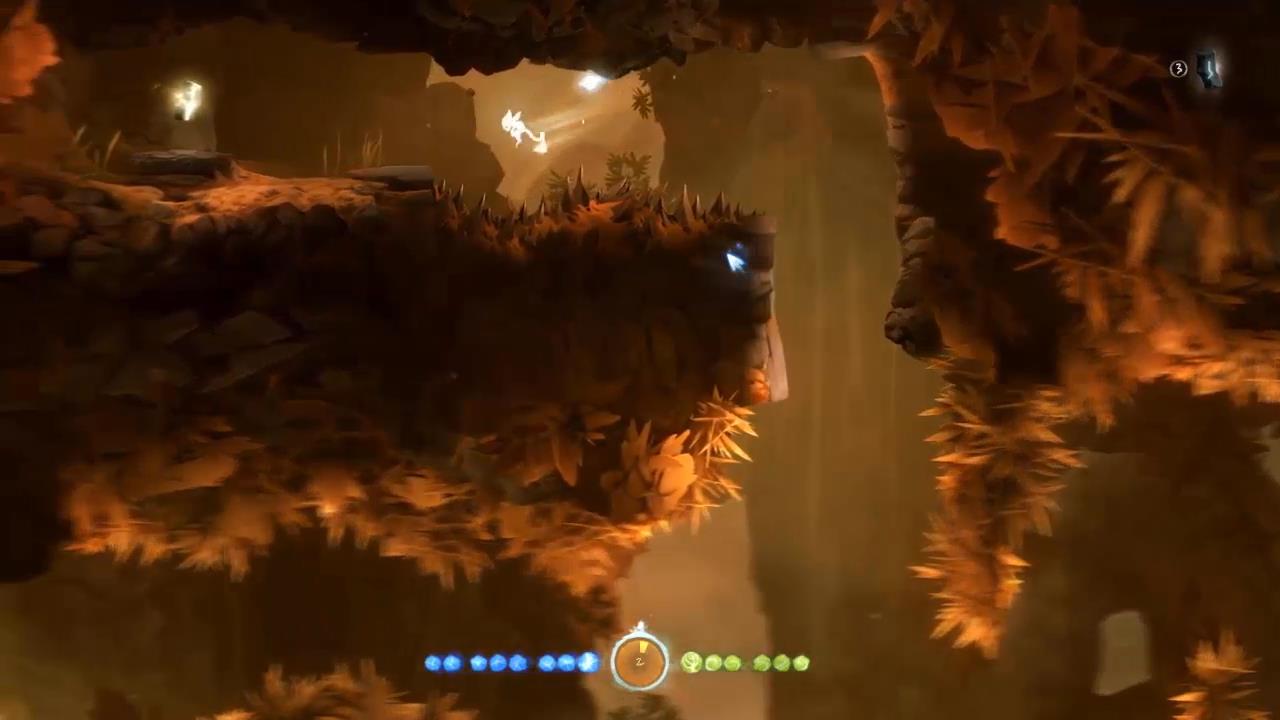
Float around the spikes and stomp on the barrier. Head to the left and use the spider’s projectiles to bash your way up to a secret area.
Pull the lever to open a door up above that has an Ability Point behind it. Continue up the chasm, avoiding the lasers and grabbing another 4 Keystones along the way. Near the top you’ll see a ball to the left. Push the ball into the air stream so that it floats to the top. The the top left is another secret with an Energy Cell.

Open the Spirit Gate and then bash the ball through it. Stomp on the barrier on the other side and let the ball drop down. Drop down with it. Bash the ball into the laser stream to the right and push it across.
With the second ball bash it up to the other stream of air so that it blocks the second laser. You can now jump up and stomp on the pole to block the laser. Drop back down and bash the second ball so that it lands on top of the third laser. This should clear your path forwards.
Climb up and stomp on the floor barrier to the right twice to let the air stream past. You can now float up to a new area. The next part is a little bit crazy and you’ll need very good reflexes. Float over to the right and pick up the 2 Keystones hidden amongst the spikes.
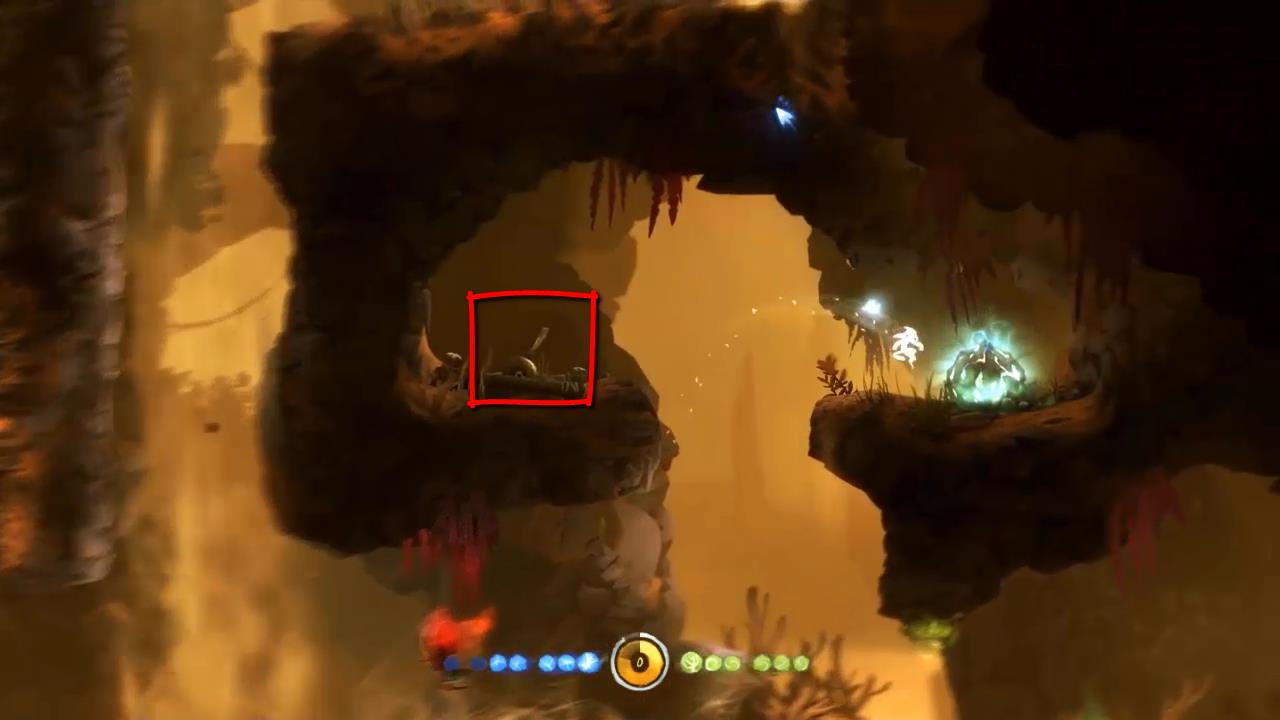
Float over to the left and grab the third Keystone. Keep floating to the left and pick up the Spirit Light Container if you’re brave enough. Float to the left and then up into a secret area for the fourth Keystone, shown below.
Drop down and use the 4 keystones to open the Spirit Gate. Stomp on the barrier and head to the left for the Ancestral Tree which will give you the Charge Jump ability. Use this to charge a jump upwards or hang onto a wall and charge to the left or right.
Use charge jumps to break the barrier above and work your way around the spikes. Bash past the spiders and continue using the charge jumps through the next section of spikes. Up the top will be a spider. Use it’s projectiles to break the barrier to the Spirit Well.
Float your way to the right and use charge jumps to make it past the spikes and break any barriers. Once you come back out to the main chasm drop down and break the barrier down below to allow the air to flow upwards. You can now float on it up to the top and at the very top to the left you’ll find the Sunstone.
Next Part: Road to Mount Horu