Crossing the Bridge
Get back into your Yurt and have a look at the box next to the exit. Grab your Knife and Lighter and then head out again.
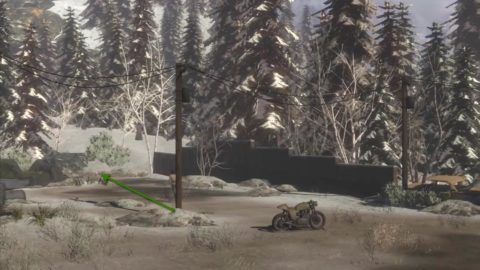
Run down the screen towards the front of the line of Ostriches. Head down the small path between the rocks to the left to find Kurk and speak with him about everything. The man at the counter will only appear after you’ve spoken with Kurk.
Head back towards the building and walk around the side. Take the ladder down to the middle level.
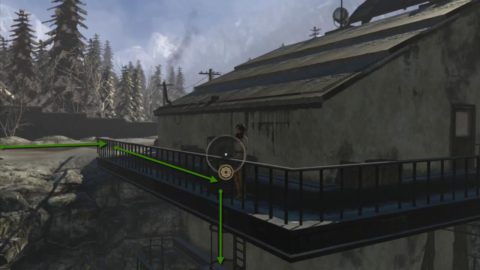
Walk around to the right and go inside the building. Press the red button on the far wall to bring the basket across the zip line. Exit the room.
Climb down the second ladder to the lowest level and pull the lever which will lower the wheel to the river and lift up the second half of the bridge. Climb back up both ladders. Walk around to the front of the building and speak to the man at the counter.
When he asks for the appropriate documents use option #1 to bribe him and he’ll agree to let you across. After the conversation stand at the start of the bridge and the man will lift up the bridge. Make your way across the bridge to the other side and enter the small hut.
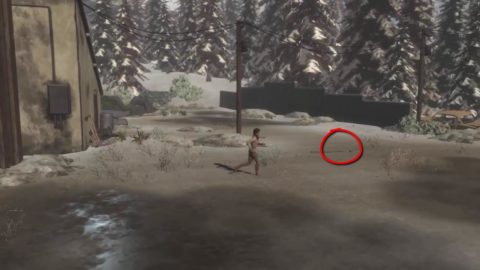
Ask the Youkol watcher in the hut about everything. He wants some alcohol before he’ll let you cross. Run back across the bridge. The guard on this side will drive away. Take a look at the skid marks and pick up the Brick.
Head back to the Ostriches and climb up the one with the ladder by the side to speak with the Shaman. Look in the Shaman’s trunk just to the right of her. Hunt around until you find Ayawaska’s Staff. Climb back down the ladder.
Run around to the back of the custom officer’s building and use the Brick to smash the window on the door. Click on the door to enter. Have a look in the pot on the table to the right. Inside you’ll find a Custom Officer’s Flask with alcohol.
Walk to the back of the office and pick up the Custom Officer’s Pile of Papers from the table on the left. That’s all you need from here so leave the building and go down the ladder to the zip line on the middle level.
Place the Custom Officer’s Flask inside the cart. Go into the room behind you and press the red button on the far wall to send the cart across the zip line. When the cart returns have a look inside to pick up the Bags of Sawdust. Climb back up the ladder and head to the smoke stacks to the left of the building.
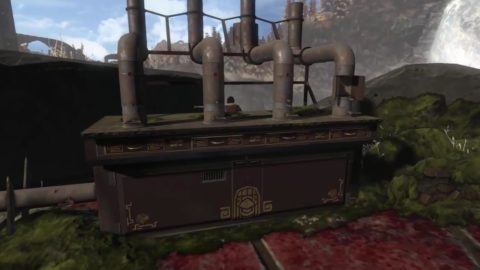
Open the cupboard underneath and grab everything. A Log, the Round Chunk of Blue Resin, Quarter Part of Red Resin, Funnel 01, Funnel 03 and Funnel 04. Close the cupboards and look at the first chimney on the left.
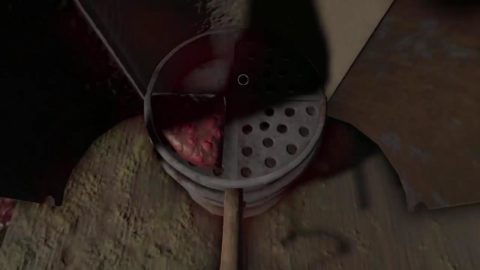
Click on the red button to open the base of the first chimney. Look inside and take the Quarter Part of Blue Resin. Click on the top right quarter of the tray to find the Quarter Part of Yellow Resin. Go back and click on the handle of the top tray to lift it up. Turn the bottom tray around until the opening is in the bottom left quarter. Lower the top tray and close the chimney. Turn the handle at the bottom.
Look at the second chimney and do the same thing. Lift up the top tray. Turn the bottom tray until the opening is in the bottom left quarter. Lower the top tray. Close the chimney and turn the bottom handle.
For the third chimney follow the same steps above although you’ll also find a Quarter Part of Yellow Resin inside. Finally do the same for the fourth chimney.
Now it’s time to get the fire lit. Open the cupboard once more and place the Log in the center compartment. Use the Custom Officer’s Pile of Papers on the log. Open each of the four trays and place a Bag of Sawdust inside.
Have a look at the pipe coming out of the left side of the smoke stacks. Turn the handle so that it’s vertical. Now have a look at the central compartment again and use the Lighter to light the paper. Close the cupboards. Smoke should be billowing from three of the four smoke stacks. Turn your view around to look at the other side.
The third chimney is open at the back. Take a closer look at it and take the Funnel 02. Close the back compartment and smoke should now be coming out of all four chimneys.
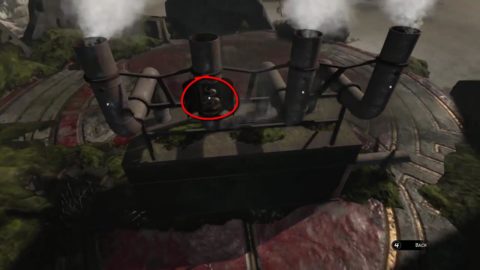
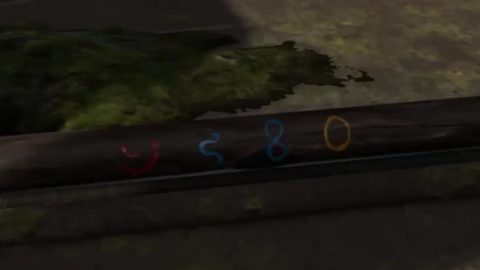
Scroll around to the front once more. Use Ayawaska’s Staff on the point between the two middle chimneys. This is a clue to the colors and funnel types you need for each chimney.
Before you can get the correct color smoke you’ll need to cut up one of the resins. Go back and walk down the screen towards the tree stump. Place the Round Chunk of Blue Resin on the tree stump. Use the Knife on the resin to cut a quarter piece out of it. You’ll receive a Quarter Part of Blue Resin.
Look at the smoke stacks again. The colors are red, blue, blue and yellow. Look at the first chimney on the left. Open the compartment at the base and place the Quarter Chunk of Red Resin in the lower left quarter of the top tray. Close the compartment.
Open the second chimney. Place the Quarter Part of Blue Resin on the bottom left quarter of the top tray. Close the compartment.
Open the third chimney. Place the Quarter Part of Blue Resin on the bottom left quarter of the top tray. Close the compartment.
Open the last chimney. Place the Quarter Part of Yellow Resin on the bottom left quarter of the top tray. Close the compartment.
Turn the view to look at the back of the chimneys. Open the back of the first chimney with red smoke. Place in Funnel 01 and close the back compartment. Do the same for the other chimneys. They need Funnel 02, 03 and 04 in order. Once you close the last chimney you’ll see the final cut-scene.
Congratulations on completing Syberia 3! I hope you enjoyed this walkthrough. Make sure you stay tuned for more adventure games.