Fairy Collection Guide
Back to Tunic
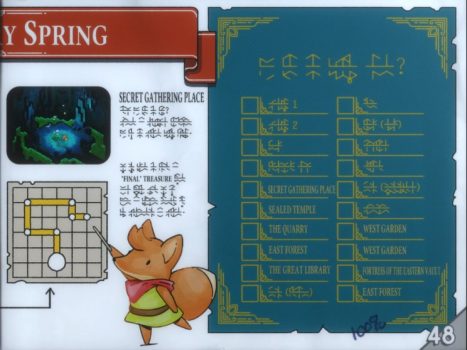
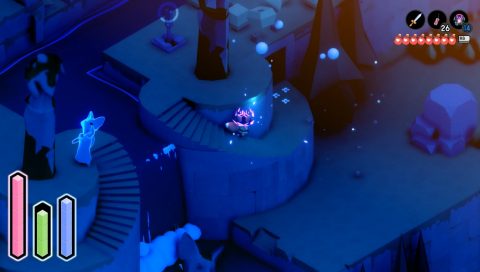
The hint for the fairies is given in Page 48 of the manual. On the right you’ll see the list of all 20 fairies and on the left the Secret Gathering Place and the Seeking Spell. The gathering place can be found in the cliff wall to the north of the overworld.
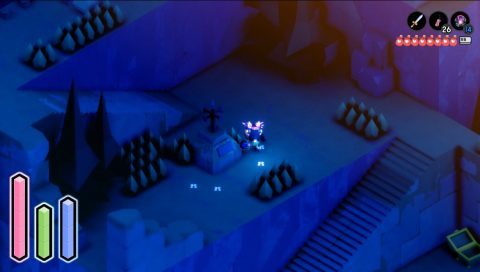
The Seeking Spell can be used anywhere to point you in the direction of the nearest fairy. You can cast it by pressing Up-Left-Up-Right-Down-Right on the D-Pad.
Fairy 1: From the checkpoint in front of the sealed temple walk to the northeast. Follow the path of the flowers.

Up-Left-(Down-Left)x3-Up-RIght-Down-(Right)x2-Down-Right
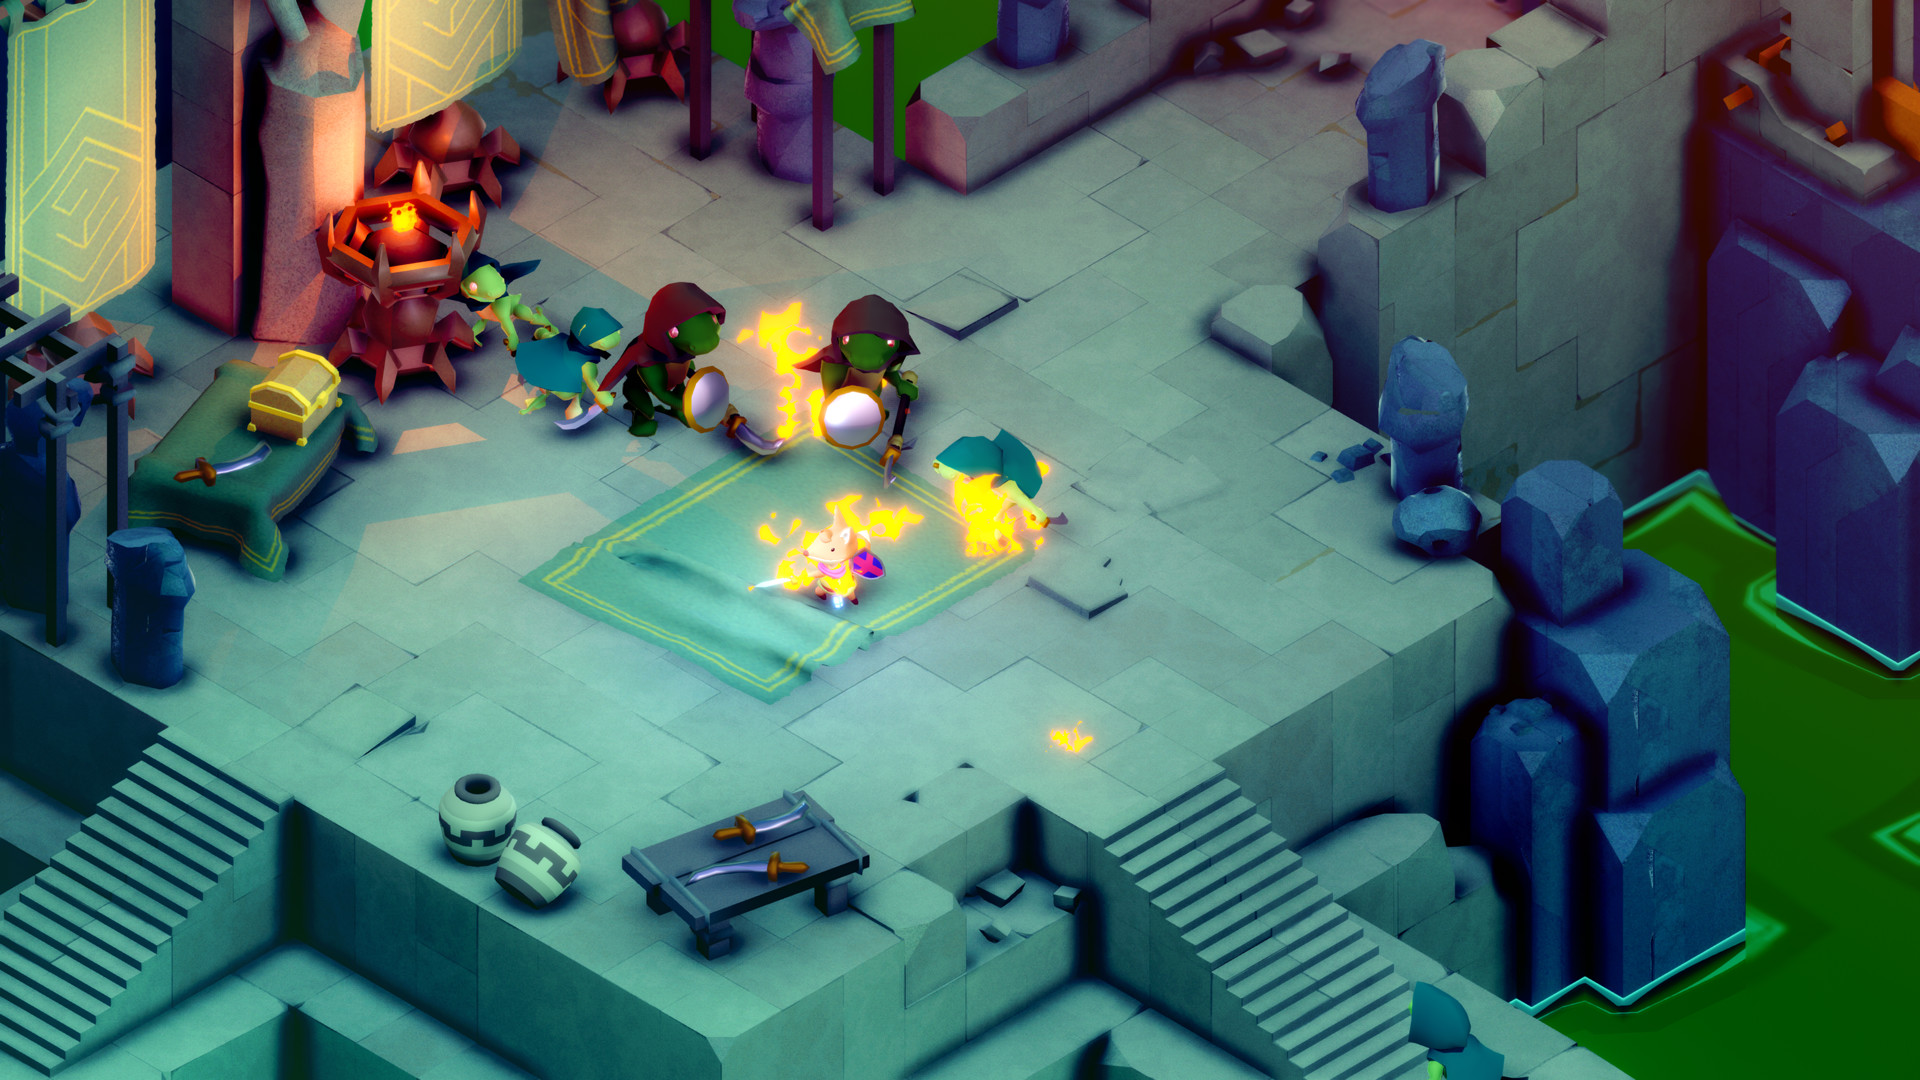
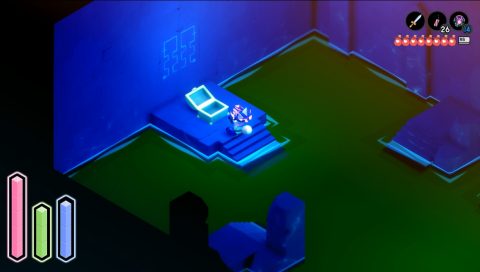
Fairy 2: Go back to the checkpoint and enter the sealed temple. The path on the floor is the clue to the next fairy. You can follow the path on either side.
(Up-Right-Up-Left)x2-Up-Right-Down-Right-Up-Up-Left
Fairy 3: Go back to the Old House and take a look at the blanket on the wall. Follow the pattern for the next fairy.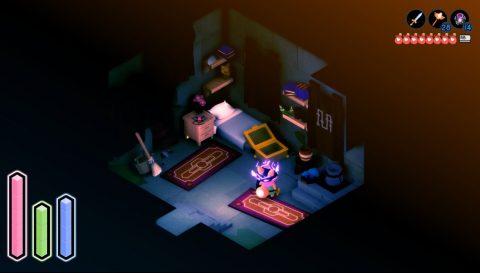
(Up)x2-Right-(Down)x2-Right-(Up)x2-Right-(Down)x3
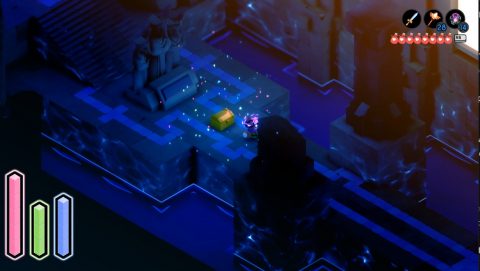
Fairy 4: Walk to the south to the two statues on either side of the waterfall. Throw a stick of dynamite to blow up the wall on the east side.
Go inside the cave to see a spinning golden cube. Follow the direction of the cube to unlock the fairy.
(Right)x4-(Up)x4-(Right)x3-(Up)x3-(Right)x2-(Up)x2-Right-Up
Fairy 5: Head west to the pool and notice the tiles around it. Use the D-pad starting with the direction of the single tile, double tile, and so on.

Down-Left-Left-Down-Up-Right-Down
Fairy 6: Dash west across the river to the hill with the west bell. On the side wall you’ll notice a pattern. It extends around the corner.

Up-Right-Up-Left-Down-Left-Up-Left-Up-(Right-Down)x2
Right-Up-Left-Up-(Right-Down)x2
Fairy 7: Head east to the pedestal with the compass on it. Read the inscription on the pedestal. See Page 34 of the manual to see which directions the inscription refers to.
Left-Right-Down-Up-Up-Down-Right-Left-Up-Right-Down
Left-Up-Down-Right-Left
Fairy 8: Go south to the beach and find the square island with the little path that leads out to a treasure chest. Follow the path between the flowers to unlock the next fairy.
Up-Right-(Down-Left)x4-Up
Fairy 9: Enter the cave under the bridge slightly to the east. Inside you’ll find an invisible maze. Work your way through the maze to the chest and then use the D-pad to trace out the path you took through the maze.
Up-Left-Down-Left-Up-Right-Down-Right-Up
Right-Down-Left-Up-Left-Up
Fairy 10: Walk along the beach to the west and enter the cave under the next bridge. Head through the slimy water to the end. Inside the chest is a sand timer that can be used to slow down time. Follow the path on the wall to open the door.
Now you’ll need to make your way up the 3-D maze to the top. Once you’re up the top follow the path you took with your D-pad. You can walk around the top to rotate the tower around.
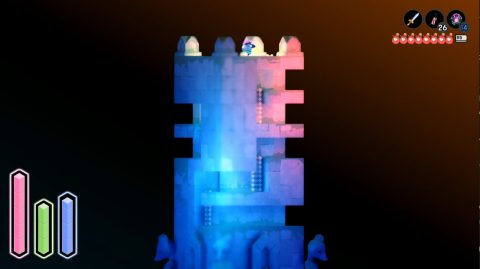
Left-Up-Right-Up-Right-Down-(Right-Up)x2-(Left)x3-Up-Right-Up
Fairy 11: Go north to the bridge that leads to the quarry. Climb down the ladder at night, dash across the water and enter the cave underneath.

Inside the cave you’ll see a line of light rotating on the wall. Follow the path to unlock the fairy.

Right-Up-Left-Up-Right-Down-Right-Up-Right-Down-Left-Down-Right
Fairy 12: Make your way north to the cliff and run behind the waterfall near to the ladder.
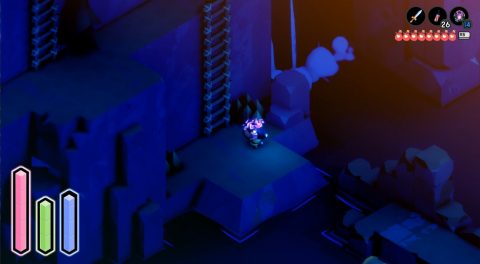
Inside the cave is a chest but the secret is the hidden path to the northwest. Follow it until you see a Rudeling. Follow the path he takes with your D-pad to unlock the fairy.
(Down)x2-Right-Up-Right-Down-Left-Down-Right-Up-Right-(Down)x2
Fairy 13: Take the secret path behind the sealed door at the top of the mountain to the Quarry. On the way down you’ll see a ledge with rocks. Follow the path of the rocks just like the flowers, starting with the pile of 3 rocks.

Up-Right-Down-Left-Up-Right-Up-Left-Down-Left-Up-(Right)x2-Down
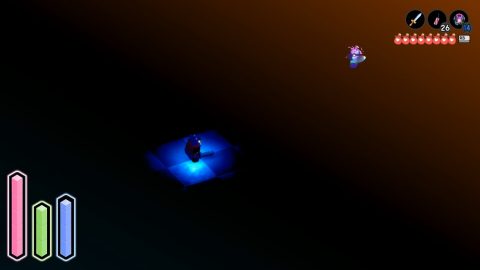
Fairy 14: Head back to the Overworld and enter the cave behind the waterfall along the side of the cliff. This is the Secret Gathering Place.

Inside you’ll see all the Fairies that you’ve released as well as any gifts they might give you. Follow the path on the wall for the next fairy.
Down-(Right-Up)x3-(Left-Up)x2-(Right-Up)x2-(Left-Down)x3
Right-Down-Left-Down-Right-Down-Right-Up-Right
Fairy 15: Go to the East Forest and dash up the pillars just outside the entrance to the East Bell Tower.
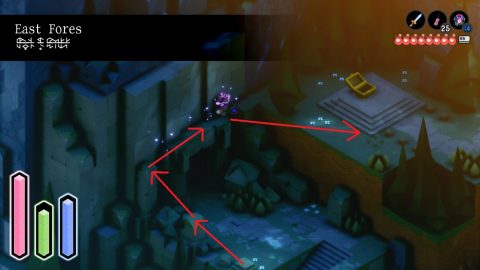
Up on the ledge you’ll see a Ghost Fox pointing in various directions. Follow the directions for the next fairy.
(Up-Down)x2-(Left-Right)x2-Down-Left-Up-Right
Fairy 16: Go down to the Lower Forest and visit the remains of the gold seal. You’ll find other parts of the seal located around the world. If you put them together they’ll form a pattern. Follow the pattern to unlock the fairy.
Down-Right-Down-Left-Up-Left-Down-(Left-Up-Right-Up)x2-Right
Up-Left-Up-(Right-Down)x3-Left-Down-Right-Down-Left-Up
Fairy 17: Enter the Great Library and look at the patterns on the rugs. The patterns are all the same. Follow any one of them for the next fairy.
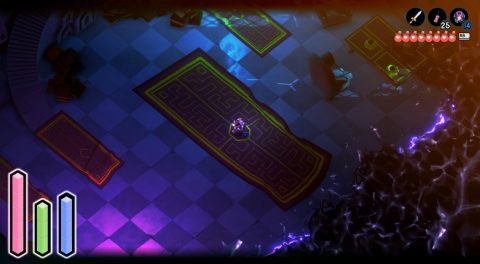
Up-Left-Down-Left-(Up-Right-Up-Left)x2-Down-Right-Down-Left-Up-Left
Down-Left-Up-Right-Up-Left-(Up-Right)x2-(Down-Left-Down-Right)x2
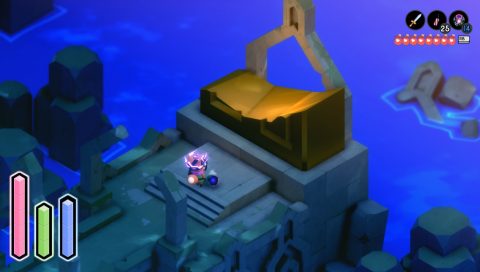
Fairy 18: Teleport to the Eastern Vault and go to the pad with the candles around it. Follow the directions starting from the single candle.

Right-Left-Down-Right-Up-Left
Fairy 19: Go to the West Garden and dash across to the small island in the far southwest corner. Use the groups of flowers as directions, starting with the single flower.
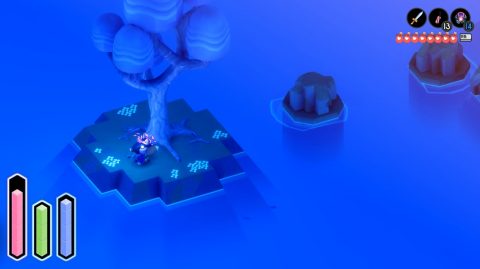
Left-Down-Right-Left-Up-Down
Fairy 20: Towards the center of the West Garden look for the large pattern on the ground. Follow either side of it to unlock the last fairy.

(Up-Right-Up-Left)x2-Up-Right-Down-Right-Up-Left-Down-Left-(Up-Right-Up-Left)x2-Up
Now that you have all the Fairies return to the Secret Gathering Place for your rewards. You’ll get Page 54/55 for rescuing 10 Fairies and the first Treasure for rescuing all 20 Fairies.
Next: Treasure Collection Guide
Back: Hero’s Graves