The Cathedral
Back to Tunic
The Cathedral
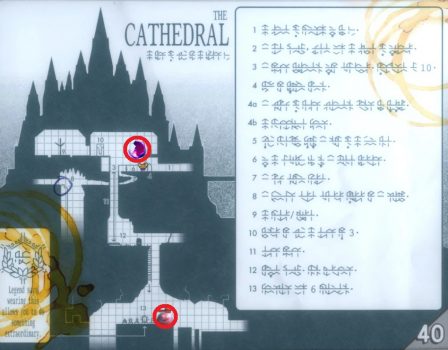
From the entrance walk to the west and open the chest for some coins. Push on the wall for a secret room.
Inside is a chest with a Fox Piggy Bank. Push on the wall behind the chest for another secret. The wall will open out to a tunnel. Run through the tunnel to a light bridge. On the other side and under it is a secret Chest.
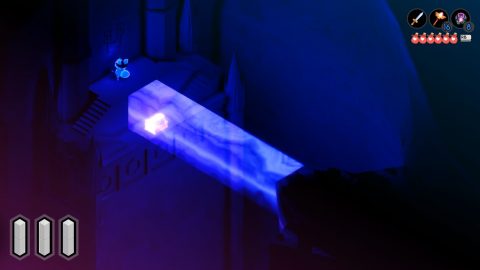
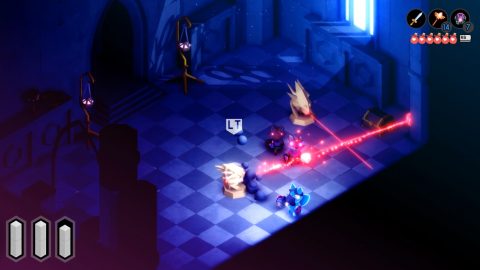
You won’t be able to open the chest at night time. Instead walk over the bridge and open the back wall by following the line.
Left-Up-Left-Up-Right-Up-Left-Up-Right-Down-Right
Right-Up-Right-Down-Left-Down-Right-Down-Left-Down-Left
The path behind the wall takes you back to the front of the cathedral. You don’t need to go back there now so run back through the tunnel and head back to the starting checkpoint.
Now head to the east and take out the enemy fox. Continue east again and lure the Foxes into the laser trap. Then open the chest some more coins.
Head to the north and sneak around the south side to the stairs. Take out any Foxes that follow you and continue around the upper ledge.
Walk along the upper ledge to the west and head down the stairs. Draw the Fox into the spikes and open the chest for a Chili.
Continue north and head up the spiral staircase to the top. Go south and run past the birds to the exit on the south side of the room. Enter back into the same room and the birds shouldn’t all be agro. Take out the two closest birds and then open the hidden chest behind the cages for a Shard.

Go west and then the lower west exit to the room with the chest and rope ladder. Lower down the rope ladder for a shortcut back to the checkpoint. You may want to go back there now to get your health back.
Go back up the rope ladder, east and then through the upper west exit. Kill the Foxes but watch out, these two are really fast! Take the exit to the north and make your way through the trapped room. On the other side is a chest with a Red Berry.
Head out to the large room to the east and follow the carpet to the south exit. Activate the obelisk to turn on the lift down below.
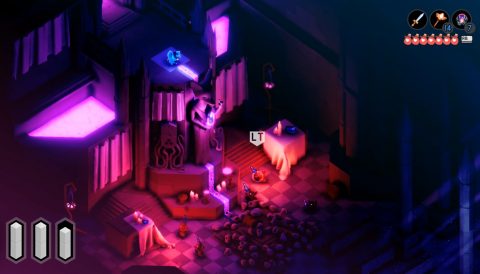
To get down freeze one of the foxes down below by using the Ice Dagger and Fire Rod at the same time. Then grapple down to the frozen enemy. Otherwise you’ll need to run back around the long way.
Take the lift down to a checkpoint and get ready for a long and arduous battle. As there is only one save slot for Tunic I recommend taking a manual save of the game by copying the files in the save file location.
Location: %USERPROFILE%\AppData\LocalLow\Andrew Shouldice\Secret Legend\SAVES
That way if you use all of your items and still don’t win the battle you can restore a previous save file. Otherwise all of your consumable items will be used up, making the fight more difficult.
To the east of the checkpoint is a Merchant. Buy all the items you need before taking a manual save. When you’re ready head down the ladder for the fight.
Battle Arena
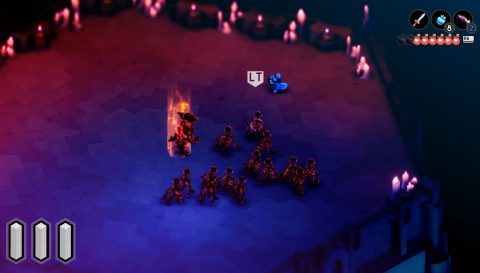
Interact with the altars to spawn that kind of enemy. There are 6 enemy altars and one that spawns health. From left to right the altars are:
14 Fairies
14 Fleemers and a Giant Fleemer
5 Custodians
2 Garden Knights (one after the other)
5 Frog Trainees, Frog Warrior, 5 Frog Trainees, Frog Warrior
3 Rudelings, Guard Captain, 3 Rudelings with Shields
The Fairies can be one-shot with the Fire Rod or you can run around underneath them and they’ll accidentally kill each other. Figure out which battles you want to take first and then use the Health Altar to replenish your health and all your flasks.
Once all the enemies have been defeated a chest will appear in the center. Open it for a Crown which gives you the Teleport Dash ability which replaces your regular roll. Now you can dash across short gaps to reach new areas.
To get out of here dash across the pillars to the south and take the exit to the south. Climb up the small ladder and head out to the Heroes Grave. You’ll need to go back and visit all the Heroes’ graves to progress with the game.
Next: Hero’s Graves & The Heir
Back: The Swamp