Starting Out/East Forest/Lower Forest
Back to Tunic
Overworld
You begin by waking up on a small beach on the south of the island. You can roll to move faster or hold the roll button to sprint. Run up the stairs and keep going over the bridge to the letterbox. Enter the door behind it and open the chest to find a Stick. Equip it in one of your three item slots so you can use it as a weapon.
Continue up the sets of stairs all the way to the statue with the bonfire. This is a Checkpoint. You can save the game here and reset all monsters.
Head up to the north and open the golden doors. Go inside and run along the walkway and interact with the giant tuning forks (bells) to open the blue doors. Continue through and interact with the Fox trapped in the barrier. You’ll wake up in front of the Gold doors.
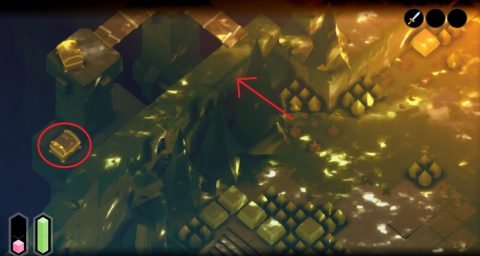
To make this section a bit easier walk behind the waterfall just to the west of the Checkpoint. Continue up to a chest where you’ll find a Dragon Tooth. This can be used to upgrade your Attack later.
Walk across the bridge and pick up the Key. Go back to the Checkpoint and walk down the stairs until you see the locked gold door. Open it and go through. Inside you’ll find the first page of the manual. Page 10/11.
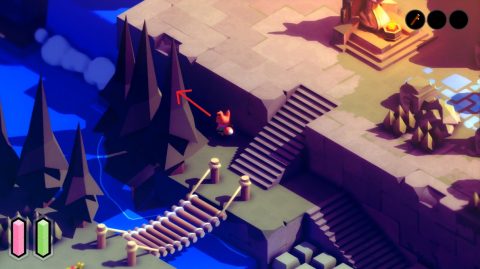
Take the exit to the south and then climb up the ladder. Walk through a hidden path through the trees for a Chest with a Fox Piggy Bank.
You can equip it and break it for some Gold. Go back the way you came and up the next ladder. From here go downstairs for a Chest with Gold Coins and then upstairs for a path to the East Forest.
East Belltower
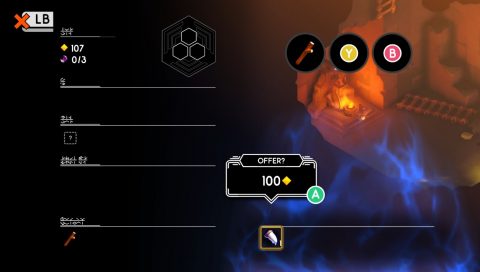
Kill the Slimes and pick up Page 12/13 just at the top of the steps. Head to the south and go down the ladder. You’ll drop down to the room below with the next Checkpoint. Stand next to the Checkpoint and press the LB. Offer 100 Gold if you have it and use the Dragon Tooth to upgrade your Attack. This will make the next section much easier.
If you don’t have 100 Gold yet leave, kill a few enemies and come back. There’s no way to climb back up from here so you’ll have to find another way out. Take the only exit from the room.
East Forest
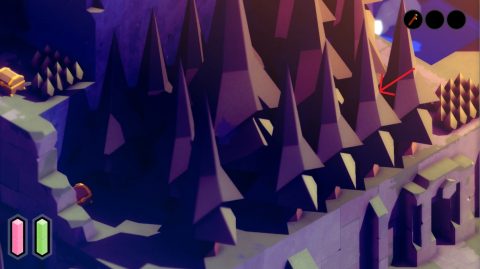
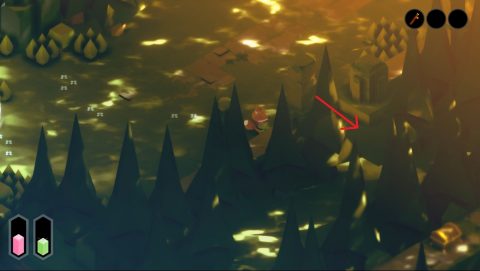
Make your way down the steps to the well. There’s nothing you can do here yet so continue up to the northeast. Take the opening to walk behind the trees to find a Chest with Gold on a ledge and a Telescope.
Continue around to the next Checkpoint. Across from the checkpoint is another Chest with a Red Berry. This kind of berry increases your Health.
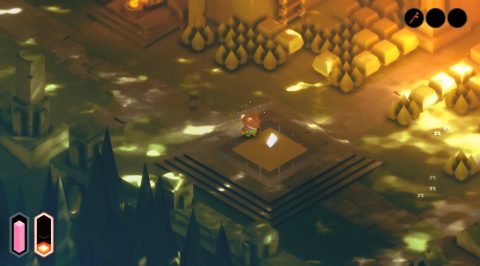
Rest at the Checkpoint if you need to and then pick up Page 14/15 on the gold slab.
From here there are a few ways to go. Follow the sign leading east to the Hero’s Grave. Follow the path around and go up the ramp. Take out the Guard in front of the gate, or run around and avoid him.
Run over the top of the gate and down the other side. Pull up the big Lever to open the gate. Climb back around and go through the gate. Walk up the path to the Hero’s Grave and take the Sword.
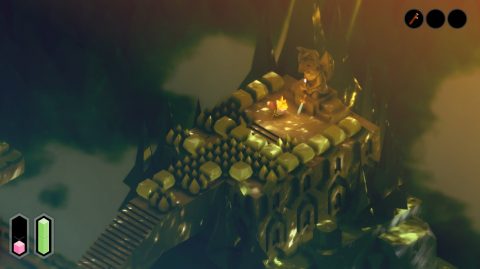
Now you have a real weapon! Equip it instead of the Stick. The Sword can be used to clear out the square bushes and open up new paths.
Go up the stairs to the top of the gate and clear out the bushes to the Chest. Inside you’ll find some gold. Break the bushes just by the trees below and walk through the hidden hole in the wall to the Chest. Inside you’ll find an Effigy, which is like a Fox Piggy Bank.
Walk down the stairs back to the Checkpoint. There’s a few things to do here but let’s clear out the Lower Forest first. Enter the first house. This is Guardhouse 2.
Guardhouse 2
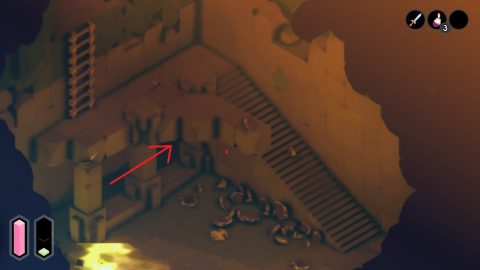
Clear the bushes and open the Chest for 2 Fire Bombs. Then climb down the ladder. Climb down a second ladder and then the stairs. Take out the enemies and run behind the pillars for a secret Chest with 2 Ice Bombs.
Take the exit to the south.
Lower Forest
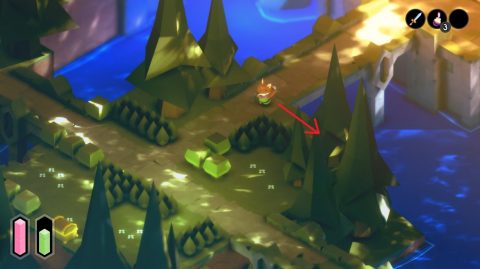
Walk south to the intersection. From here there are a couple of Guards to the northeast. Kill them for the Gold if you want then go go the southwest. Head down the ramp behind the trees and follow the path around to a Chest with the first Golden Coin.
By now the Spiders will be chasing you so carefully kill them. They like to back up and charge towards you. Keep your distance and roll towards them to attack.
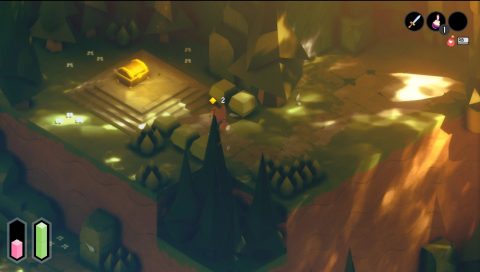
Go back up the ramp and open the chest out in the open for 6 Dynamite. Go to the northwest and take the ladders up back to the East Forest.
East Forest
Clear the bushes between the Guardhouses and go up the ramp. Kill the Guards and either run past or throw a Fire Bomb at the tall Guard with the Spear. Follow the path around to a Chest on the wall. Inside you’ll find 2 Fire Bombs.
Come back and take the ladder leading up to Guardhouse 1. Kill the Guards, open the Chest with the Gold and go up the next ladder. Walk along the platform and climb up the ladder above the gate. Pull the Lever to open the gate below. Climb back down and go inside.
Guardhouse 1
Open the Chest hidden in the right corner for Gold. Then the chest by the Lever for a Shard of a Magic Potion. Pull the Lever to form the ladder.
Go down the ladder and clear out the Slimes. Climb up the ladder on the north side and make your way around to the exit. Clear out the enemies and open the Chest for a Magic Potion.
Go back to the Guardhouse 1 and climb up the other ladder. Go through the door to the north for the boss fight.
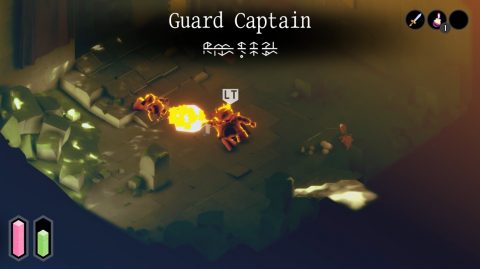
Guard Captain
An easy way to kill the Guard Captain and the Guard is to throw a Fire Bomb on them. This should take away most or all of their health.
Once they’ve been killed pull the Lever and go through the exit to the north. Open the Chest for a Magic Potion. Use RB to drink it and renew your health.
Head up the stairs and up the ladder. Go outside and ring the East Bell. Walk down the stairs to the north of the bell for a Chest with Gold. Then come back up and lower down the rope. Climb down the rope to end up back in a previous area.
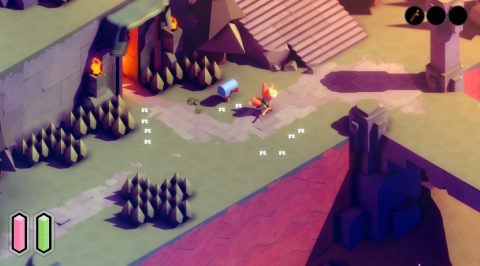
Clear out the bushes to the north and go through the secret passage.
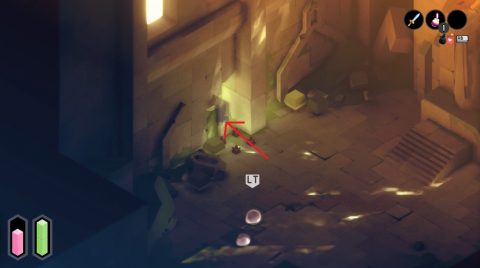
This takes you to a clearing with a chest. Open the Chest to find Pink Gem Dust. Use this at a Checkpoint to upgrade the amount of health that Magic Potions will heal. Go back and follow the path back to the Overworld.
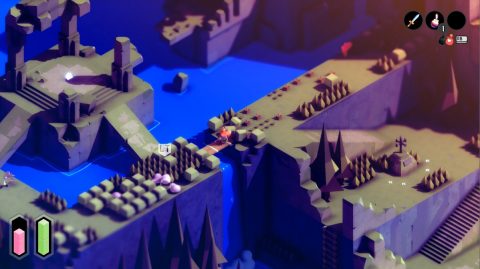
Overworld
Walk over the bridge, clear the bushes and pick up Page 28/29. This is a map of the Overworld and Under the Well.
Take the stairs up to the west and pull the Lever. This creates a ladder back to the central Checkpoint.
Next: Overworld
Back: Tunic