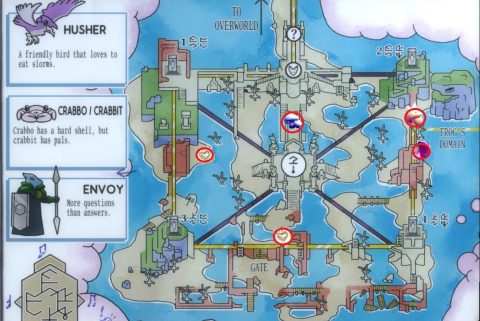
Ruined Atoll/Frog Domain
Back to Tunic
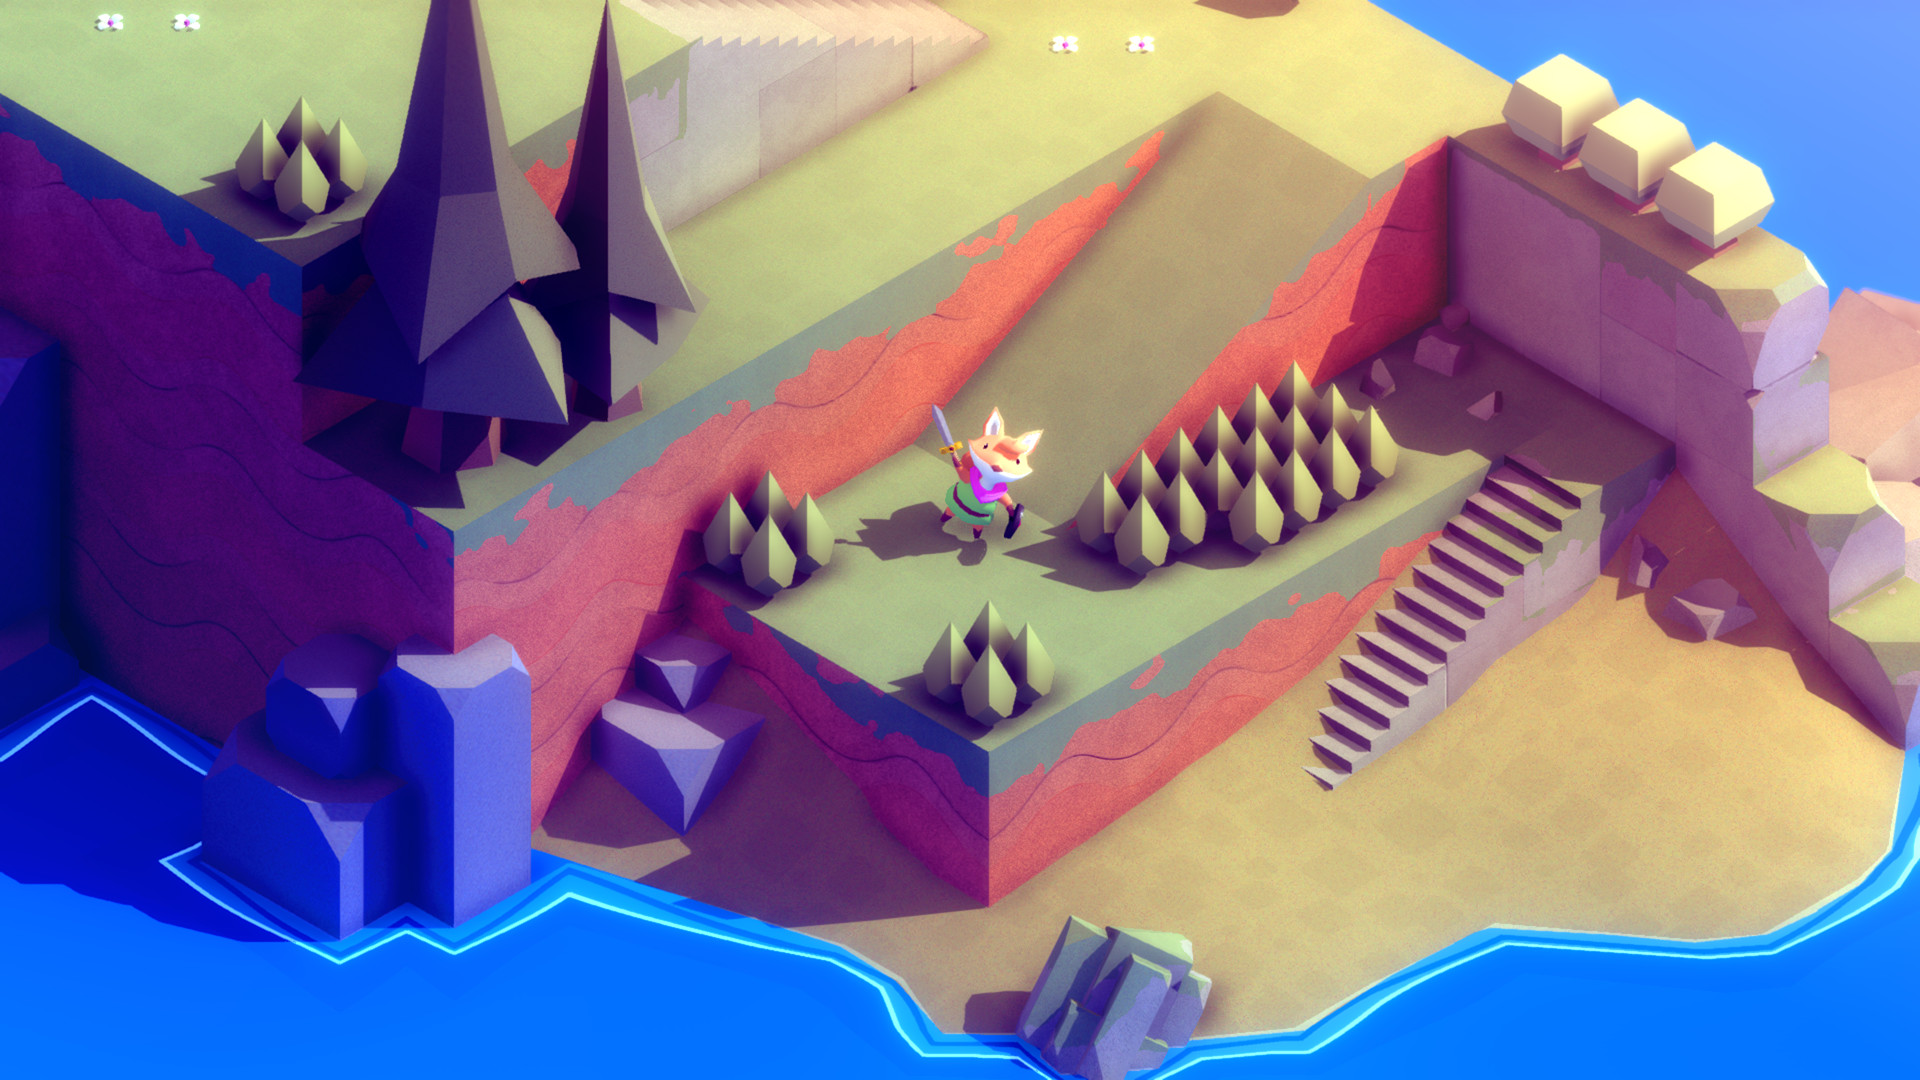
Ruined Atoll
To get to the Ruined Atoll head down to the beach and go under the bridge. Walk to the south and take the hidden ladder up to the other side of the top walkway.
Follow the path to the south and you’ll unlock the teleporter and checkpoint for the Ruined Atoll. Take a look through the telescope to have a look at this large area.
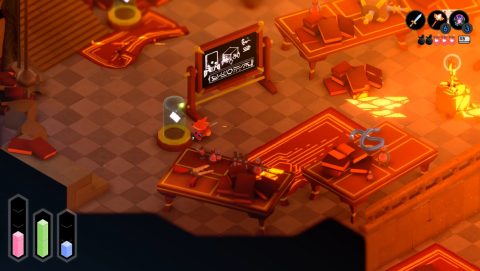
Down the stairs to the right and around the corner you’ll find the Ruined Atoll Merchant. The main goal is to activate the 4 Obelisks and to find the Magic Orb in the Frog’s Domain.
Head back to the checkpoint and take the stairs down on the left side. Go up the stairs to the platform in the center of the island. By activating the Obelisks you’ll power the 4 statues in the corners of this platform. Kill the Bird sitting on the chest and then open the chest for a Blue Mushroom.
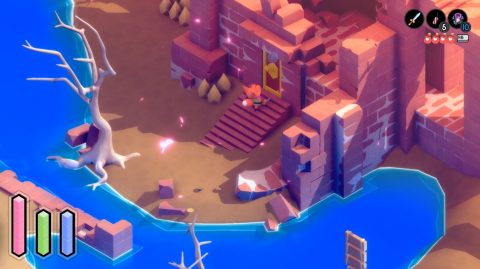
Take the stairs down on the north side and lift up the ladder leading back to the entrance of this area. Make your way to hill in the northeast of the map. Head up the first ramp and go behind the hill to find a Key.
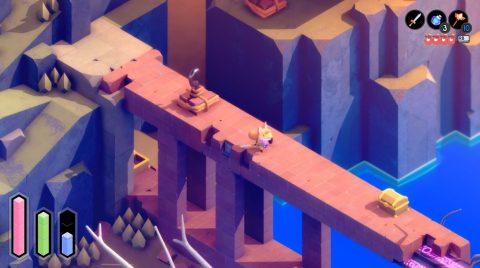
Go up the next ramp and run around behind the hill again. This time you’ll come around at the level of the bridge. Run across it to the chest. Inside you’ll find a Fox Statue.
Go back to the hill and take the ramp up to the top. Use the telescope if you want and then activate the Obelisk. This is the first of four. Look through the telescope to see the power line leading to the central island is powered.
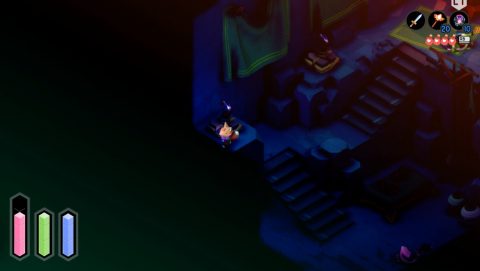
Run back down the hill to the bottom and go around behind the hell next to it in the far right corner. The camera angle will spin around and you’ll be able to see a ladder. Climb up it and sneak past or kill the Frog Guard. Climb down the ladder into the Frog’s Domain.
Frog’s Domain
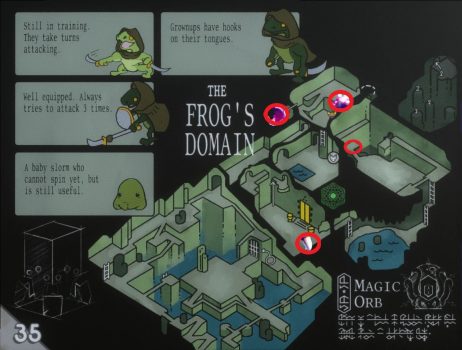
Climb down the ladders to the bottom and kill the little frog on a ledge below. Continue down another ladder and then down a spiral staircase. Climb down one more ladder and you’ll be in the Frog’s Domain.
There’s a Checkpoint at the bottom of the final ladder and a few Frogs having a spa in a nearby pool. Take the exit behind the checkpoint to see the room with the Magic Orb. You can’t reach it yet so go back and take out the Frogs.
Take the exit to the north and then go southwest. Follow the path around to the west and either kill or sneak past the Frog Guard. Take the ramps or ladder down and make your way to the southwest area of the room.
Take the ladders down and then go across the planks of wood acting as bridges to the eastern side. Pull the Lever to open the gate.
Take the stairs up to the center of the room, kill the Frog Guards and go through the open gate. Open the chest in the next room for a Dragon Tooth. Pull the Lever on the other side of the room to make a ladder back up to the starting room.
Go through the Gold Door to the Southern Vault. The key has already been removed! Come back and go through the hole in the wall behind the chest.
Kill the Baby Slorms and the Frog in the slimy water and take the exit to the east. Climb up the ladders and push over the bridge to make a shortcut back to the starting room.
To easily clear out the room with the Magic Orb stand on the last pillar on the right side and throw down Dynamite or Fire Bombs. Then climb down and finish off any remaining Guards.
When the room is clear head up the stairs and grab the Magic Orb. You can equip this and use it to grapple onto hooks or enemies. Grapple onto the hook to the north and take the exit.
Make your way across the pillars by using the hooks. Take the exit up the top. If you climb up the ladders you’ll be back in the Atoll. Instead take the ladder back down to the Checkpoint because there’s one secret we haven’t picked up.
From the checkpoint near the spa take the exit to the north and then go to the east. Grapple onto the hook in the corner on the left and enter the room behind it.
Inside you’ll find a chest with a Shard of a healing potion. Go back and grapple across to the other hook. Take out the Frogs and open the chest for a Pink Flower.
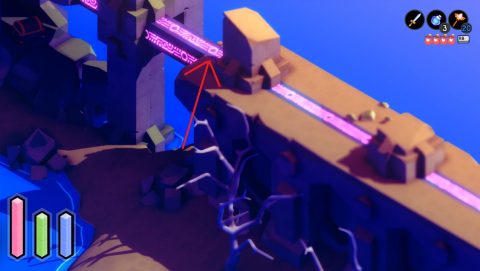
Head back to the checkpoint and make your way back up to the exit to the Atoll. Once you reach the top kill the Frog Guard but don’t go up the final ladder. Instead walk to the west and grapple across to the bridge on the other hill.
Ruined Atoll
After coming out of the Frog’s Domain you’ll still need to power up the other 3 Obelisks. Head back to the northeast and this time open the door to the south. Climb up the ladder to the chest. Inside you’ll find another Shard.
Drop down the Rope to the south and climb down to the beach below. Push over the bridge and head across. Follow the power line to the east. Climb up the ladders to the second Obelisk and meditate to activate it. That’s 2 of 4 obelisks.
Climb back down the ladders to the beach and head across to the southwest. If you run into a Giant Crab use the magic orb to stun it and then kill it.
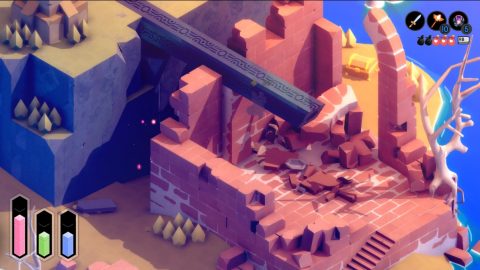
Push over the bridge to the west and run across. Open the gate to the north. Go through and walk into the ruins to the right. Climb up the ladder and walk around the top for the chest with an Ability Card.

Climb back down and head back through the gate to the south. Continue to the southwest. Kill the Crabs and the Baby Slorm, then run up the hill to the third Obelisk. Meditate to activate it and then run back down the hill.
For another Fox Piggy Bank run behind the hill and then over the power line towards the center. Open the chest for the loot.

Head back and then continue around to the west and north. Kill the Guard between the hill and the ruins and then go in between to reach the Chest on the beach out the back. Inside you’ll find another Ability Card.
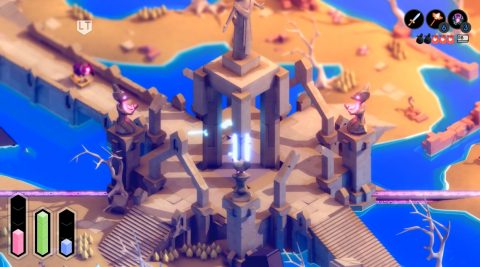
Grapple up to the path on the hill and make your way up to the last Obelisk. Meditate to activate the obelisk and then run along the wall to the northeast and let down the rope. This is a shortcut back to the start.
Run to the center island and meditate for a second. The center platform will lift up. Walk into the portal underneath it and you’ll be teleported to the Great Library.
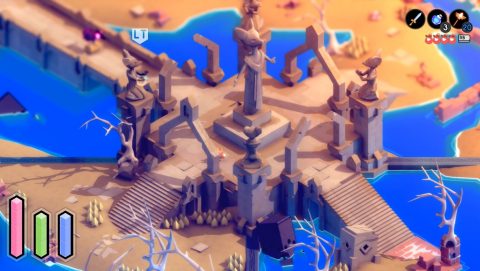
Great Library
Make your way around the outskirts of the library until you can climb up the ladder and head inside. Climb down the ladder from the bookshelf and head up the steps to the northwest. Climb up the ladder, run around the circular room and climb up the central ladder.
From here grapple up to the upper area and break the 3 glass jars for Page 38/39, Page 40/41 and Page 50/51.
Head up the steps to the Obelisk and meditate to activate it. Both the Teleporter and Checkpoint should now be working. Make sure you open the chests around here for more loot. When you’re ready climb up the long ladder and be prepared for a boss fight.
The Librarian Boss Fight
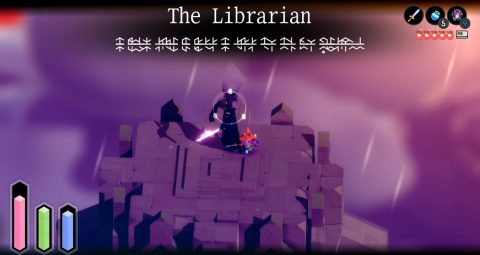
Use the Magic Orb to grapple the Librarian and keep him close enough to hi. The Librarian likes to float around outside the area of the platform. His attacks include dark fireballs, laser beam, sword swipes and strikes, a teleport and downward smash and summoning enemies.
Once the Librarian has been defeated pick up the Green Key then head back down the ladder. Take the teleporter back to the Overworld.
Next: The Quarry
Back: Forest Fortress