Chapter 3
Back to Aragami 2
Mission 13: Help the Militia II
This is a fairly difficult mission. You’ll need to pick seeds and eliminate the targets. There are three of each.
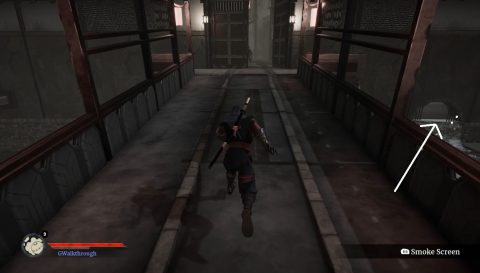
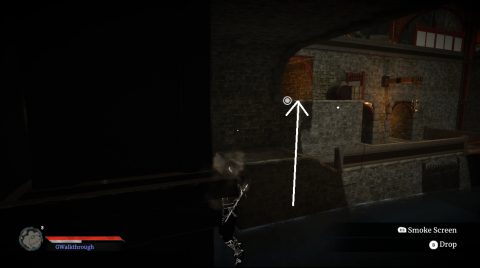
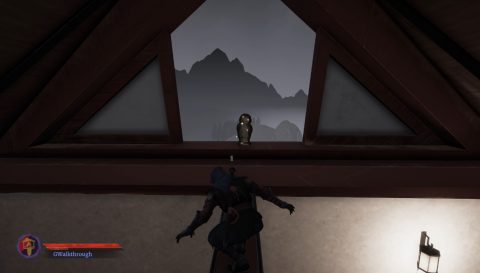
Head straight ahead over the rooftops to the enclosed fortress area. The first target is the Scorcher on the platform. Then there’s some out the side of the large building to the left.
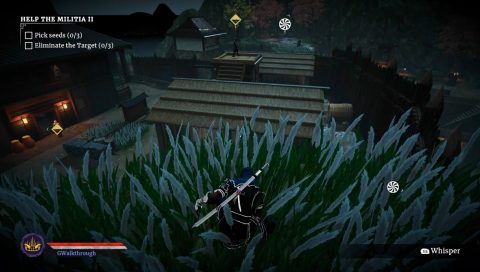
Take out Target #1 on the platform and then shadow leap back to the building. Use Wraith or Smoke Bombs if you need to and grab Seeds #1.
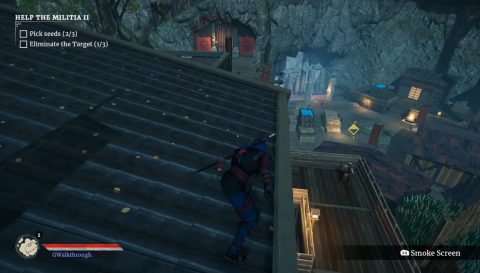
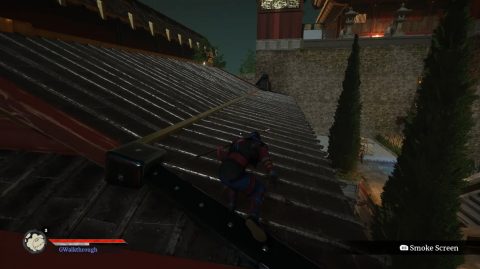
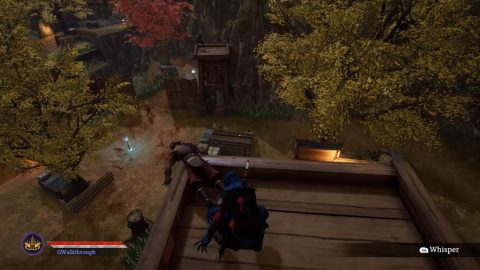
That’s it for the fortress area so jump along the rooftops and over the wooden fence. Make your way around the outskirts of the camp, taking out any soldiers you want along the way.
Facing the entrance of the mine, the left side of the camp will have Seeds #2. You won’t be able to grab it without taking out the Defender or using Wraith/Smoke Bombs or something similar.

Make a quick exit and navigate around the other side of the large building for Target #2.
The final target is a Scorcher on the other side of the camp, looking out over the pool of water. There are a couple of guards patrolling nearby so be careful.
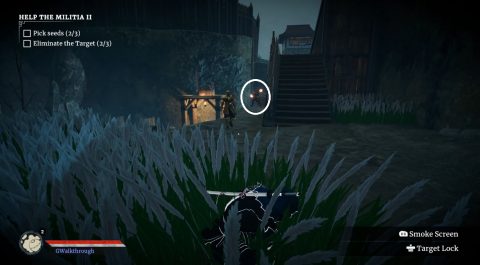
With Target #3 out of the way you’ll need to find the final Seed. The last one is in the center of the camp. You may want to take out some of the patrolling soldiers before grabbing it.
With all the objectives met make your way to the portal to end the mission.
Mission 14: Camp Sabotage
For this mission you’ll need to destroy the supplies. There are 18 crates in total but many of them are together in groups of 2 or 3.
If you’ve followed this walkthrough there will be no new collectibles to find. So destroy the crates any way you wish and get out of there to end the mission.
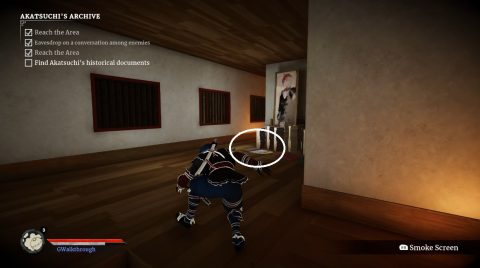
Mission 15: Akatsuchi’s Archive
Collectibles: Golden Statue x 2, Dyes: Purple, Ronin Vest, Vagrant Blade, Essence Rune: Energy
For this mission you’ll visit Akatsuchi’s Capital for the first time. There are 9 collectibles in total in this area but we’ll just pick up 6 the first time through.
You don’t need to go through the front gate. Jump over the edge on the right side and head through the tunnel.
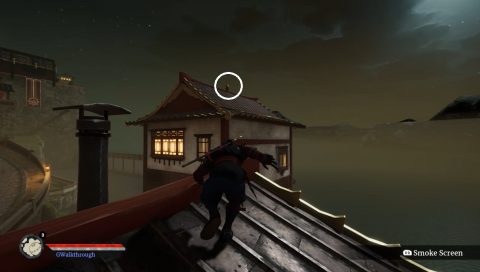
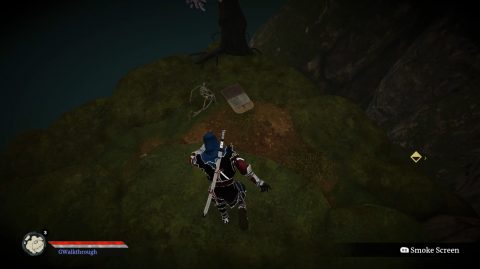
Jump up and to the right onto the rooftops, until you spot Golden Statue #17.
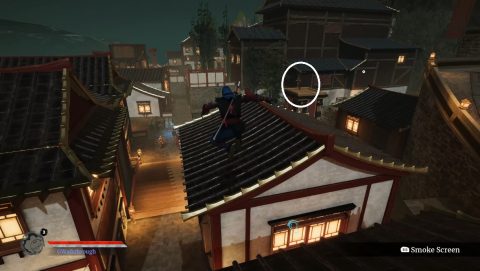
Turn around to face the road up the hill and jump along the rooftops on the left side of it. Just in the distance you’ll notice a Scorcher on a platform.
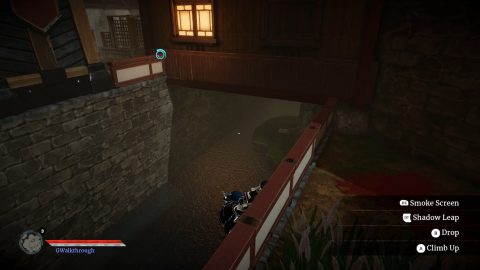
Take him out, drop down into the water canal on the side nearest to the road. Before you hit the water dash through the tunnel for the Dyes: Purple. You may want to take out the Defender standing guard above first.
Shadow leap up to the road above and listen in on the conversation between the soldiers. They tell you the gates are closed but if you know how you can sneak through the public restrooms.
Make your way across the city to the other side by the waterfall. Jump up the grass ledges by the waterfall and enter the closed section of the city.
In the underground tunnels you’ll find Golden Statue #18. Go under the bridge and dash across the water. Take the tunnel in the wall on the left.
Follow the tunnel around and you’ll find Golden Statue #18. Go back out the way you came and shadow to the road and then the rooftops above. Run along the rooftop between the wall and the mansion.
Jump along the grass ledges and onto the wooden beam in the side of the cliff. Look up and shadow leap around the back of the mansion. Look over the edge to find the Ronin Vest.
The main quest is to find Akatsuchi’s Historical Documents. The final two collectibles will be in the same building.
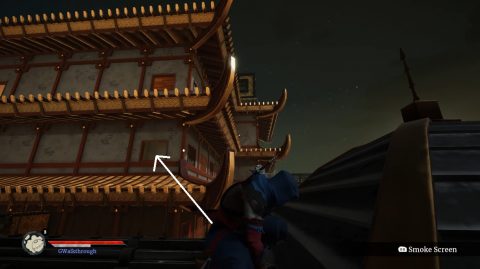
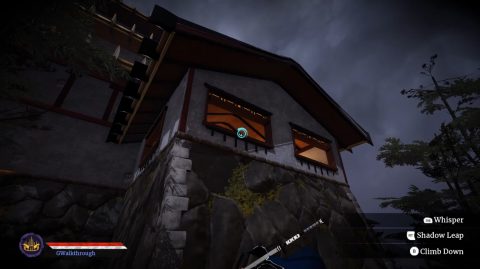
Jump onto the small tower on the corner of the mansion compound. From here dash to the first rooftop and climb in the window for Essence Rune: Energy.
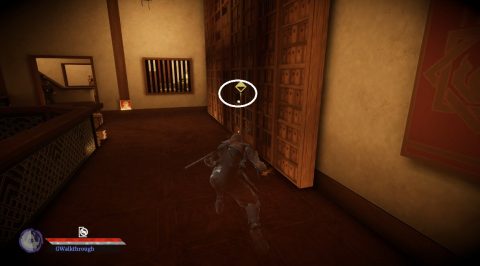
Climb out of the window and run all the way around to the other side of the building. Climb in one of the windows on the corner by the next waterfall. Shadow leap up to the next floor. You’ll find the final collectible, the Vagrant Blade, next to the pile of pamphlets.
Drop back down and head down the stairs. The documents are on a lower level near the front of the building. Take out some of the patrolling soldiers to make it a bit easier. Then use the Wraith ability or something similar to grab the Documents without being seen.
Make your escape and head towards one of the portals. The closest portal is near this building, in a canal by the waterfall.
Mission 16: The Still of the Sacred Flame
Collectibles: Golden Statue
From the start make your way around the side of the cliff to the left, taking out the Scorcher along the way. Jump up to the red arch and then in through the window.
Head out the other window to the balcony. Sneak inside the doorway behind the Defender. Shadow dash up to the floor above on the left and then head up the stairs to the next highest floor.
Take out the soldier on patrol and then approach the Still. There are 3 soldiers in here so you’ll need to use the Dark Flame to knock them all out at once. Grab the Still and retreat the way you came.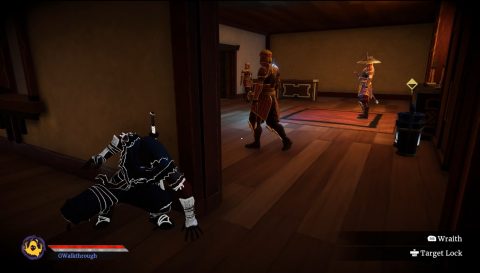
Don’t go down the stairs. Instead shadow leap up to the floor above. Take out the defender and then the patrolling soldier. Go up another flight of stairs to the top floor and shadow leap up to the wooden beam. You’ll see Golden Statue #19 by the window.
That’s all you need to do here so retrace your steps back to the portal.
Mission 17: Ash Flower
We are back in the Distant Countryside for this mission and there are no collectibles to find. Run forwards and take out the Scorcher on the lookout platform. Then the Scorcher on the next platform further along.
Jump down on the right side and dash across the small river. Use your Shadow Vision to locate the exact location of the flower. When you see it there’ll be a Defender and a patrolling soldier nearby.
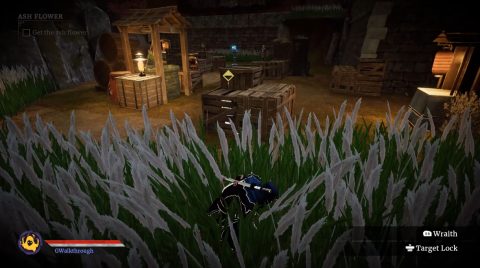
Use whatever method you want to distract them or disguise yourself and break the crates to grab the Ash Flower. I used a Smoke Bomb to grab it.
Make your escape back to the portal to complete the mission.
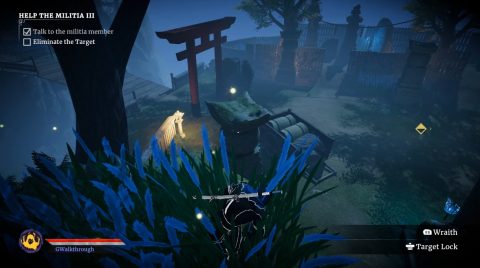
Mission 18: Help the Militia III
This mission sounds simple at first but you’ll need to do a lot of running back and forth. For this reason you might want to clear out some of the soldiers along the way.
Use your Shadow Vision to make your way towards the Militia Member. He’s in the ruined buildings by the docks.
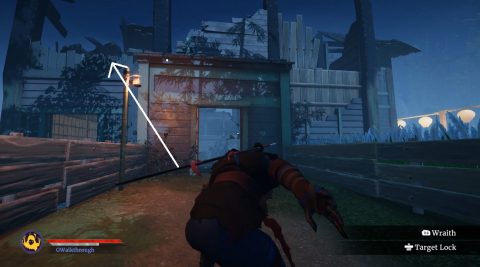
He asks you to take out one of the soldiers and retrieve the information he was carrying. Head back and follow the white marker on your Shadow Vision to locate the target. He’ll be patrolling back and forth in a yard and stops at one end to talk to a Defender.
Take out the Defender while the target is away, climb onto the red arch and take out the target from above. Grab the Strategic Information and return to the Militia Member. With that done head back to the portal to complete the mission.
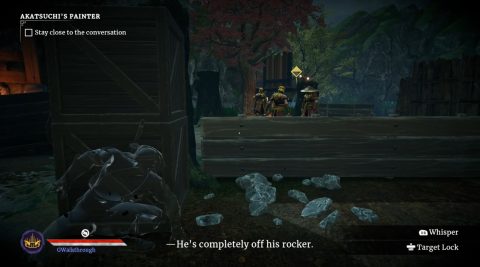
Mission 19: Akatsuchi’s Painter
First off eave’s drop on a conversation near to the starting portal. You shouldn’t have any trouble finding a spot to hide.
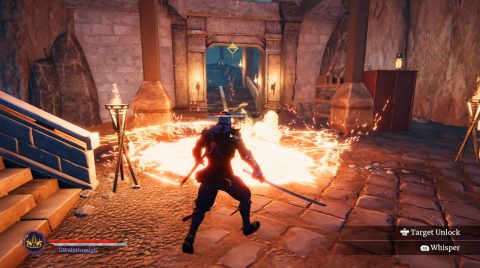
Next you’ll need to enter the mine to find the Painter. If you know which path you’re going to take to the portal you can clear out a few of the soldiers along the way.
When you face the Painter he’ll challenge you to a fight. He was a range of attacks and some that are unstoppable. Dodge out of range while he’s performing the attack and dash back in range to counter attack.
Once he’s been defeated carry him back to the portal, throw him and and complete the mission.
Mission 20: Secret of Daikizo Mine
Collectibles: Essence Rune: Wrath, Legacy Attire, Dyes: Orange
Jump across the rooftop on the left by the cliff and then onto the lookout platform. Turn to face the cliff and you’ll see a series of ledges leading up.
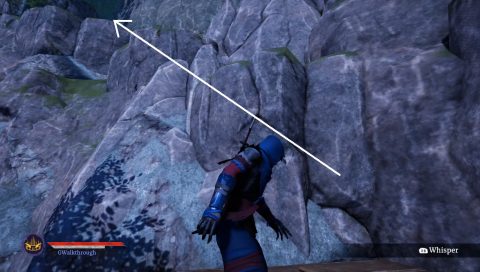
Up the top you’ll find the Essence Rune: Wrath. Drop back down and enter the mine. Stay up on the wooden beams to avoid the patrols down below.
Make your way through the mine. I found it easier to stick to the left wall. Head out into the cavern using the wooden beams. Once you’re on the crane and far enough out into the cavern look up to the roof and you’ll spot a wooden beam.
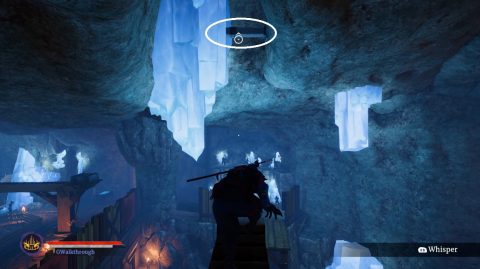
Jump and shadow leap up to it and then jump into the cave for the Legacy Attire. Jump back down the way you came and follow the wooden beams along the left wall. Just around the corner is a small alcove with a worker.
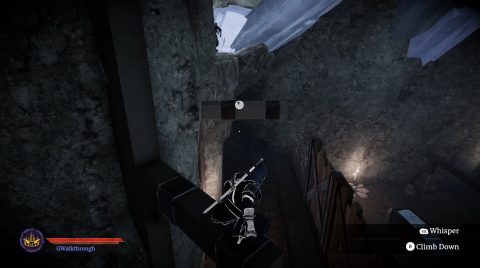
Go inside for the final collectible, the Dyes: Orange. You don’t need to hide from workers. They won’t alert the enemy to your presence.
Jump across the gap to the path on the other side and make your way along to the area marked as your objective. Run pas the statues and into the crystal cave for a cutscene.
You’ll still need to escape so make your way out of the mine and back to the portal to complete the mission.
Next: Chapter 4
Back: Chapter 2