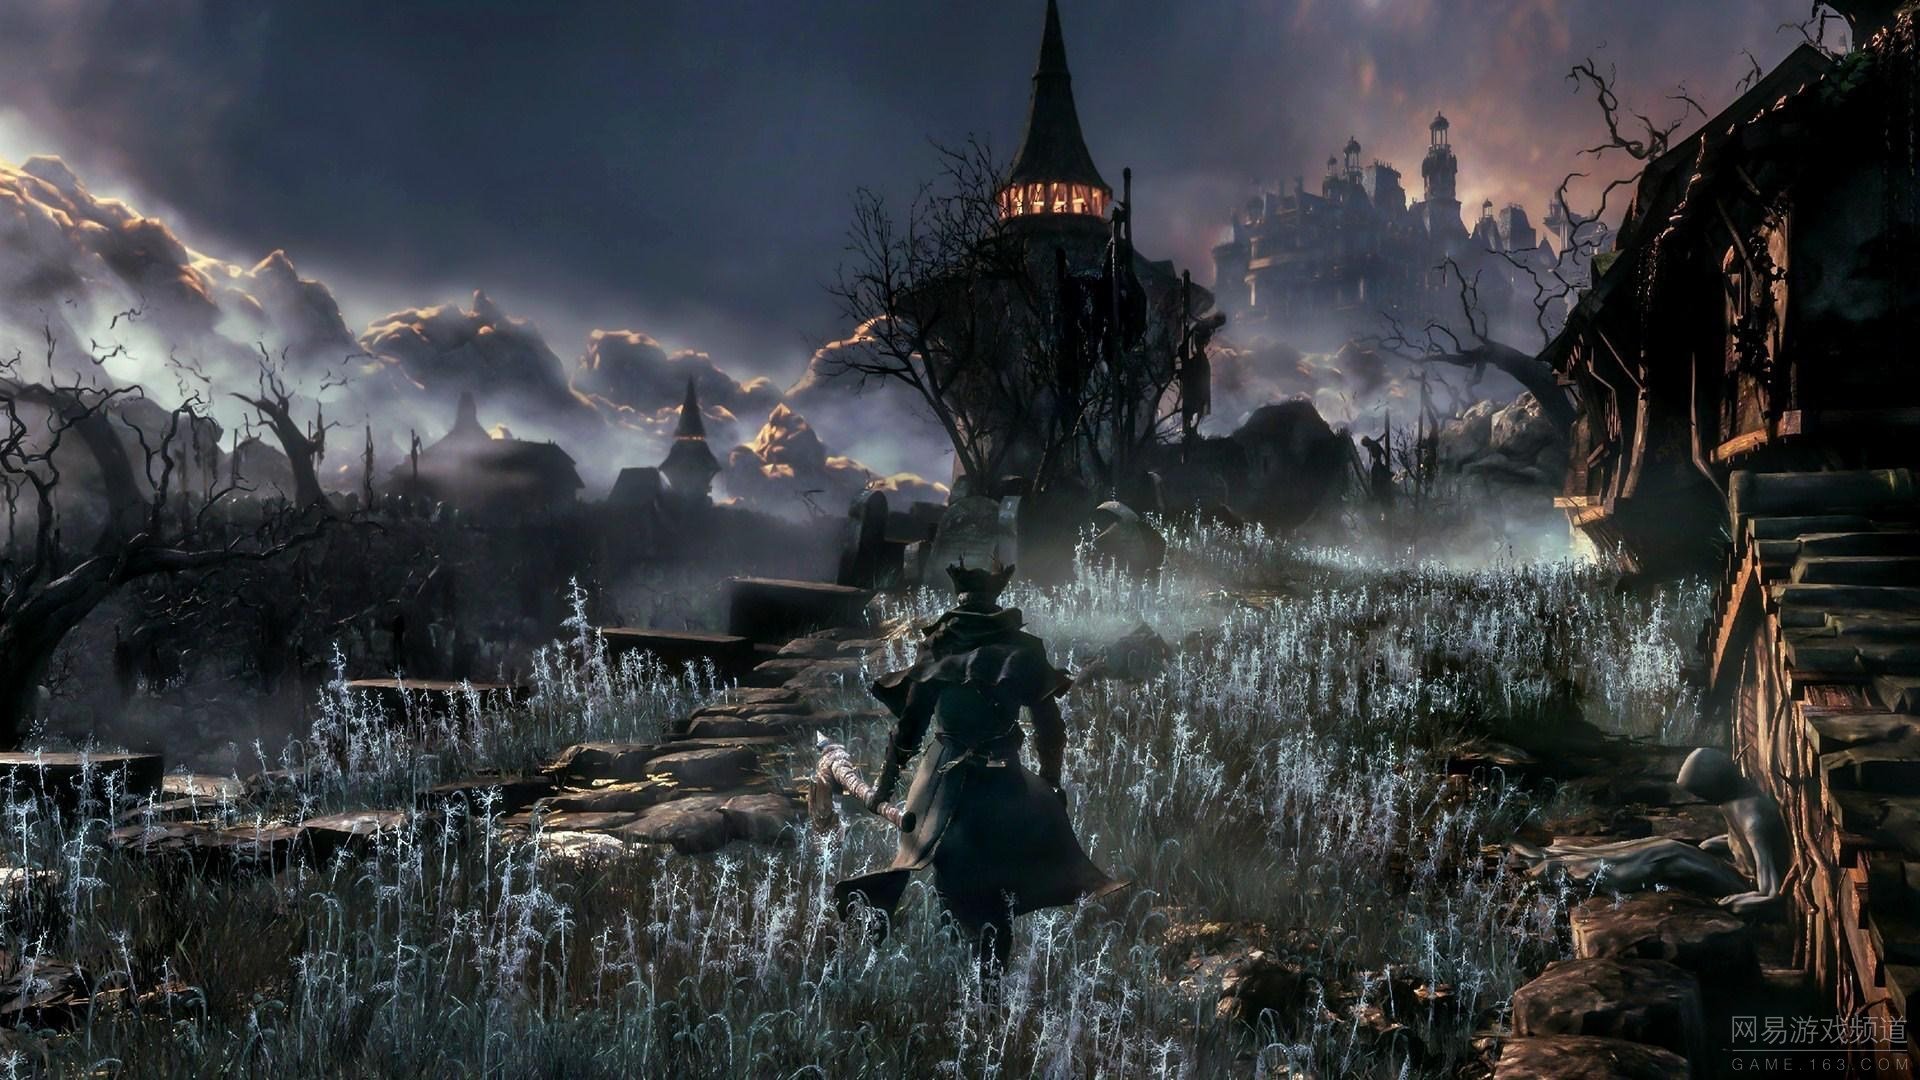
Road of Sacrifices
Back to Dark Souls 3 Walkthrough
If you’ve made it this far you’re doing well. Dark Souls 3 has much more in store for you. This time we head to the Road of Sacrifices.
The First Bonfire
From the Church take the elevator down. An Outrider Knight is standing in your path between you and the bonfire that starts this section. He’s a little like Vordt but smaller and faster. He also has a sword with Frostbiting so try not to get into a drawn out battle. Time his strikes and then roll to the side and attack. When he’s dead he’ll drop the Irithyll Straight Sword. Open the door and light the bonfire.
Road of Sacrifices
The Road of Sacrifices is a shorter area with a new enemy to face, the Corvian. These beasts will rise up when you get close and try to slash at you.
After you get around the first corner drop down to the left to grab the Shriving Stone. Watch out for the Corvian near here.
There’s not much around this top area. So drop down to the left and pick up the Brigand Axe. Up ahead is a Shaman who can call Corvians to assist her. Once you’ve killed her she’ll drop the Butcher Knife.
Continue forward to find the complete set of Brigand Armor. Down the end of this path is the Brigand Twindaggers.
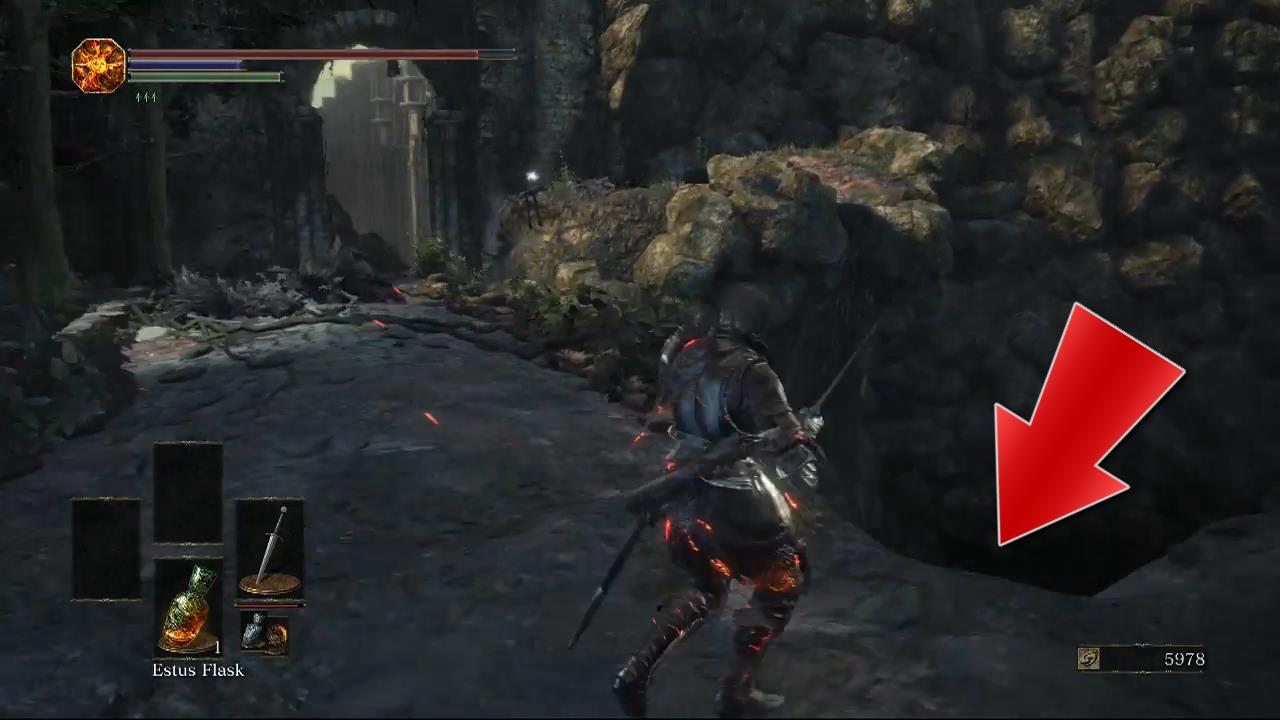
Head back under the bridge and then around and over it. On the other side is a Titanite Shard. Head back to the other bridge and drop down on the right hand side. Pic shown below.
 Run around under the bridge into a small cave. Inside is the Braille Divine Tome of Carim and Morne’s Ring. These are essential items for Faith based characters. The Tome allows you to buy more powerful miracles and the Morne’s Ring will boost your Faith.
Continue up the path. Pick up the Ember and go through the large arch to the bonfire for this area. At the bonfire to the left are two NPCs you can talk to. There’s Anri of Astora and Horace the Hushed. You’ll get the Blue Sentinels Insignia.
 Crucifixion Woods
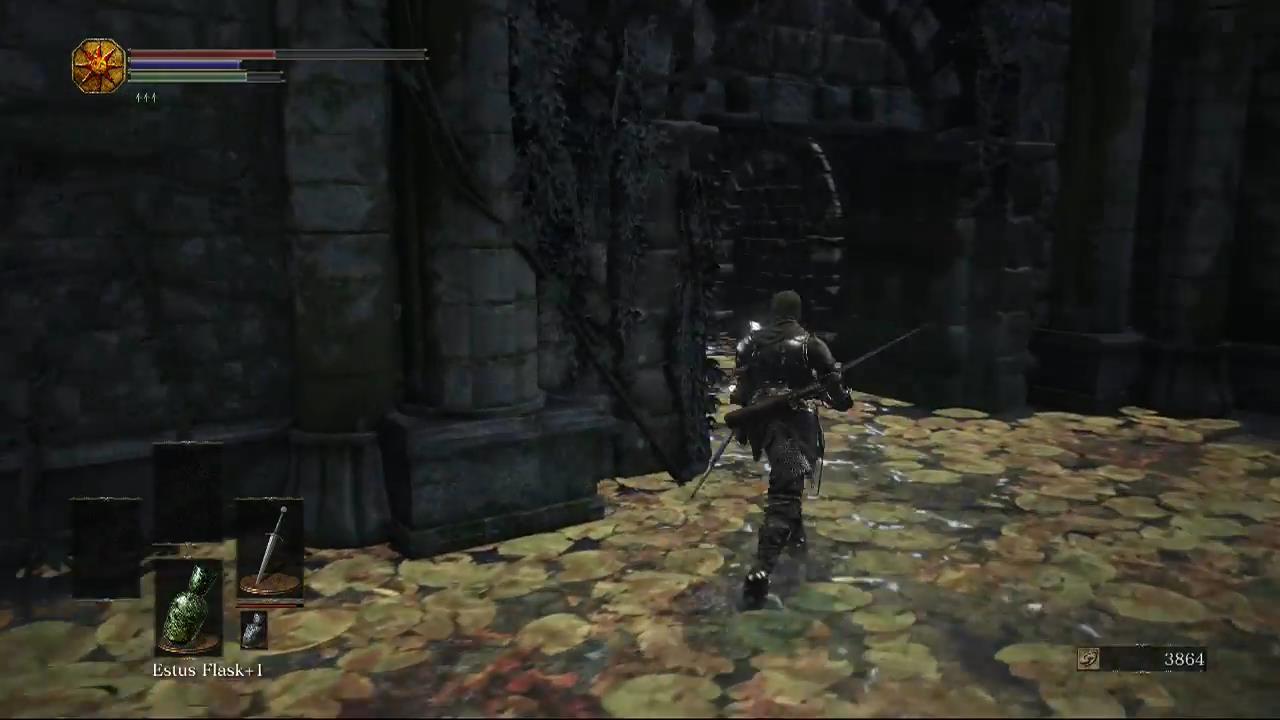
Continue along to the Crucifixion Woods. This is a large open area that’s very easy to get lost in. If you prefer to take a methodical approach and make sure you don’t miss any items begin by hugging the left side of the woods on the land, come back around through the swamp in the center and then back out into the woods on the right hand side. This should allow you to cover all of the area.
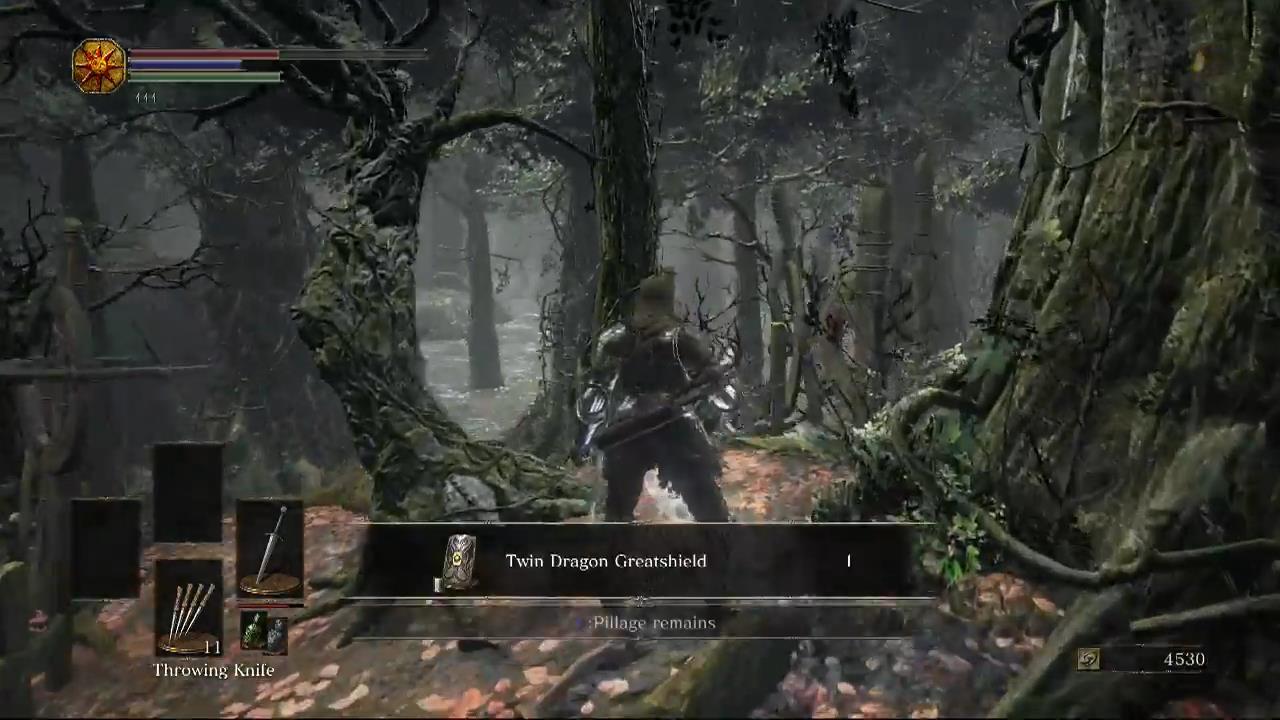
Drop down the ledges and hug the left side by the cliff face. Pick up the Titanite Shards as you go. Once you reach the end zig zag into the middle of the woods, picking up another Titanite Shard and a Twin Dragon Greatshield.
 From the Greatshield head left from the way you are facing (or right from the entrance to the woods), to pick up the Fading Soul.
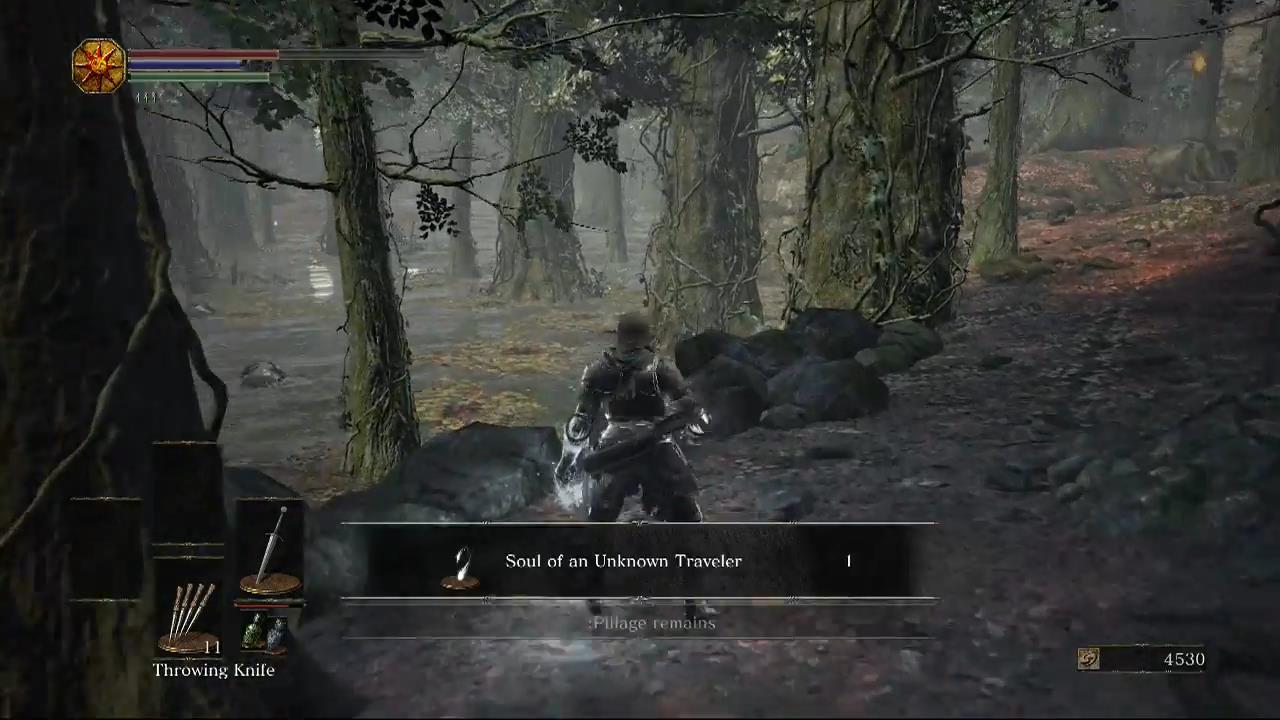
Head back around the small hill and down a long path. Drop down the end for an Estus Shard. Continue to the fire and grab the Ember then continue right to the Soul of an Unknown Traveler by a tree.
 Run along the path to the bonfire and light it. This is one run of the woods. Now we’re going to head back through the water in the center.
Drop into the water and follow it around to the left. Go through the small tunnel in the building.
 This is a dead end but it does contain the set of Sorcerer Armor and the Sage Ring. Head out of the tunnel now and go straight ahead through the center of the swamp.
There’s not much in the swamp but behind a tree you’ll find the Grass Crest Shield. At the end of the swamp is the full set of Conjurator Armor and the Great Swamp Pyromancy Tome which lets you buy better Pyromancies. From here move to the right to find the Green Blossom.
Now we’ll be doing a third run of the swamp. Remember we started on the land on the left hand side? Now we’ll be exploring the land on the right hand side. There’s not much here except this building.
 There’s a door to the right with a Crystal Lizard but you won’t be able to get in there just yet. Head to the left and grab the complete set of Sellsword Armor. Drop down. Continue to the right and pick up the Farron Coal. Underneath where you dropped down is a small alcove with the Sellsword Twinblades.
Head up the stairs and go right back out into the woods. While you’re out in the woods you may meet a Giant Crab!
 These Giant Crabs will spit mucus at you that slows you down. Try to get behind them and aim for their legs or attack at their face after they do a double strike with their pincers. Once they get too damaged they will burrow away for a time.
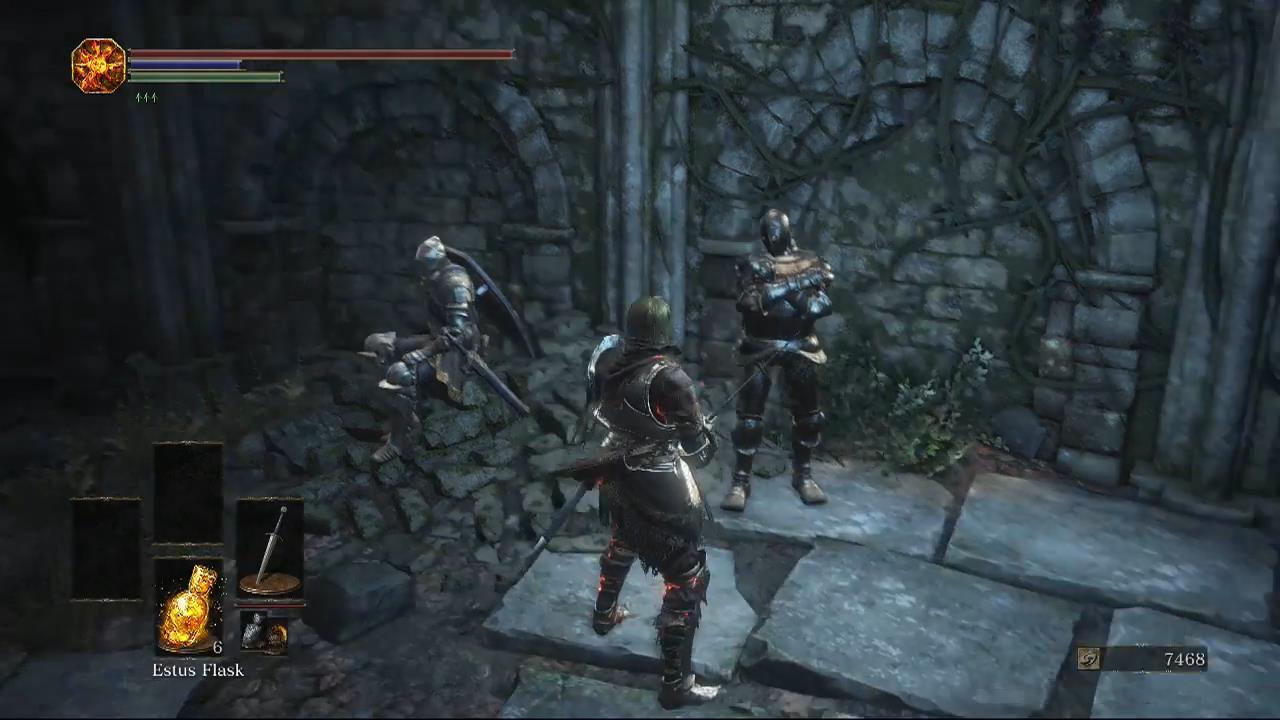
Continue along to the right until you find the land again and continue along this section. It’s here that you will fight two Black knights. After you kill them they’ll drop their weapons, a Great Club and Exile Greatsword.
Head up the stairs into the building and grab the Homeward Bones. Drop down the ladder to the bonfire below.
Head out of the building along the swamp and pick up the complete set of Fallen Knight Armor. Towards the wall is the Large Soul of an Unknown Traveler.
Now go back to the Crucifixion Woods Bonfire and head back towards the building behind you.
 There’s a small hole in the side that you can enter. In the corner of the room is the Heretic’s Staff. Head up the stairs and go forwards until you come to a crossroads leading in four directions.
First follow the path to the right. You’ll come across a Crystal Lizard. Take it out and continue forwards. Once you come to the end of the building go up the stairs all the way to the top. Go out to the balcony and drop off the right side. On the other side of this platform you’ll find the Ring of Sacrifice.
Go back up the stairs and this time go out into the woods. Follow the path left and you’ll find the Golden Falcon Shield.
Go back into the building to the four-way crossroads. This time continue forwards and up the stairs. You’ll come to a room with Orbeck of Vinheim near some parchments.
 If you have an Intelligence of at least 10 he will agree to teach you Sorceries. If you agree he’ll be teleported back to the Firelink Shrine.
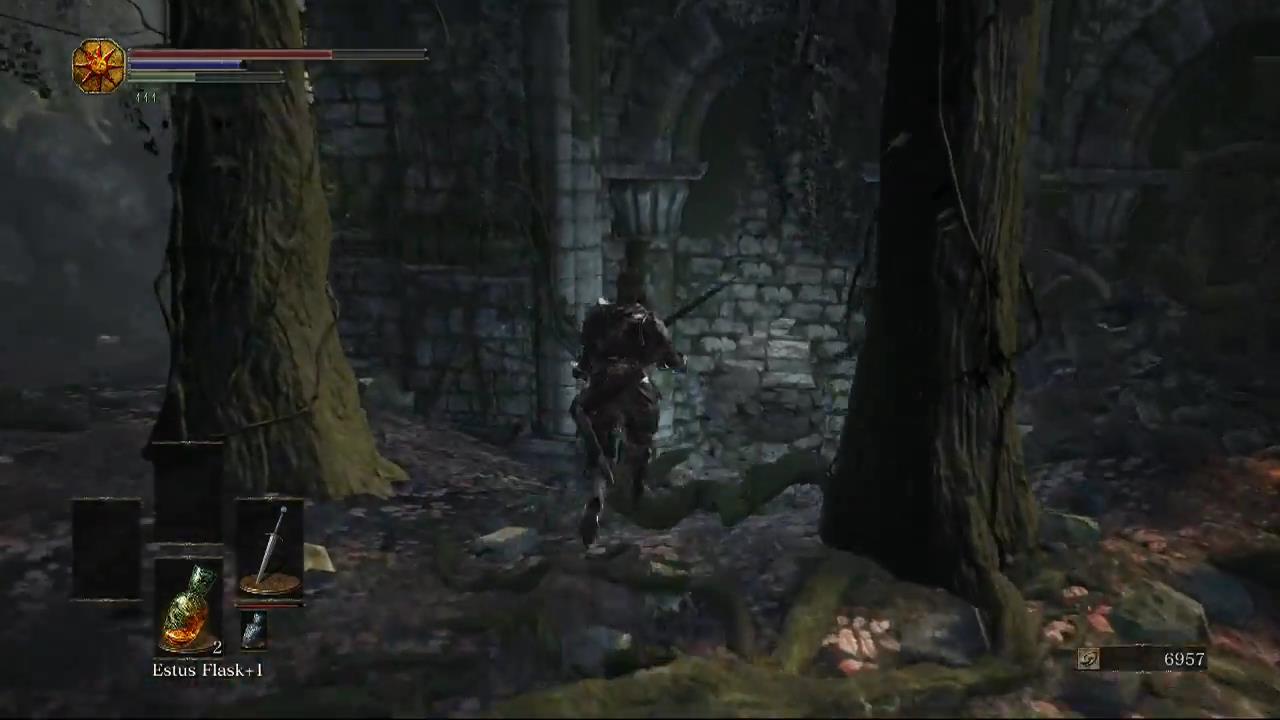
Head down the small staircase in this room to pick up two Blue Bug Pellets. Drop down to the room below and head out the path that leads to the big boss.
Crystal Sage Boss Fight
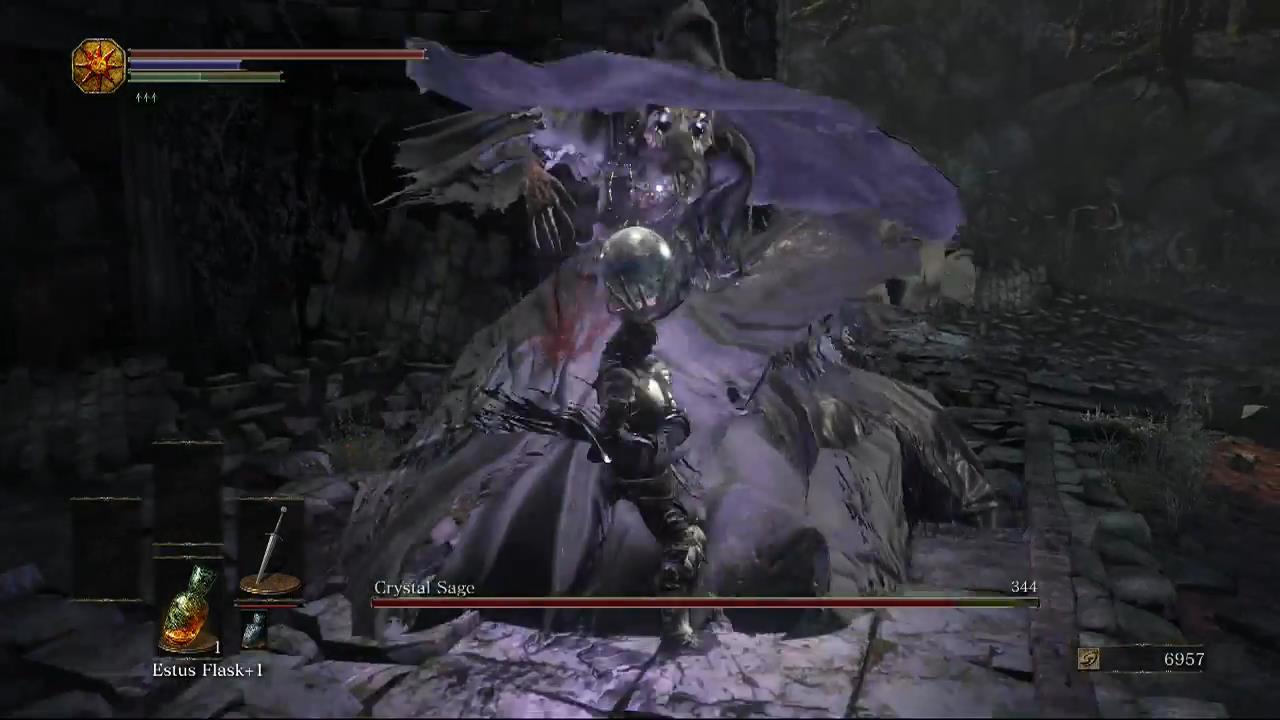 The Crystal Sage is able to cast magical spells such as the Homing Crystal or the Crystal Hail. Try to get up close to him and attack. If you deal him to much damage he may disappear and reappear somewhere else in the courtyard.
Once the Crystal Sage gets down to about half health he’ll start summoning copies of himself. You can tell which is the real Crystal Sage by the color of his crystal attacks. The real Sage has a purple aura and the others have blue. You can destroy the copies with a single strike. Throwing daggers seem to work well.
Once the copies have been killed get in close and attack the Crystal Sage until he dies and gives you the Soul of a Crystal Sage.
This completes the walkthrough of the Road of Sacrifices. Continue to the Cathedral of the Deep.
Next Part: Cathedral of the Deep