Unholy Alliance
Back to Heroes of Might and Magic 3
The four heroes, Gem, Gelu, Crag Hack and Yog have realized now that Sandro is a Necromancer. The only way they can defeat him is if they team up and search for the artifact known as the Angelic Alliance. This artifact increases all primary attributes by +21, allows you to mix creatures faction types without a morale penalty and casts Prayer at the beginning of every battle.
This campaign is quite long and consists of 12 scenarios. For most of them you’ll be playing the four good heroes but there are a couple of scenarios that let you play Sandro as he fights back against the good guys.
At some points throughout the campaign you’ll be able to select between a number of different mission. The order you play them in may be different than the ones listed below.
Harvest
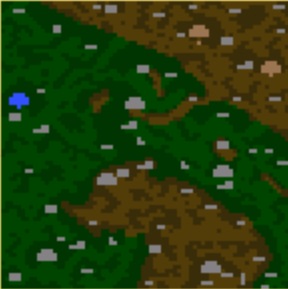
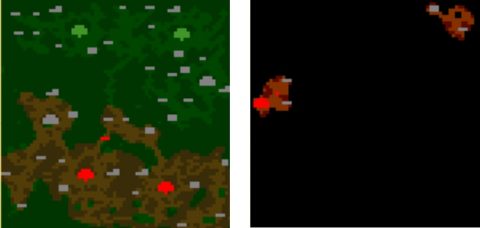
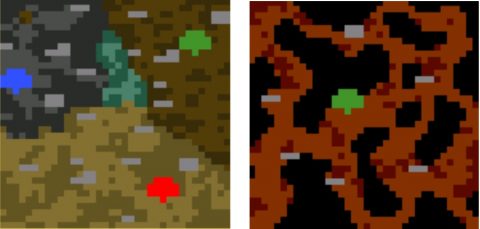
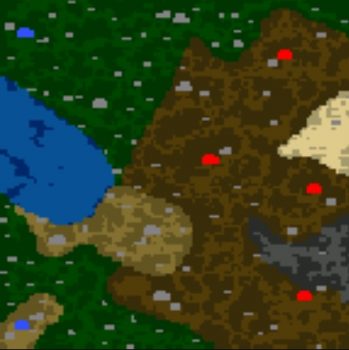
Yog steps forward to put a stop to the Necromancers encroaching on this part of Erathia. You must defeat all enemies and have a starting bonus of 40 Goblins, 2 Cyclopes or 4 Rocs.
Yog starts with a single Stronghold on the west while the Necromancers have two Necropolises in the northeast corner. He’s level 25 and has a full set of skills. You can buy a Spell Book for him and can learn all schools of magic. Restart a few times until you get the skills for Yog that you want.
A good strategy is to make your way south to the neutral Stronghold, buying a Ballista along the way. You can also get a Behemoth from the Behemoth Crag if you can get past the Champions. Then head east the Seer’s Hut and Prison.
Free Xsi from the prison first, using at least 15 Cyclops Kings, then give the Seer the 15 Cyclops Kings in return for Angel Wings. Xsi is a powerful Necromancer, and with the Angel Wings he’ll have free reign over the rest of the map. Use him to clear out the map and complete the scenario.
Gathering the Legion

You’ll be using Crag Hack for this scenario and once again restart if you’re not happy with all of his skills. Try to start with Wisdom, Logistics and one magic school. Your starting bonus is 3000 Gold, Mage Guild Level 2 or Equestrian’s Gloves.
For this mission you must assemble the Statue of Legion and return it to your starting Castle of Hartferd in the northeast. You’ll need to flag as many creature buildings as you can because you can’t train units from your starting Castle.
When you are ready break through the Champions guarding the pass to the west. Find the 2 Griffin Conservatories and free the Angels. There’s another 2 Griffin Conservatories to the south of your starting area.
With a large army head underground to find 4 pieces of the Statue of Legion. They are guarded by stacks of 50 Ghost Dragons so you’ll need to be prepared. The final piece can be found with Tyranell on a small island in the southwest. He has the Head of Legion.
Put the pieces together and bring them back to your starting town of Hartferd to complete the mission.
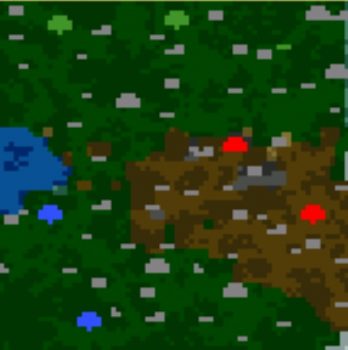
Search for a Killer
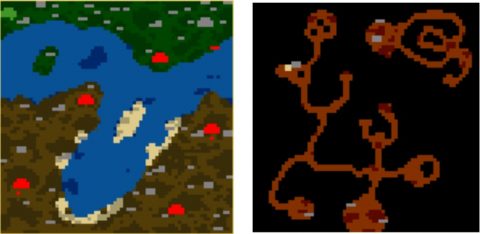
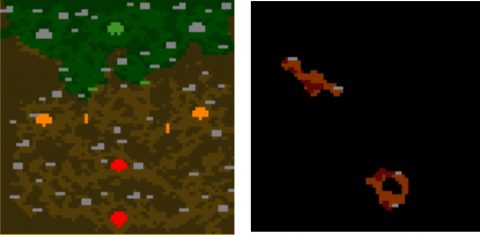
Now it’s time for Gelu to get in on the action. He must defeat all the Necromancers in the area and he begins with the Pendant of Life, 2000 Gold or 1 Green Dragon. You should probably take the Green Dragon!
You’ll begin with a Rampart town and a few Sharpshooters in the northwest corner of the map. First you’ll want to take over the neutral Rampart to the east, as well as the enemy Necropolis. Then head across the river to conquer the Necropolis towns.
You can get across the river either by going underground and popping up on the island to tag the Light Blue Keymaster’s Tent. Then heading through the border guard underground and continuing south to emerge inside enemy territory. You can also just sail a ship across the river.
Either way once all the red enemy Necropolises and heroes have been defeated the mission will be complete.
Final Peace
The last of the four heros is Gem. She starts in the northern section of the map and can choose 30 Grand Elves, Homestead or a Scroll of Destroy Undead. The 30 Grand Elves are probably the most useful. You’ll also have Clancy helping you out.
If you don’t have Gem in this scenario it means you ended a previous scenario with Gem as a side hero. To fix this you’ll need to go back to that scenario, abandon Gem and complete the mission. The game should be saved with Gem free to appear in this scenario.
Take the third Rampart town in your northern section and build them up. Once you have a suitable army send them through the magic-free garrison to the south. The Necromancers should have taken all 3 Necropolises in the overworld and the one Necropolis underground. Clear them out to complete the mission.
Secrets Revealed
Yog and Crag Hack have joined forces to defeat the Necromancers. They begin with 6000 Gold, 15 Crystal or the Boot of Polarity. The boots increase magic resistance by 15%. The Gold is probably the most useful for this scenario.
Yog and Crag Hack will have the stats and spells that you left them with in the last scenarios. Hopefully you built them up a little bit.
In between Yog and Crag Hack are 2 Behemoth Crags. You definitely want to tag them during the first week as this will make the rest of the scenario much easier. The Seer’s Hut in the north will give you 20 Thunderbirds after you defeat the Necromancer Nimbus so if you fight and defeat this hero make sure you go back to the hut for your reward.
This scenario is quite difficult as two of the Necropolises are hidden away behind a mountain that you can only reach through the portal. Once here tag the Black Keymaster’s Tent to make travel around the map a bit easier.
The portal is protected by 4 colored gates which means find the 4 keymaster’s tents. There are 2 on each side of the map. Follow each of the 4 paths to find them. Once you go through one gate you’ll find 50000 Gold. There’s also 50000 Gold above your eastern Stronghold protected by a band of Orcs so gold shouldn’t be a problem.
Agents of Vengeance
For this mission Gem and Gelu will join up together. You get to choose 15 Wood Elves or 20 Silver Pegasi. You may want to choose the 15 Wood Elves as Gelu can train them up to Sharpshooters.
You must destroy the Necromancers to complete the scenario. This map is split up into various areas seperated by garrisons. The two green garrisons in the north are yours and will fend off the Necromancers for a long while. This will give you plenty of time to claim the area to the north and build up an army.
When you are ready head through your garrison to the south and break through one of the orange garrisons to either the west or east. From there travel south to take out the red Necromancer.
Crypthome is protected by a red garrison but by the time you reach it your army should be big enough to easily deal with it. After defeating all the Necromancers the mission will be complete.
Wrath of Sandro
Now it’s time for Sandro to fight back against the invading forces. You’ll begin with +3 Spellpower or +3 Knowledge. Sandro begins in the southeast with a Necropolis although as Sandro can raise an army of liches all on his own the starting town isn’t so important.
Take out the blue enemy in the northwest and the green enemy to the northeast and underground. It’s a small map so you don’t have far to travel. Sandro will keep his spells and stats for the next scenario.
Invasion
Sandro must fight back against the Rangers and Barbarians. You’ll meet the heroes that you’ve been building up in previous scenarios, Yog, Crack Hack, Gelu and Gem. You begin on the eastern side with 2 Necropolises and can choose either +3 Attack or +3 Defense as your bonus.
If you go south from your starting Necropolis you’ll find a portal up to the northwest, near to one of Gem and Gelu’s towns. Take them out and then the Captain in the northeast corner as he has an artifact useful for your liche army, the Bow of the Sharpshooter.
With green out of the way focus on the blue barbarians. Once they’ve been wiped out the mission will be complete. If you manage to build a large army of liches you may want to split your army to cover more ground quickly.
To Strive, to Seek
After being defeated by Sandro, Gem and Gelu realize they need some artifacts to help them turn the tide. You must find the Sandals of the Saint, Helm of Heavenly Enlightenment and Celestial Necklace of Bliss. Your starting bonus is either 6 Rogues, a Spyglass or Boots of Speed.
This scenario can be finished very quickly. Take the army from the two towns on each side and head straight down to the south. The artifacts can be found along the southern edge of the map and are protected by guard posts that only Gelu or Gem can pass. Once you find the fourth artifact the mission will be complete.
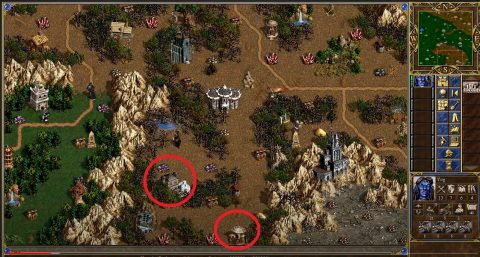
Barbarian Brothers
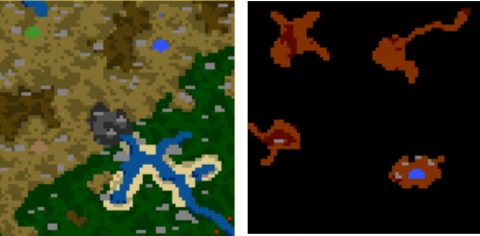
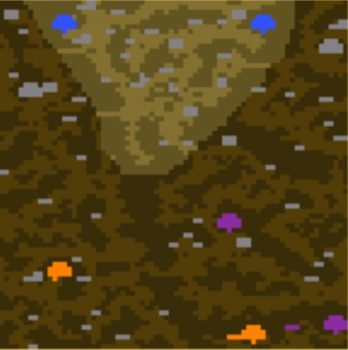
Crag Hack and Yog must also find a few artifacts. They’re looking for the Sword of Judgement, Armor of Wonder and Lions Shield of Courage. You begin with 4000 Gold, 10 OGres or 40 Orcs.
Yog and Crag Hack begin on seperate sides of a river. If you have water walking you can join them back up together, otherwise they’ll be alone for a while. The neutral creatures are in large stacks so the first part of this scenario will be slow as you’ll need time to build up your army.
Tag the Red Keymaster’s Tent near to where Crag Hack starts. Then follow the road and take the Rampart. Clear this area and break through the Garrison to the north. Remember you don’t need to defeat the enemies, you only need to find the artifacts.
The Sword of Judgement can be found by going underground near the green Stronghold. Go through the red border guard and grab the artifact which is protected by 4 Crystal Dragons. Then tag the Blue Keymaster’s Tent.
The Lions Shield of Courage can be found by going underground near the brown Stronghold. Go through the blue border guard, defeat the 20 Red Dragons and another 8 defending the shield. Then visit the Green Keymaster’s Tent.
The Armor of Wonder can be found by going through the cave in the northeast, near to the blue Stronghold. Defeat the 30 Minotaur Kings along the way and another 75 protecting the artifact. Once you have the final artifact the mission will be complete.
Union
For the second last mission you’ll have all 4 heroes together. The barbarians in the south and the rangers in the north. If you have Town Portal and Earth Magic you’ll be able to join forces and artifacts together. Bring together the pieces of the Angelic Alliance and put them on your best hero. You shouldn’t have much trouble clearing the map and taking the red towns as you go.
Keeping a reasonable army with both your groups should allow you to cover ground much quicker. There are plenty of places to recruit units along the way. Then you can use whatever hero has Town Portal to teleport around and reinforce your armies.
It’s a large map so it may take some time to cover it all. Use View Air to see where the enemy heroes are going and which towns still need to be captured. Once the red Necromancers are defeated you’ll move on to the final scenario for this campaign.
Fall of Sandro
For the final scenario you’ll have Yog, Crag Hack, Gem and Gelu. You can finish this quite quickly by using your most powerful hero and combing forces. The starting bonus is 10 Halberdiers, 3000 Gold, 2 Mercury & 2 Sulfur, or 2 Crystals & 2 Gems.
You have 2 Rampart Towns and 2 Stronghold Towns. Give your best hero the Angelic Alliance and send them out along the western edge to the north, then around to the northeast, taking out the Necropolises along the way.
To get to Sandro you’ll need to pass the quest guard by giving them 50 Hobgoblins. It should be easy enough with your 2 Stronghold towns. They’ll give you the Boots of Levitation as a reward. Go through and fight Sandro in his Necropolis. He’s a fairly powerful magic user so be prepared. Once you defeat him the scenario and the campaign will be complete.
Next: Specter of Power
Back: Rise of the Necromancer