Adira’s Fear
Back to Kena: Bridge of Spirits
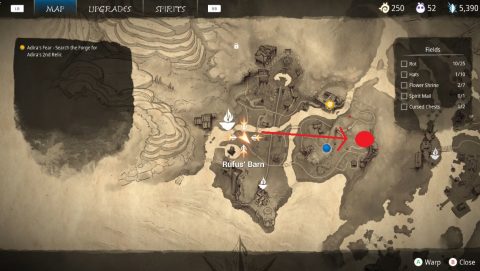
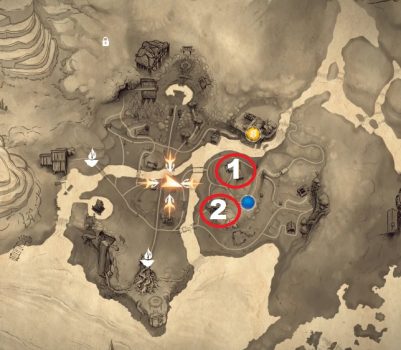
From Rufus’ Barn make your way east, past the entrance to the Forge to a cursed chest. See map below for location.
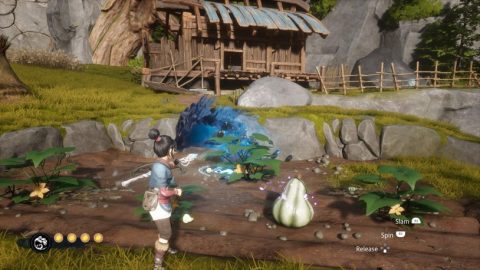
Once you complete the challenge open the chest for Rot Wisp #1. Head to the nearby garden and shoot the target for a Forest Tear. Place it on the circle and a Rot Cloud plant will grow. Use the Rot Cloud to grow the garden and look out for a Squash. Underneath it you’ll find Rot Wisp #2.
Make your way to the Forge entrance and speak to the girl. The path to the Forge is blocked but the girl thinks that Rufus can break through the stone.
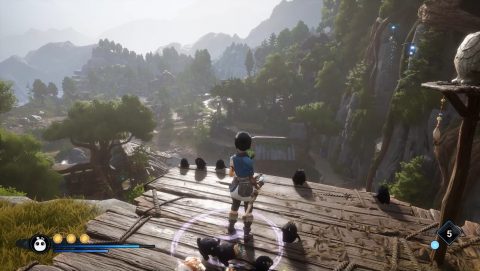
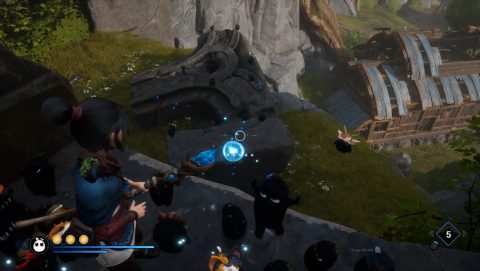
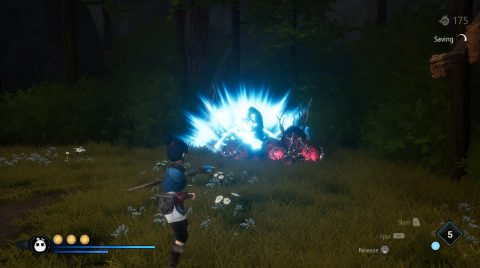
After the cutscene head up the path and defeat the enemies along the way. Run up to the wooden platform and stand on the symbol. Send out a pulse and shoot the targets. If you hit them all you’ll be rewarded with Rot Wisp #3.
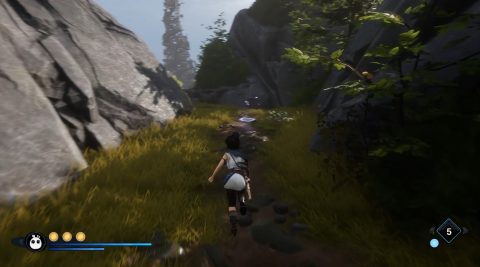
Continue along the path, jump over the first gap and then drop down to the mud slide below. Enter the cave and make sure you enter the room on your left. Inside you’ll find Rot Wisp #4 hiding under a log. Grab it and continue through the cave.
Drop down into the misty cavern and get ready for another battle. This one’s not too bad. There’s a few Exploding Creatures and Spider Creatures. Take them out and then use the Wisps to cleanse the corrupted bulb.
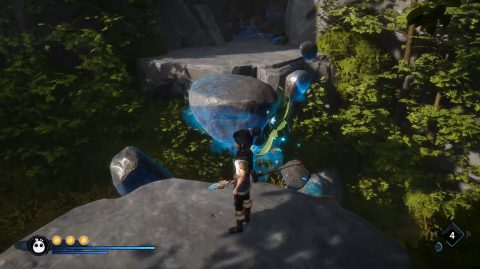
Head out the exit behind the bulb and climb up the glowing stones so you can climb up to the painted ledge. Throw a bomb down to the stones and they’ll form platforms.
Jump across to the end and shoot the Lotus Flower to grapple up to another ledge. From here throw a bomb down on the same stones, jump across to another ledge by the cliff and jump over the highest platform formed by the stones to the other side.
The path leads to the right or left. Take the path to the left first and you’ll find Rot Wisp #5.
Come back the way you came and head in the other direction. Throw a bomb at the stones on the ledge and then an shoot the flower when it opens up.
Look up. On one side is a cave and on the other a ledge. Bomb the stones again and shoot an arrow to the Lotus Flower over the ledge. Jump across the stone platform to the cave.
Interact with the tools and then follow the memory fragment of Adira. Use the mask for a cutscene.
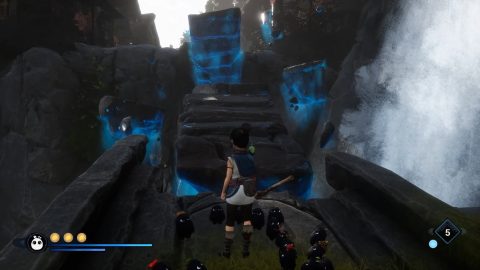
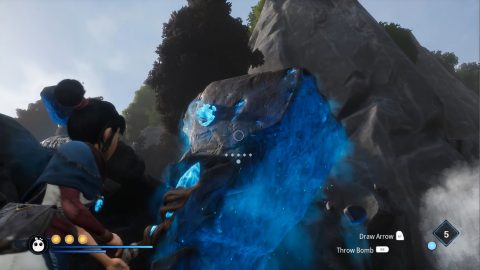
Make your way around to the broken bridge and throw a bomb at the glowing stones. You’ll need to throw 2 bombs at both broken sections.
Jump up twice and then around to the left. Shoot the crystal on the side of the large stone.
Then jump around to the right and up to the top of the cliff.
Stone Guardian Boss Fight
The Stone Guardian can’t be damaged in the ordinary way, at least not at first. You’ll need to throw bombs at him and explode them to break away chunks of his stone armor. This should reveal orange crystals that you can shoot to stun him and then pick up for extra energy.

Hit the little creatures to gain energy, otherwise you can mostly ignore them. Use the flowers if you need health.
Once the Stone Guardian gets down to below half health the corrupted bulb on his back will be exposed. He’ll send out a shockwave and then dig into the ground. If you can avoid the rocks coming up from the ground you can send out Wisps to attack the bulb. This does massive damage.

Finish of the Guardian and enjoy the cutscene. You’ll be given the Hammer relic as well as Rot Wisp #6, #7 and #8.
Enter one of the buildings and shoot the crystal to reveal a Forest Tear. It will drop onto the circle so a plant can grow. Use the Rot Cloud to clear the corruption around the Flower Shrine outside.
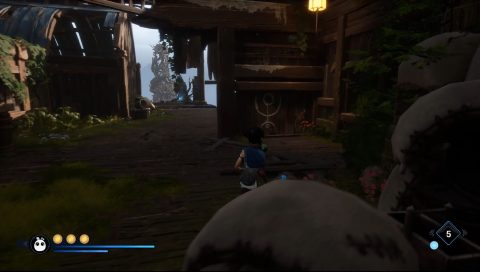
Walk through the Forge and speak to the girl if you want more story. Walk around to the right and avoid the lift for now.
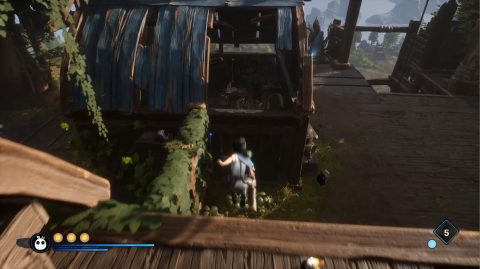
Continue around to the right behind the lift and enter the room. By the entrance you’ll notice paint on the wall. Climb up here to the beam above.
Shimmy across to the left and then climb up. Look across to the building opposite and jump through the gap in the roof to the Meditation Spot.
Use the Rot to open the door and head back out. Once again don’t go down the lift. Instead run around the walkway to the left. Follow the steps around until you arrive at an underground cavern below the Forge.
Shoot the blue forest tear hanging from the ceiling so it drops onto the plant. Bomb the stones to the right to form a bridge and then use the Rot Cloud to bring it over the bridge to the pressure plate. Use a slam move on it to press the plate down. The cavern will fill up with water.
Swim to the other side and get up on the wooden platform. Follow the walkway around to the Spirit Mail.
Make your way back up to the Forge and take the lift back down to the Fields. For the final Rot for this section head to House #1 shown on the map below.
Go around to the back of it and use the Lotus Flower to get inside. Use the Rot to knock over a bucket and take it to the plant spawn outside. Use the Rot Cloud to clear the Flower Shrine and also the entrance to House #2 further to the south.
Enter House #2 and grapple up to the Lotus Flower. On the ledge you’ll find Rot Wisp #9 hiding in some pots.
When you are done explore the Fields take a look at the map. Your next destination is the entrance to the Village Heart Caves up to the north.
Back: Adira’s Love Next: Village Heart