
Hunter, Mask Maker & Warrior
Back to Kena: Bridge of Spirits
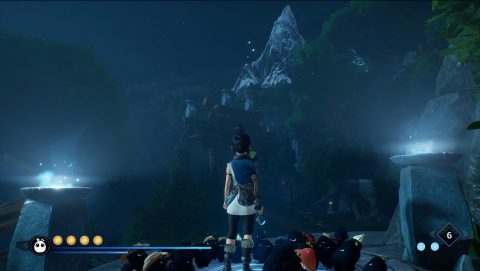
After defeating the Corrupted Woodsmith you’ll need to honor her at the Mask Shrine. Return to the village and see the Mask Maker at the Mask Shrine. After the talk he’ll give you Toshi’s Mask. Head to the Mountain Shrine to the north.
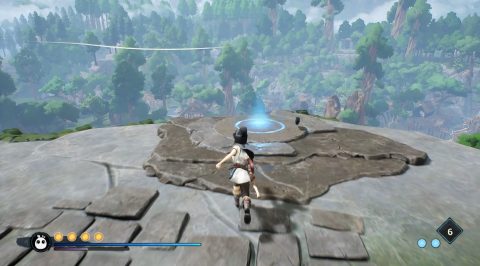
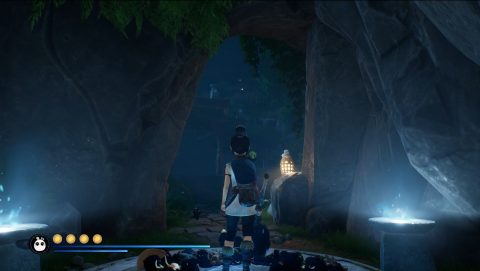
Enter into the mountain cave and use your mask in the center circle. After the cutscene you’ll be back at the Mask Shrine with the old man. After the talk you’ll have the Dash ability. You can use this to dash through barriers and also to dash into enemies to damage them.
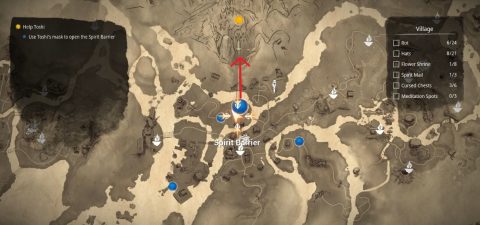
There are three barriers leading to the Warrior, Hunter and Mask Maker. You can do them in any order you like.
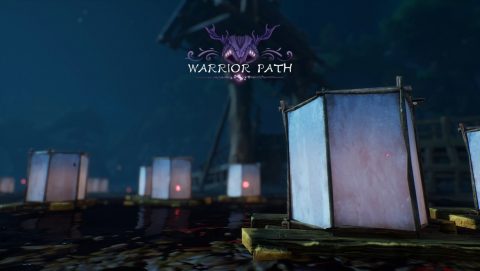
Hunter Path
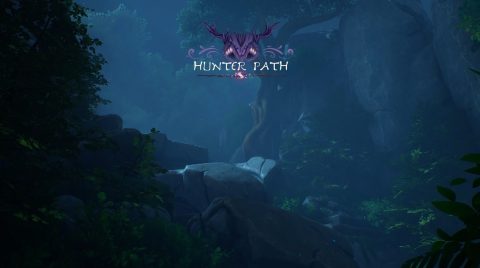
Use a bomb on the stones at the end of the path and quickly dash through the barrier up the top of the stairs.
You’ll be attacked by enemies on the other side. The first is in ghost form. Dash into it to turn it back into its material form.
Continue up the large stone steps and through the next barrier. Watch out for laser traps along the forest path. If you get caught in them use Dash to break out.
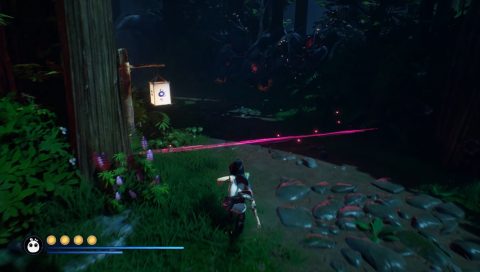
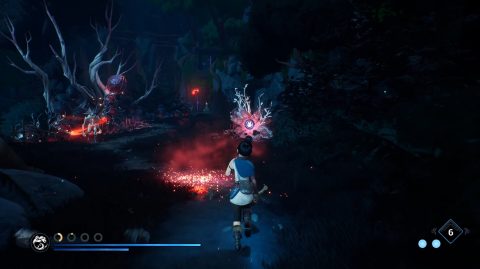
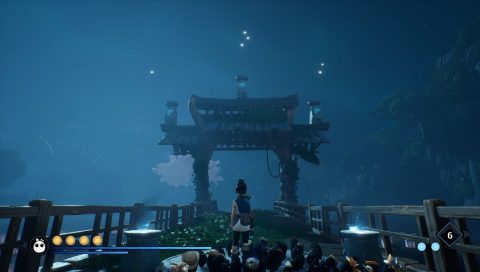
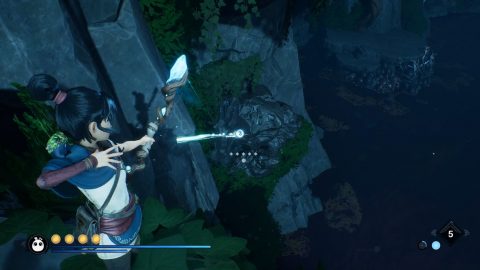
On the other side use the mask to watch a memory. Continue through the forest until you spot a glowing crystal on one of the trees. Shoot it and the other crystals until Forest Tear is released.
Defeat the enemies and use a Wisp to cleanse the corrupted bulb. Continue across the bridge to a large clearing where you’ll face the hunter.
Hunter Boss Fight
Look high up in the trees to spot a glowing crystal. Shoot it and follow the path to other crystals until a mask appears in front of the shrine. Interact with the mask to begin the boss battle.
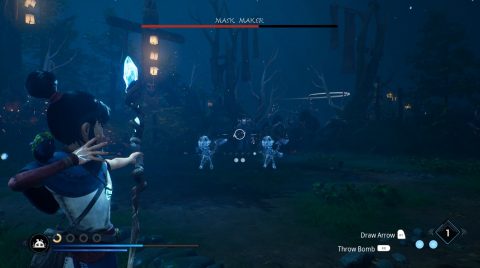
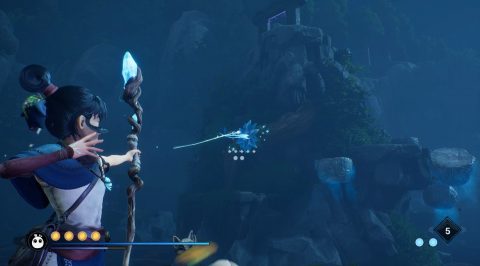
The Hunter flies around very quickly making her difficult to hit. Use the Focus ability to slow down time giving you a chance to target her.

The Hunter has a few different arrow attacks. A chain arrow attack, multiple arrow attack and exploding arrow. If you can hit her while she’s charging up you’ll knock her out of the air giving you a chance to get in a few close ranged attacks.
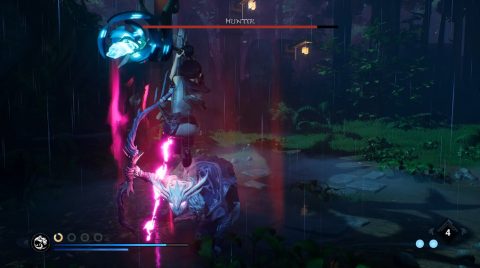
She also sends down a beam of energy which creates an expanding barrier. Dash through it to get past it without taking damage.
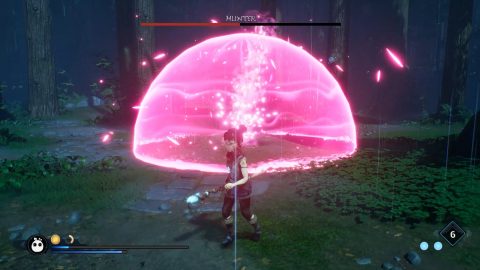
As long as you learn to dodge her attacks you shouldn’t have too much trouble with the Hunter. Use the nearby flowers to replenish your health if you need them.
After the battle you’ll be given the Harpoon relic. Make sure you sit in the circle by the shrine for the Meditation Spot. Speak with the Mask Maker again and then make your way back to the village.
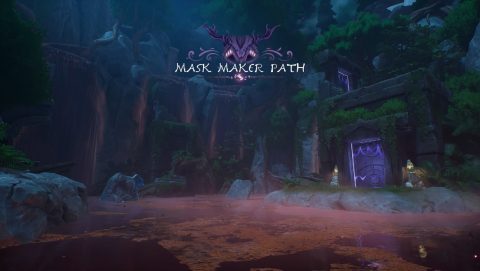
Mask Maker Path
Follow the path along and into the cave where you’ll find a Cursed Chest. Take on the challenge if you want, otherwise continue out the other side of the cave.
Go under the bridge and come back around to the top of it where you’ll be attacked by a Mage and other creatures. Watch out for his Drain Life ability which takes away all of your health and energy.
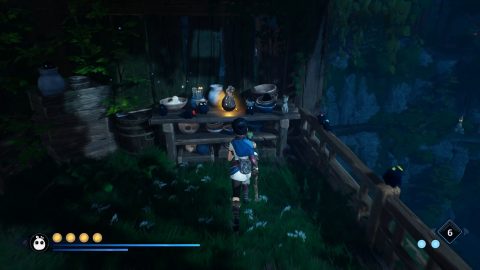
After the battle use the Wisps to cleanse the corrupted bulb. Go around to the back of the larger house and enter where you find the arrow. Head up the stairs and then grapple up to the flower. Continue up the stairs to find Spirit Mail #1.
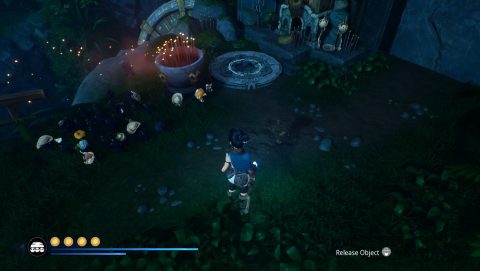
Drop back down and enter the smaller house. Use the Rot to move the large pot and bring it over the bridge to the shrine in front of the gate.
Dash through the barrier and head up the path by the cliff. Jump across the gaps and continue following the path around to the left.
Up the top you’ll have a fight with 2 Monkey Creatures. Behind them you’ll face more enemies. Destroy them and then clean the corrupted bulbs.
Continue on your way across the broken bridge. Use a bomb to make platforms so you can get to the next barrier and dash through.
Use bombs on the three glowing pillars by the cliff and shoot the crystals to turn them the right way around. Jump up them all and then grapple to the Lotus Flower.
Make your way up the stairs and take out the enemies in the yard above. You’ll need to Dash into the ghost forms to materialize them. Use Wisps on the corrupted bulb to cleanse the area.
Walk to the edge where you see the barrier and throw a bomb to the stones below. Jump across the platform to the other side and dash through the barrier. Quickly dash through the next barrier.
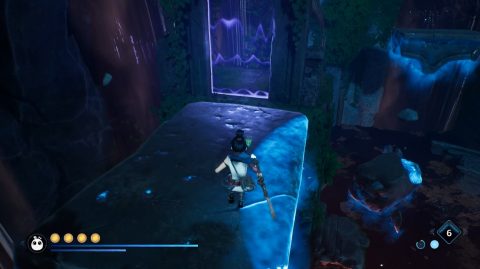
Climb along the side of the cliff and jump up to the top. Follow the path up to the battle arena.
Mask Maker Boss Fight
Take the three pots and move them to the spots in front of the shrines. You’ll need to match the masks on the pots with the masks on the shrines. If you get it wrong enemies will spawn and you’ll need to kill them before continuing.
When the pots are in the right positions interact with the mask in front of the house to begin the boss fight.
The Mask Maker has a teleporting ability. He’ll disappear and appear right next to you and attack. Roll out of the way when this happens.
Make use of your dash ability to bridge the gap when he teleports away or hit him with arrows from a distance.
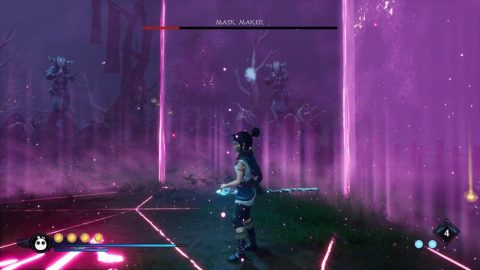
The Mask Maker has a few other attacks, a set of homing white fireballs, spawning small creatures, an expanding purple barrier that you need to dash through and a box trap.
If you find yourself in the box trap you can shoot arrows out to the Mask Makers spinning around. If you find the real one the box trap will disappear.
After defeating the Mask Maker you’ll be given the Incense relic. Go up to the house and talk to the old man. Go out to the Meditation Spot opposite the house.
Then head back to the village and get ready for the final path.
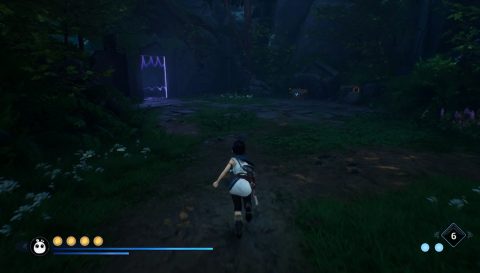
Warrior Path
Look at your map and head to the final barrier. Dash through to begin the Warrior Path.
It may look like there’s nowhere to go. Stand on the circle in front of the barrier and look up towards the arch. You’ll notice small pillars with crystals on them. If you’re standing in the right place there will be stars above them, showing you the order you need to shoot them.
When the barrier appears dash through it and head along the bath. Bomb the stones in the water and jump across the platforms the next barrier.
Shoot the enemies that appear and then use Wisps on the corrupted bulb. Now you’ll see a Lotus Flower on the side of a cliff and a barrier beside you.
You’ll need to go through the barriers, throw bombs at the glowing pillars on the side of the cliff and continue through the barriers to where you began. Then grapple up to the Lotus Flowers and use the stone platforms before they disappear.
Jump up to the top of the island and go through the barrier. On the other side more enemies will spawn in, including a few ghosts. Dash into them to make them turn solid.
After the fight use the Wisps to clear the corrupted bulb and you’ll be shown another pillars on the arch puzzle. You’ll need to find the four circles to figure out the number of each pillar.
You’ll only need to find 3 numbers as the fourth will be obvious. The first circle is on the rocks by the edge of the cliff.
The second circle is inside the cave. Have the Wisps move the block and then stand on the circle looking at the arch.
Have the Wisps move the block next to the cliff on the right side of the arch. You can climb up and look at the pillars.

Climb up the stone ledges on the left side of the cave, while facing it to find the final circle where you’ll see the final pillar.
If the pillars are numbered 1 to 4 from left to right then hit them in this order. Pillar 1, Pillar 4, Pillar 2 and then Pillar 3. When the barrier appears dash through it.
Climb up the cliff using the painted edges, turn to the right and throw a bomb at the rocks.
Jump across the platforms and grapple to the Lotus Flower. You’ll land on the rock ledge below. Jump across the gap to the left and follow the path around. Kill the little creatures and dash through the barrier.
Interact with the sculpture by the pond to reveal a memory. After the cutscene head towards the barrier and you’ll find Spirit Mail to the right of the chest.
Dash through the barrier and you’ll be taken back to the base of the cliff. Throw a bomb at the rocks below, and quickly climb up the cliff. Slide down the mud slide and you’ll land on one of the platform. Dash through the barriers and jump to the side of the small cliff.
Climb up but don’t dash through the barrier yet. Throw a bomb to the stones below and wait for the platforms to form.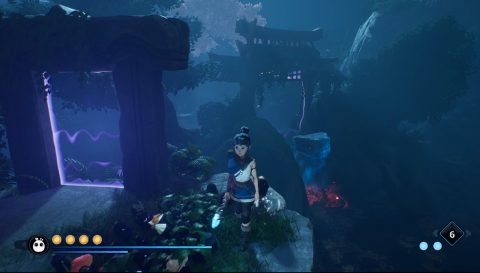
Dash through the barrier and dash through the next one. Head up the stairs to the battle arena.
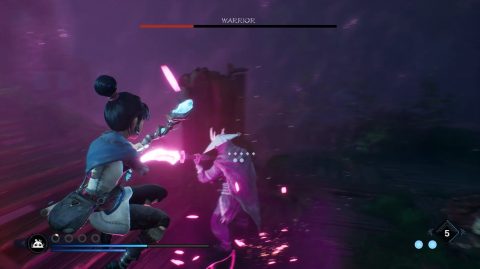
Warrior Boss Fight
To begin the battle run up the stairs and use the Wisps to ring the bell. Run back down and interact with the mask.
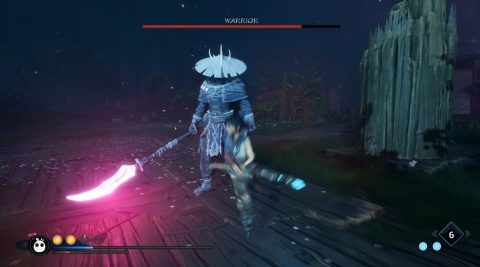
The Warrior has powerful melee attacks but is quite slow. His ranged attacks include slashing the ground three times, sending out a beam of energy each time, and sending out an expanding barrier that you’ll need to dash through.
When you get close try to parry or use your shield and then hit him with everything you’ve got. Save up energy for the powerful Rot Hammer but watch out for his sneaky kick attack.
Some of his attacks can be dodged by jumping in the air. You may want to use this tactic if you prefer to attack with arrows.
After the battle you’ll be rewarded with the Village Crest relic. Use the Meditation Spot to increase your maximum health and then talk to the old man.
When you’re done use the warp stone to teleport back to the village. Finish off anything you want to do in the Village and then make your way up to the Mountain Cave.
Back: Village Heart Next: Rot God
