Level 12: Brackenridge Path
Back to Trine 5
Beginning
From the start go back and swing from the ring to reach the 3 x Experience above. Run across the log and dash across the spikes. Break the vines to release Experience. Then jump up for the next Experience. Box up the side of the cliff and head towards the first checkpoint.
Checkpoint 1
Jump across to the see saw and then up to the box with the Experience. Jump across the spikes and break the next box. Stomp down through the hatch in the stone.

Inside you’ll find a chest with a Tidbit.

To reach the Experience in the ceiling pull the wooden board back and attach it to the ring to the right. Place a plank leaning over against the left wall and bash a ball up it to break the rock. Grab the Experience and climb out.
Jump or float across the gaps, Grabbing the Experience above the platforms as you go. Place 2 steel balls on the attach points and attach the left one to a sword in the wall. Pull on the right one until the two green lights are lit up.

Ride the lift down and place a clone through the grate to the left. It will push down a pressure plate, releasing a large Experience above the next checkpoint.

Checkpoint 2
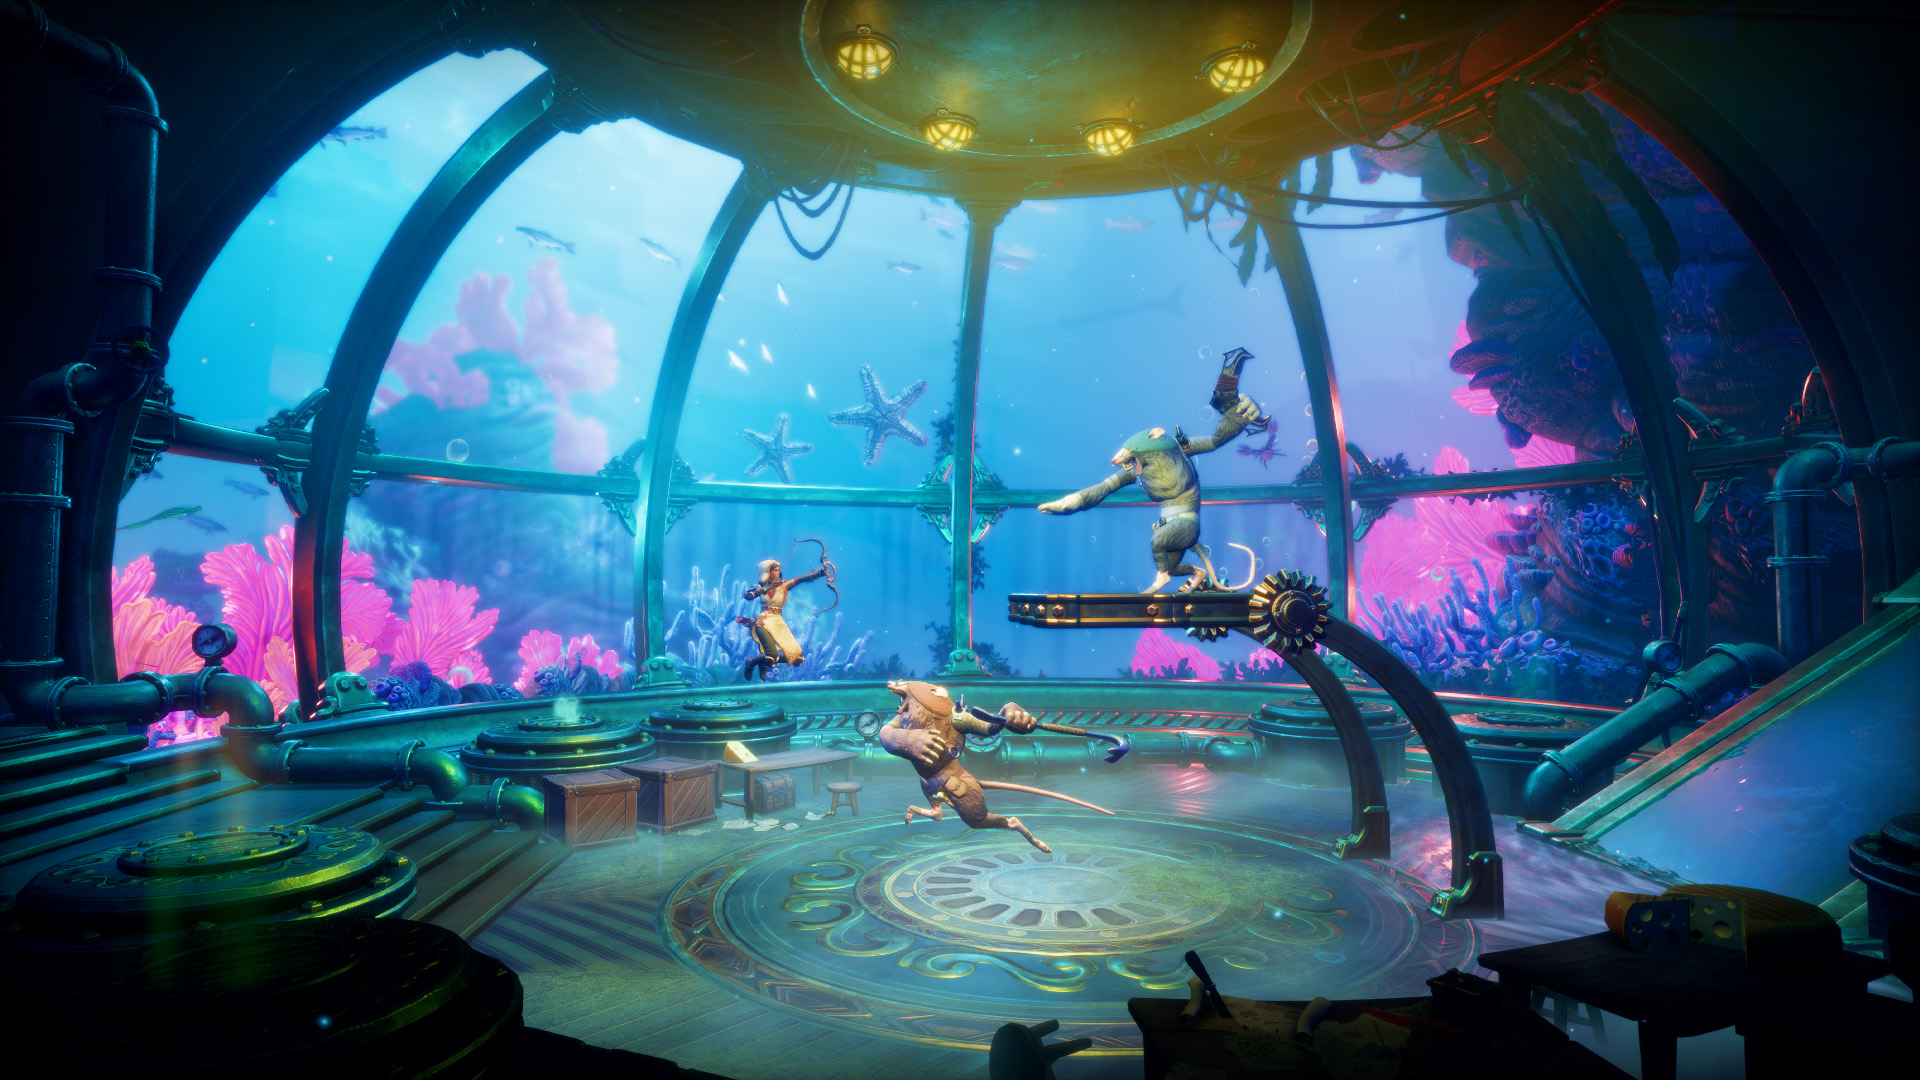
Head to the right and take out the Skeletons. After the fight put a plank on the spiky flower so you can jump across to the 2 x Experience. Bounce up to the next cliff.
Get a box ready by the river and have your clone stomp up to the grab pole. This triggers the board to move to the right. Quickly use the box to jump onto the grab pole and ride it across.

Jump up to the ledge above and bounce up to the top platform for the 3 x Experience.
Checkpoint 3
Break the boards to the right and head through. On top of the stone above the boarded arch you’ll find more Experience.
Before jumping across the platforms you’ll want to float over to the hidden cave.

Inside you’ll find a chest with a Letter. Press the button to release a large Experience from above. You’ll need to plank up to it.
Pull the grab pole to the left to lift up a beam. Place a plank on it so you can jump back up and continue to the right.
Grab the Experience under the exploding plant and bounce up. There’s more Experience in the sky above the wheel if you place a ball on the attach point and use it to get higher.
Continue up the stone hill to the right. Grab the 3 x Experience above the revolving platform and shimmy across the gap.
Checkpoint 4
Place a sword in the wall and open the hatch. Attach it to the sword to keep it open.

Break the boxes to the left to reveal a cog. Attach a steel ball to the ring and place the clone on it. Run both Pontius on the cog and the clone on the ball to open the gate and roll the cog under the wooden beams.

Place the cog on the attach point to open the gate. Head down the hill and take out the Skeletons. Jump up to the grab pole to lift up the platforms. Quickly jump across the chasm to the other side.
Checkpoint 5
At this point Amadeus will walk off by himself. Wind Leap to grab the Experience in the tree and drop over the edge. Grab the Experience attached to the metal cannister and plank across the gap using the spiky plant.
Checkpoint 6
Bounce across to the exploding flowers to grab the 2 x Experience. Then plank or box up the side of the cliff with the spikes.

Jump up to the grab pole to release the fireballs. As the fireballs hit the boxes the gravity on them will change.

Make them both float and use them to jump over the wooden structure.
Checkpoint 7
Amadeus will find the spell of joining and can now join objects together. Put two planks together to climb up the side of the cliff.
Use the grav boxes to avoid the fireballs and make it across to the next checkpoint.
Checkpoint 8
Join two planks together and put them above the metal beams. They’ll push them down to light the green buttons and open the hatch.

Attach a plank to the spikes below and drop down. Attach a ball to the attach point and run on it to call over the platform. Grab onto it and ride it across.
Checkpoint 9
Attach planks together and Wind Leap up to the ledge high above the checkpoint. You can also make a rope bridge using the ring in the stone wall.
Navigate past the revolving wheel, picking up all the Experience along the way. Jump up to the grab pole and shoot the rope holding the large Experience.

Pull on the grab pole underneath to open the hatch and drop down.
Checkpoint 10
Blow up all the exploding plants on the ground and dash into the secret cave to the left.

To get up to the chest jump and Wind Leap off the exploding plants. Inside the chest you’ll find Velvety Antlers.
Blow up the plants again and head to the right. Plank the ceiling by sticking them to the spikes and attaching them together. Then place a sword on the other side of the river and bridge across.
Checkpoint 11
Break the boards above for Experience. Then dash across the river. Put your clone on the pad and stick a sword in the wall to stop the pad from rising. This lifts up the platform on the wheel.

Jump across to the platform and box or Wind Leap your way up to the ledge above. Drop off the ledge to the right and take out all the enemies. Kill the Necromancer and the Skeletons should fall as well.
You can pull the lever to ride the lift up but if you want the Experience you’ll need to go back and plank across from the spiky plant on the left side.

Attach the first plank to the ring to keep it steady. If you make the gap to the other side then great, otherwise pull the lever and ride the lift up.
Checkpoint 12
For the next puzzle place a plank on the top and attach the box underneath it. Finally put a plank on the bottom and the two green lights should shine.

Shoot an arrow through the bars to deflect and break the rope, opening the wooden ramp.
Checkpoint 13
Break the vines to release the large log with spikes on it. Plank over it so you won’t get hurt. Freeze it in the up position if you want the Experience on the other side. Plank up to the top of the cliff on the right side.
Defeat the two clockwork machines and attach a ball to the attach point. Jump on top of it and roll it to open the gate. Head through to end the level.
Next: Level 13: The Astral Observatory
Back: Level 11: Gemstone Caverns