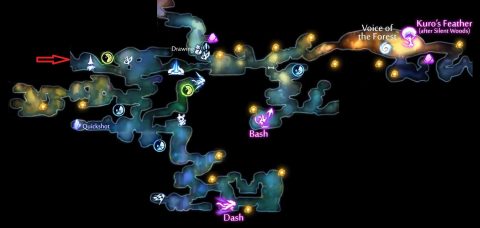
Kwolok’s Hollow
Back to Ori and the Will of the Wisps
Kwolok’s Hollow
When you enter Kwolok’s Hollow you’ll meet the Shopkeeper Twillen who’ll sell you Spirit Shards. Have a look to see if there’s any that you want. Once you have a shard you can speak to Twillen to upgrade it as well.
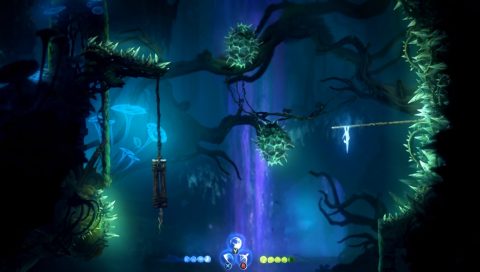
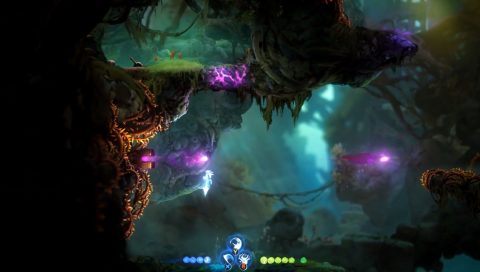
Head to the right but watch out for the smashing block. Shoot the blue orb to extend a bridge so you can get across the pond. Jump up to the ledge and shoot the blue orb to the left to extend another bridge. Head up to speak to the Moki.
He will give you a rumor about the first Spirit Trial. Use the wooden poles above to climb up and then across to the right. Just watch out for the thorns.
Shoot the next blue orb to the right to extend another bridge and go across. Pull the Lever to drain the purple pool of water.
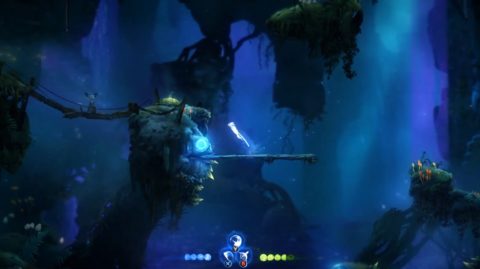
Drop down and make your way down to the water below. Shoot the blue orb to extend a bridge and jump across to it. Shoot the orb again to draw in the bridge. As you fall down dash across to the wooden pole to the left.

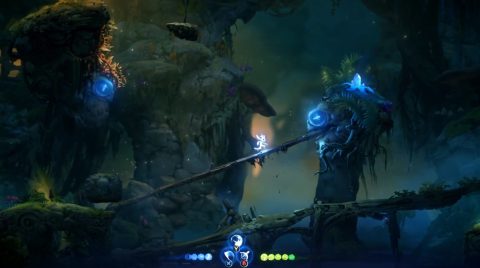
Head to the left and you’ll see a pressure plate that opens the door to the left when you stand on it. Climb up the wooden pole next to the door and across to the ledge. Jump onto the swinging rock and shoot the blue orb. The bridge will extend and pick up the rock. When it draws back in the rock will fall to the bridge below.
Activate the bridge to the left and push the rock up onto it. Activate the bridge to the right and then deactivate the left bridge. The rock will fall onto the right bridge and you’ll be able to push it onto the button.
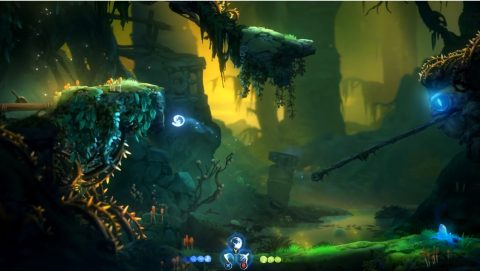
Head through the door and shoot the next blue orb. Quickly jump onto the bridge and up to the ledge on the left. Drop down and use the next two orbs to extend bridges so you can get past the murky water and up to the lever. Pull the Lever to lower the level of the murky water. Drop down to the area below.
Hit the first blue orb on the right side to extend a bridge. Quickly jump up to it and double-jump over to the ledge. Pull the Lever to open up a stone barrier.
Use the blue orbs to the right to make your way up and then back out through the door you opened earlier.
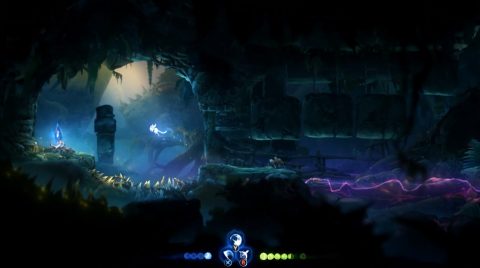
Now that the water lever has lowered continue to the right and head down. Once you reach the level of the murky water you’ll be attacked by multiple mosquitos.
The shopkeeper Lupo is just to the right up on a ledge but you can’t get to him until you have the Dash ability. Use the wooden poles to continue all the way down to the bottom where you’ll be attacked by a Rhino Beetle.
Jump up to the ledge on the left and pull the Lever to open a door above. Head over to the left and activate the Spirit Trial for this area. You’ll need to make it to the starting line to begin the trial.
Jump up and go through the door you just opened. Drop down and activate the Spirit Tree to gain the Dash ability. You’ll have a change to use it right away to dash past the smashing blocks to the right.
Kill the creatures and make your way up the wooden poles past the thorns. You can swing off the horizontal poles to get more height.
Jump over to the left and get ready to fight another Rhino Beetle. Head up and dash past the thorns. Drop down the thin log and walk to the left. You’ll have done a loop around. Jump your way back up the poles, all the way to Lupo. He’ll offer to sell you a map for 100 Spirit Light.
Drop down and take the next passage up on the left. Make your way around to the Life Cell Fragment and the beginning of the Spirit Trial. When you activate the trial you’ll see the path you need to take.
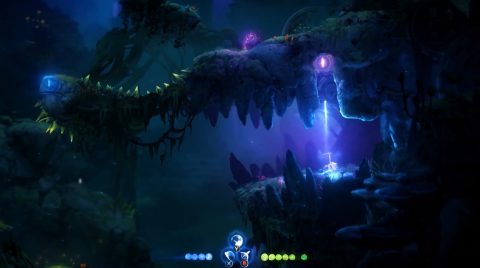
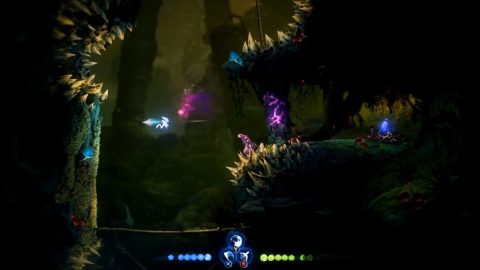
When you’re done head back down and follow the passage along to the left. Ride the smashing block up and jump up to shoot the blue orb to the right. This shot can be quite tricky. The door to the left will open.
Dash under the smashing blocks to the Quickshot shard. This ability is quite powerful and lets you shoot the Spirit Arc much quicker.
Head back to the right and make your way up the central passage where you dropped down. Towards the top you may notice a breakable stone wall on the left. Smash it and go inside for an Energy Cell Fragment.

From here you’ll need to shoot the blue orbs to extend the bridges so you can get back up.
Before you reach the top dash across to the right and shoot the pink orb. This opens the door above so you can get through to the Spirit Well.
Head through the door and continue to the right. You’ll drop down into an arena for the second boss fight.
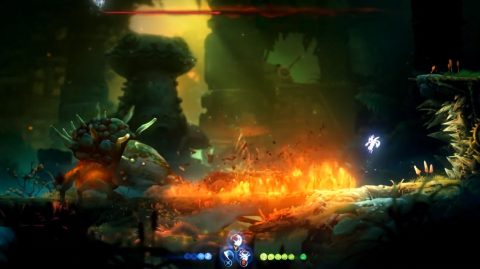
The Giant Rhino Bug has two main attacks, a charge and a fire stomp. Watch him closely to see what he’s going to do. If he’s going to charge he will move one leg backwards and forwards. When he charges he’ll finish off with a jump so you can dash under him. He often does a second jump, giving you another chance to get to the other side.
The fire stomp is easy to predict. The Rhino Bug will lift up the front of his body for a second before stomping down. You’ll need to use the double-jump to make it over the wall of fire.
The Rhino Bug can only be hit from behind so dash under him when he jumps and get in one or two hits before dashing away.
Once the Rhino has been defeated a couple of Moki will lower down a rope so you can climb up and continue to the right. Use the fireball of the tentacle to break the rock floor and make your way down to the Spirit Tray at the very bottom. This gives you the Bash ability so you can bash off enemies and projectiles.
Use the lights to Bash your way up and then use the projectile to break the purple rock barrier.
Bash your way up and pull the Lever to open the door to the right. Make your way up the first passage beyond the door for a Life Cell Fragment.
Drop down and head all the way to the right for the Splinter shard. When activated this splits the Spirit Arc into 3 projectiles.
In this cavern there is a path down which leads to Mouldwood Depths but you can’t access it at the moment. Head back to the left through the door and bash your way up to the top. Grab the Energy Cell Fragment to the top right and then continue up and across to Kwolok.
He tells you to head to the Wellspring to activate the water mill. You can’t continue to Silent Woods until the water is running clear.
Run back to the left and the Moki will pull a lever to open up a door. Jump across to it and go through. Speak to the Moki just beyond the door and he’ll give you Drawing that you need to give to someone in the Wellspring Glades. Continue up and grab the Gorlek Ore along the way.
Continue up a little further and use the next Tentacle to break the stone wall leading to the Wellspring Glades.
Back: Inkwater Marsh Next: Wellspring Glades