Mission 10: Slave Train
Back to Shadow of the Horned Rat
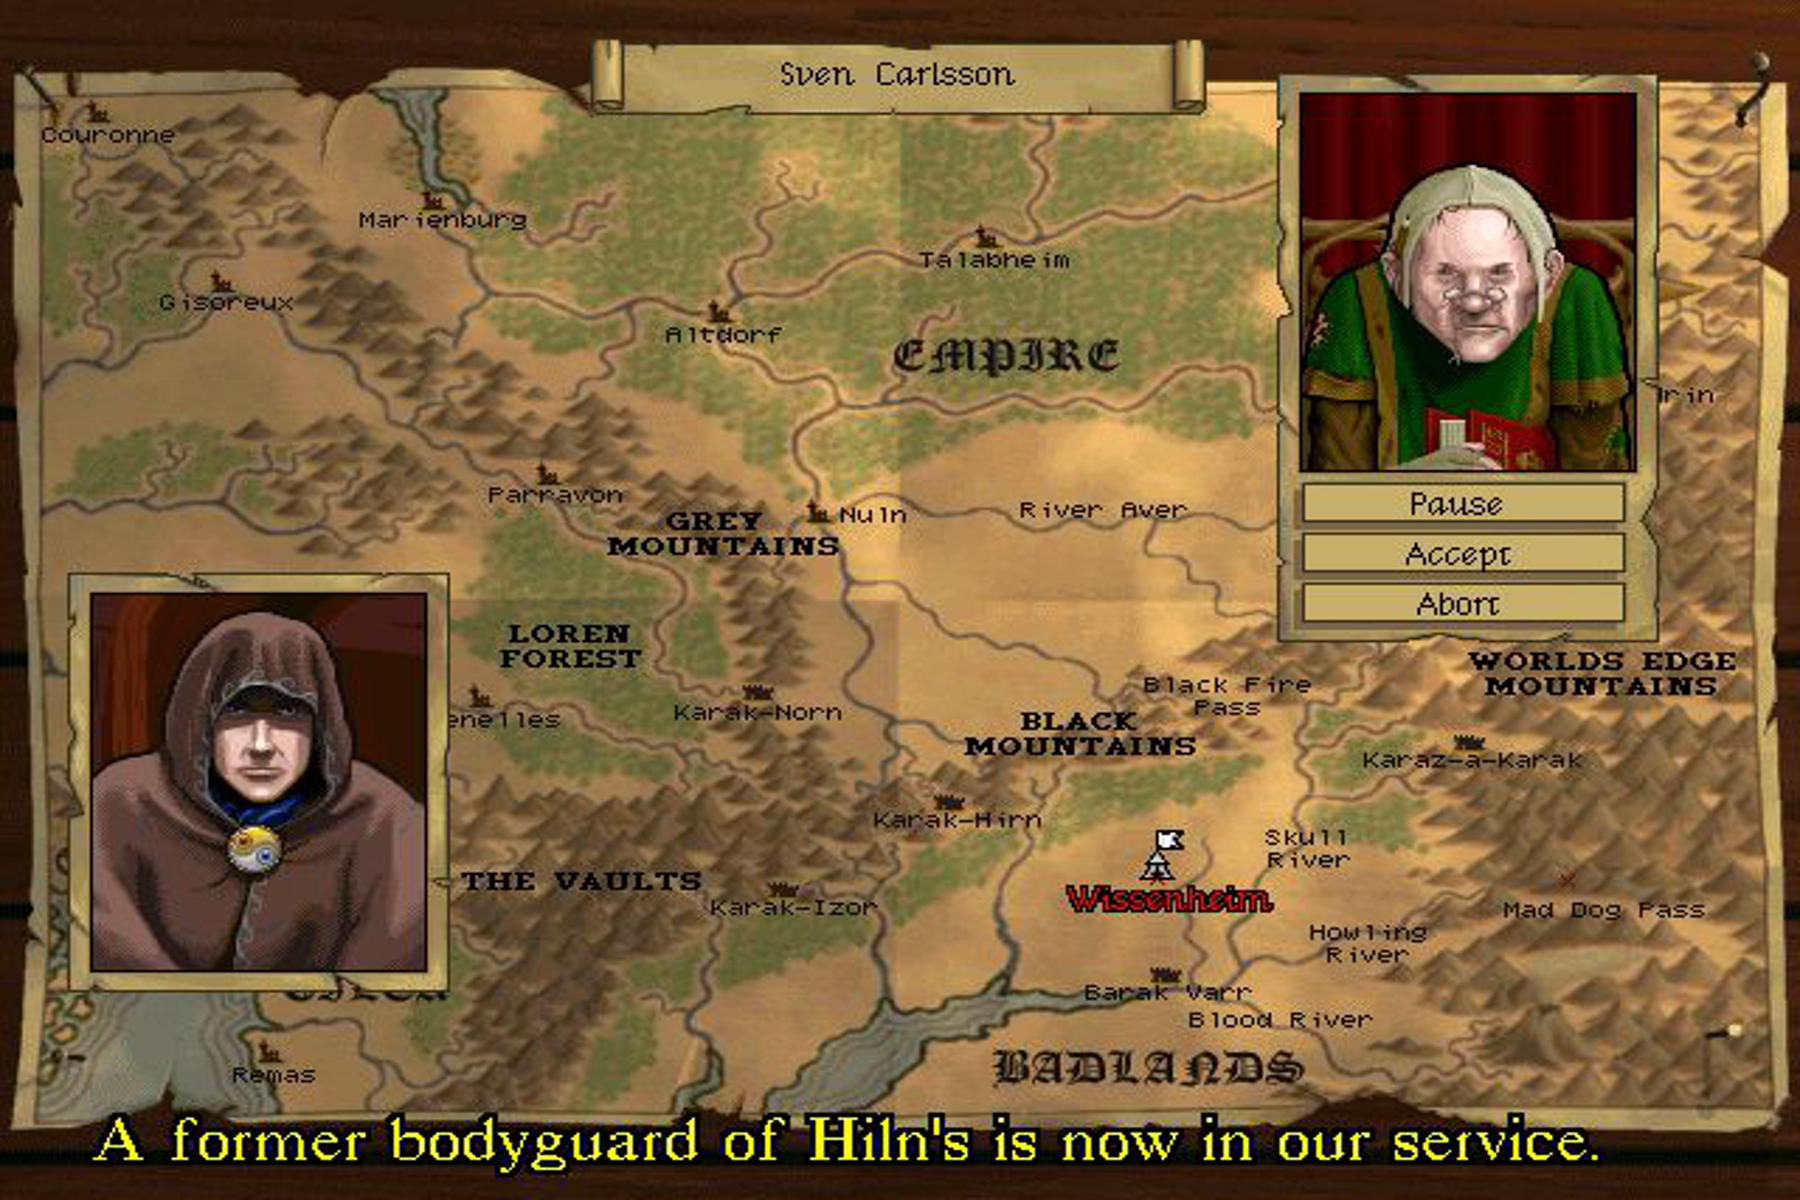
Slave Train
Magic Items: Sword of Heroes
Enemy Units: 4 x Goblin Wolf Riders, 3 x Goblin Stickers
Deployment: Bring both Mortar Crew and place them at the north-eastern corner of the deployment zone. Place the rest of your units on the eastern front.

Strategy: When the battle begins the two Goblin Wolf Riders will veer off from the main train and attack your units. Get off a shot or two with the Crossbows and then charge in with your Cavalry.
The Mortar units can fire at the Goblin Stickers as they pass by. You don’t really need to worry about them because the mission will be a success even if you leave them alone. When the Stickers break the slaves will have a chance to run away. If you have magic cast Curse on one of the Wolf Riders to slow them down a bit.
Pretty soon two more Goblin Wolf Rider units will appear but by now you should have dealt with the first two Wolf Rider units. Weaken them with ranged units and magic and then charge in when they get close enough. Hopefully they’ll flee and you won’t take too much damage.
Enemy cavalry units are susceptible to fleeing if they have the Curse spell cast on them. Make sure one of the enemy cavalry have the curse on them at all times. Once they flee transfer the Curse to another unit.
The Sword of Heroes is located just north of the mausoleum on the eastern side of the map. The Sword of Heroes gives your unit a buff if they’re facing large enemies with a toughness of 5 or more. Send Ragnar’s Wolves over to pick up the sword.
Back: Mission 9: Bridge Over Weiss Next: Mission 11: Shattered Pass