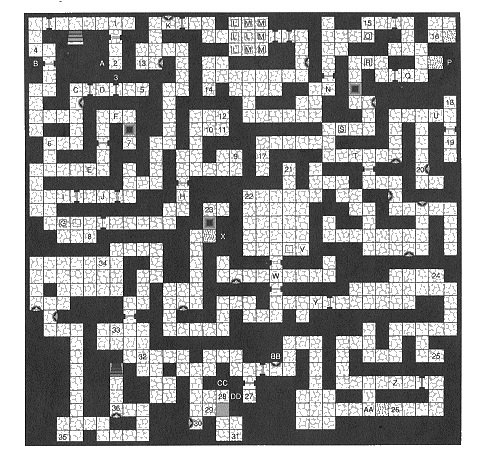
Level 2 – Welcome
Level 2 is a fairly easy level with only Mummies and Screamers to contend with. Practice your spells with all of your heroes as much as possible. The Light Spell and Health and Stamina Potions can be cast by just about everyone.
Treasure/Items
- Club
- Dagger, Corn, Apple and Scroll
- Falchion
- Gold Key
- Torch, Dagger, Arrow, Elven Doublet and Emerald Key
- Topaz Key
- Leather Boots and Gold Key
- Rock
- Iron Key and Ghi Trousers
- Falchion
- Torch and Leather Boots
- Solid Key
- Gold Key
- Gold Key
- Boulder
- Apple and Gold Key
- Apple
- Iron Key
- Key of B
- Rock
- Drumstick, Leather Pants, 3 Flasks and 2 scrolls
- Apple, 2 Cheese and Torch
- Gold Key and Throwing Star
- Copper Coin
- Torch
- Chest with 2 YA Potions and a Scroll
- Falchion
- Apple
- Full Waterskin
- Throwing Star
- Blue Magic Box
- Flask and Torch
- Throwing Star
- Buckler
- Chest with Food, Blue Magic Box, Flask and Scroll
- Torch
Level 2 Walkthrough
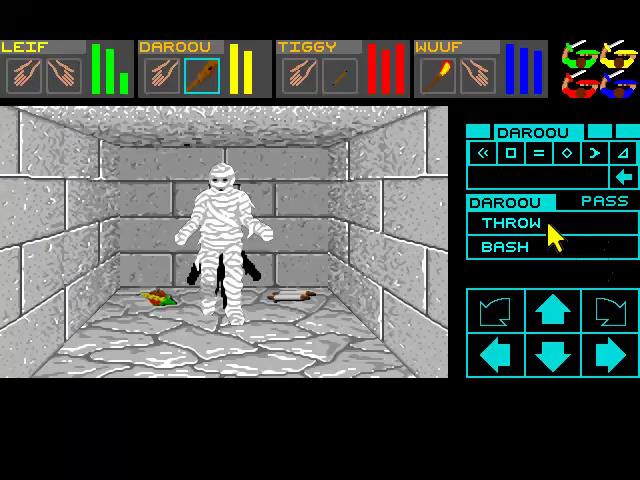 You come down the stairs from Level 1 at the top west side of the map. Turn to the right and open the door for your first battle with a mummy. Press the very obvious secret button for the Falchion.
This level will help you get used to the controls. Casting spells, switching characters, throwing items and striking can get a little chaotic in the midst of battle.
The puzzles on this level are fairly straightforward and not worth repeating here. The level is also fairly linear. It’s a case of finding the keys and moving through into the next section. If you get stuck have a look at the map and item list above to find what you need.
One of the plain wooden doors in the beginning section of the map can be opened by smashing it. This will save you a gold key that you can use later on in one of the deeper levels.
Pressure Plate Puzzle
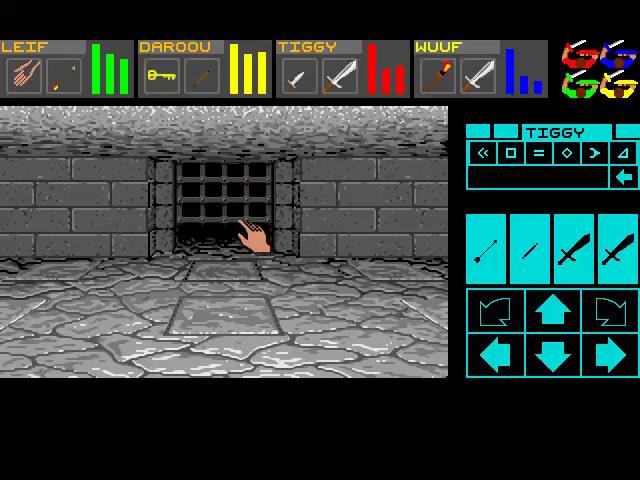 Just after this plain wooden door is the Pressure Plate Room. There are two iron gates that need to be opened.
Stand just before the first plate and take these steps. Forwards, right, forwards, forwards, left, back, forwards, forwards and back. Now you can step forwards through both of the open gates.
Work your way through the rest of the level, taking out the mummies and screamers along the way until you come to the stairs leading down into Level 3 – Choose Your Fate.