Level 2 (Research Labs)
Return to System Shock
Level 2 (Research Labs)
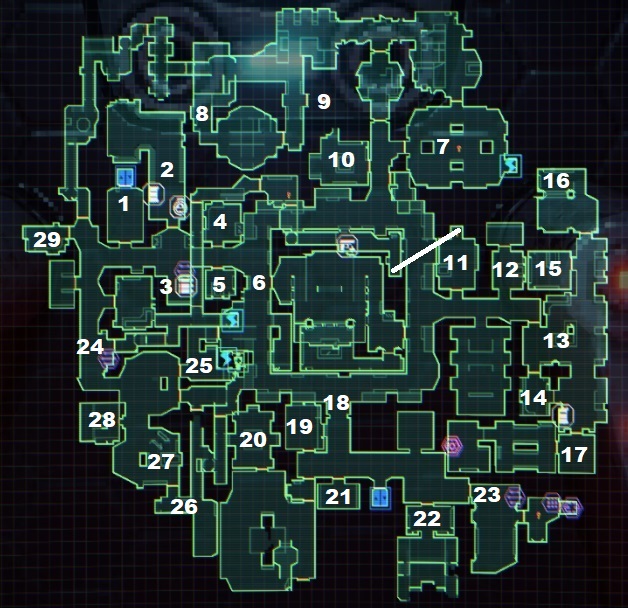
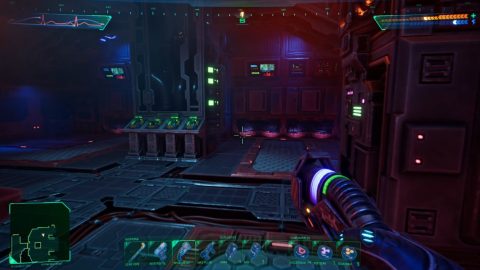
After destroying the CPU Nodes in Medical and getting the Security down to 0% you’ll get access to the lift up to the Research Labs. You’ll find a few important items here including the Engineering Access Card (Central Hub), SK-27 Shotgun (Alpha Quadrant) and the Energy Shield Projectile v1 (Delta Quadrant).
Delta Quadrant
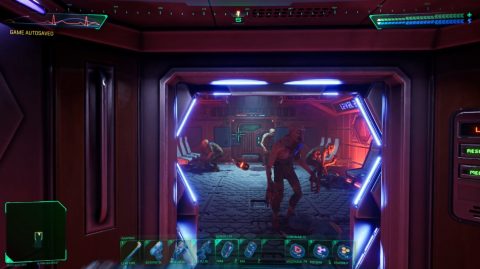
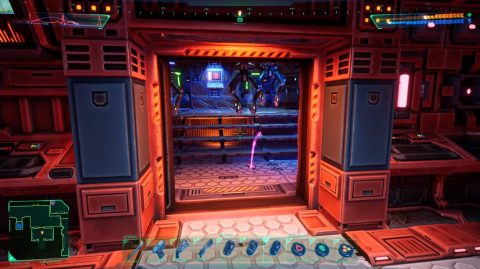
As soon as the elevator (1) door opens throw a grenade to take out the 4 Humanoid Mutants.
Just next door you’ll find the Lounge (2) with lots of bodies to loot and a Transderm Dispenser and Snacktron. A little further into the lounge you’ll find Audio Log (Travis Baerga).
The door across from the lounge is locked by a Connection Puzzle. You’ll need to get enough power to the bar so that if stops between the markers. Look at the lights on the cables as some have one light and some have two. The ones with two lights generate more power. Once you’ve unlocked it go inside you’ll find an ammo cache (3).
Inside room (4) you’ll find a Data Stick with the Engineer’s Report. The Engineer will tell you about the circuit breakers in Alpha Quadrant. You’ll need to flip a few switches later to bring power to the Gamma Quadrant to the south.
The small room (5) across the hall has an Audio Log (Rex Melville) in a case, and just around the corner you’ll find the Cargo Lift (6).
Central Hub
You can’t get access to Central Control just yet and the Respawn Room is locked for now. You’ll need to come around from the other side later.
Pull the switch to make a bridge across the corridor. In the little room on the other side you might find some grenades.
Do a lap around the Central Hub to clear out the enemies and head to the north to Alpha.
Alpha Quadrant
The room in Alpha Quadrant at (7) is where you’ll find the switches. Just watch out for the Bots! There’s also a Charging Station here.
Pull the second switch from the left up to restore power to the Beta Quadrant in the east.
Continue exploring the Alpha Quadrant to find the Sk-27 Shotgun (8). There’s a locked room, Nathan D’Arcy, at (9) but you’ll need the Personal Access Card which you find on another level. Inside you’ll find two Audio Logs (Nathan D’Arcy).
In the room at (10) you’ll find Audio Log (Bruford Endicott) who tells you about the switches in Alpha to turn power on in Beta. Once you’re done exploring Alpha and have flipped the switch head to Beta.
Beta Quadrant
Head to Beta Quadrant after you’ve flipped the switch and grab the ammo from the Teleporter Room (11). Go through the portal to arrive in a room in the Central Hub with a Mod Station. This is where you can upgrade your Sparqbeam for 20 Credits. The door down past the ladder needs Science Access. Once you have it you can go inside and find an Engineering Access Card on a body.
You’ll find an Audio Log (SHODAN) on the table at (12) and another at (13). At (14) is another Audio Log (Dan Pelletier).
North to Admin Security (15) you’ll find the Science (SCI) Access Card on a counter and one one a drone. There’s also Audio Log (Amy Giovannone). In the next room to the north (16) is another Audio Log (SHODAN), as well as some patches, grenades and an SK-27 Shotgun.
The Library (17) is just to the south and the door can be opened with the SCI access card. Inside you’ll find the Data Stick (Always a Maze!). There’s also the Target Identifier v1, and Audio Log (Stacy Everson).
In the room to the west you’ll find Audio Log (SHODAN) and the Cyberspace Terminal.
Cyberspace
Jack into cyberspace and take out the enemies in the first room. You’ll pick up the Ice Drill going through the tunnel. On the other side you’ll need it to break the ice on a switch. Shoot it to open the barrier. The path here is linear but there are many more mines and enemies to deal with.
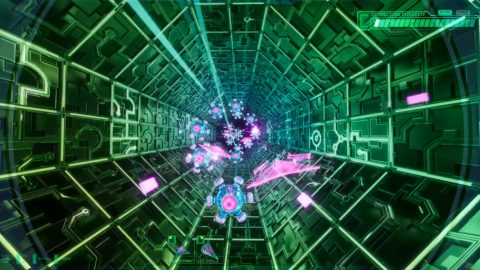
Take out the purple enemies with the homing shurikens first. If they are encased in ice use the Ice Drill first. Hold down right-mouse button to lock in the target and release to use the drill.
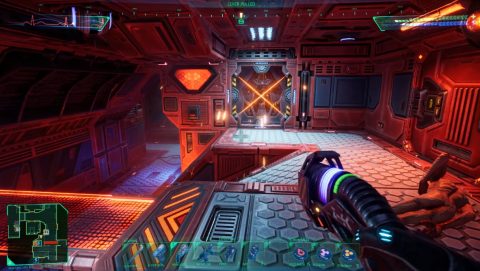
Destroy the central connection between the pyramids to obtain the Laser Safety Override Code.
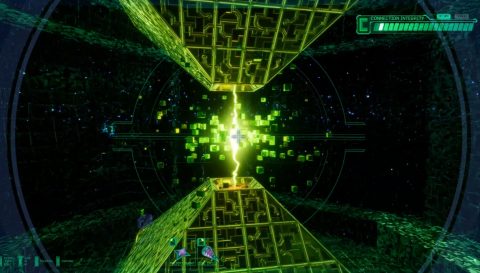
Hit the switch in the small side room and go through the barrier. Continue through the next tunnel and avoid the barriers. Eventually you’ll find your way out.
Take a look at the nearby computer for the Safety Override Code. Mine was 588.

Central Hub
Go back to the Central Hub. You’ll be able to access the center room (6) using the door on the west side with the SCI Access Card.
Inside you’ll find Audio Log (Brandon Scott True) on a counter in the lower section. Go up the ramp on the other side to the Control Room. There’s nothing you can do here because of the Safety Override. For now just grab the Audio Log (Nathan D’Arcy) at (30) and Data Stick (Chapter 3 Section 5.2.1). Leave and head south to the Gamma Quadrant.
Gamma Quadrant
The SCI Access Card will get you through the gate (18). The room at (19) has the Audio Log (Paul Stannek). He tells you about the radiation around X-22.
Go through the doors to the south and then north to (20) where you’ll find the Isotope X-22. You’ll want to move quickly to keep your radiation exposure down.

Push the button on the other side of the room to remove the force field and then open the briefcase for Isotope X-22. Get out and use a Detox Patch to remove the radiation.
In (21) you’ll find the Recycle Station and a bunch of batteries. Just to the east is the Elevator to the Maintenance and Reactor Levels. Just outside the elevator you’ll find Audio Log (Travis Baerga) on the ground.
Further east is the Computer Room (22) and Robot Maintenance (23). In the Computer Room you’ll find the CPU Nodes guarded by 3 droids.
Destroy the nodes and then take a look at the number displayed on the computer screen. You’ll need this for later.
In Robot Maintenance you’ll need to get past the Junction box to open the door leading further in, or use a Logic Probe to bypass the puzzle. You’ll need a code to get to the final room. You can find it in the Delta Quadrant at (26).
Once the door is opened you’ll still need to complete a Junction puzzle. For me it was the connection type rather than the power type. One complete robot production will be cancelled.
Delta Quadrant
The Delta Quadrant is on the western side of the floor where you come up in the elevator. The Junction box at (24) will give you access to a ladder leading to a hatch. Follow the tunnel through to a Charging Station. The tunnel eventually leads out to a door in the Central Hub.
Further east, in room (25), you’ll find a switch to cancel cyborg conversion. Giving you a respawn point on this level.
Take the lift up and open the door leading out to the respawn point and Central Hub.
Follow the ladders and tunnels around to (26) where you’ll find a Data Stick (Robot Production) on a counter. Read it to find the shut down code. For me it was 604 but it is probably randomly generated.
Pull the switch next to it to open the door to the leading back around to (27) where you’ll find Audio Log (Jon David Wong) and a Data Stick (Negotiations).
Enter the irradiated room at (28) for the Energy/Projectile Shield v1. When activated it will reduce damage from ranged attacks.
To the northern side of Delta you’ll find an Audio Log (Paul Stannek) and Minipistol in room (29). The path to the north leads back around to the Alpha Quadrant.
With the level complete for now it’s time to head to the Reactor. Make your way to the elevator on the southern side of the level and ride it down.
Next: Level R (Reactor)
Back: Level 1 (Medical)