World A Level 2
Back to The Talos Principle
World A Level 2
As soon as you enter you’ll find Terminal #1 with a few more messages waiting to be read. This level has three sigils and one star. Immediately ahead by the amphitheater ruins you’ll find an Audiolog.
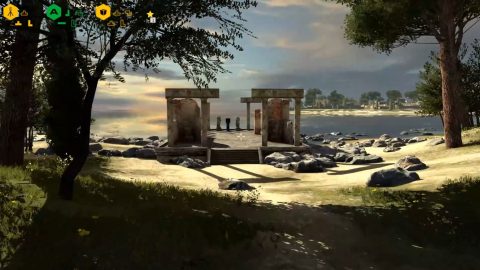
Head towards the water and you’ll find Terminal #2 with different messages.
Now for the puzzles.
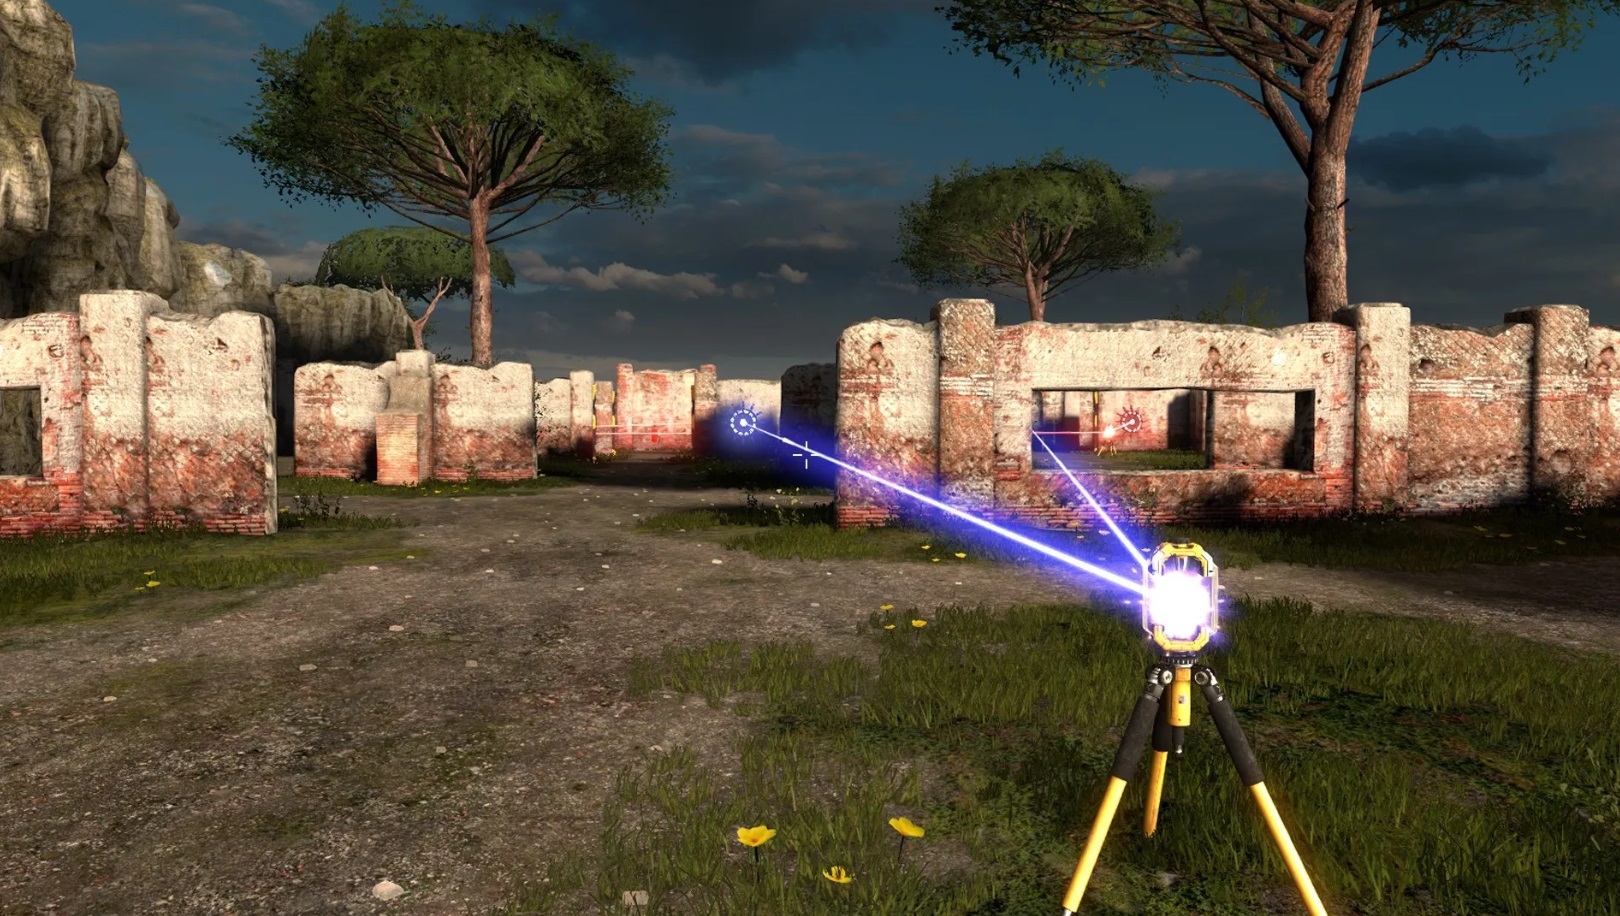
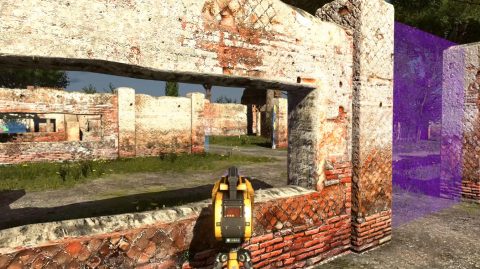
Suicide Mission (Yellow Sigil)
Grab the Jammer on the left side and use it to disable the barrier and let the Droid out. It will run close to the Turret and both will explode.
Go through the barrier for the Yellow Sigil.
Hall of Windows (Green Sigil)
Pick up Jammer #1 behind the purple barrier and use it to disable the first barrier.
Grab Jammer #2 and take it through the open barrier and jam it from the other side. Go back through the purple barrier and move Jammer #1 to jam the far barrier through the windows.
Go back through the barrier, grab Jammer #2 and use it to open the barrier to the left. Continue around for the Green Sigil.
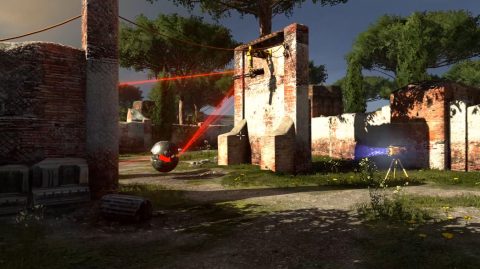
The Guards Must be Crazy (Green Sigil)
Sneak past the first Droid when it’s on the way back and grab Jammer #1.
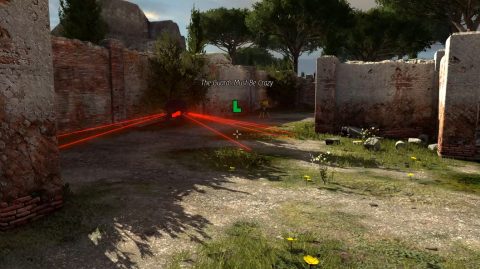
Quickly run back and use the Jammer on the second Droid in the passage. Run past it for Jammer #2. Turn around and disable the Droid from this side so you can run back and pick up Jammer #1. Now you’ll have two free Jammers.
Disable the barrier on the left and let the Droid come out. Grab the other Jammer to disable the barrier behind it.
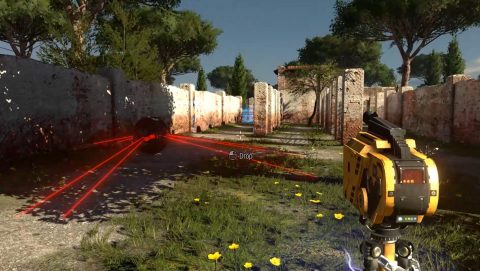
Run through for the Green Sigil. Go back the Jammers because a gate will have opened behind them. Go through to find the Keys. You can’t leave out the purple barrier or the keys will disappear so find the ladder in the same area and climb out.
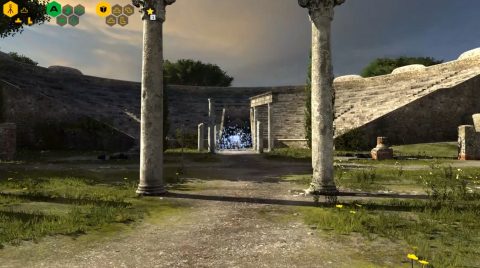
Behind the portal to the temple you’ll find a locked gate. Use the keys to open it and go inside for a Jammer.
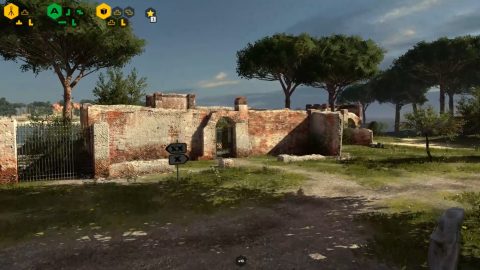
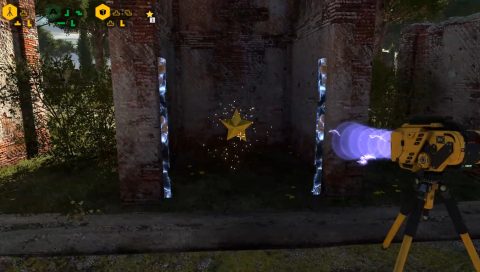
Turn around towards the portal and on the right side is a small building. Run around behind it and disable the barrier to find the Star #2.
That’s all for this level so head back to the temple and enter level 3.
Next: World A Level 3
Back: World A Level 1