World A Level 7
Back to The Talos Principle
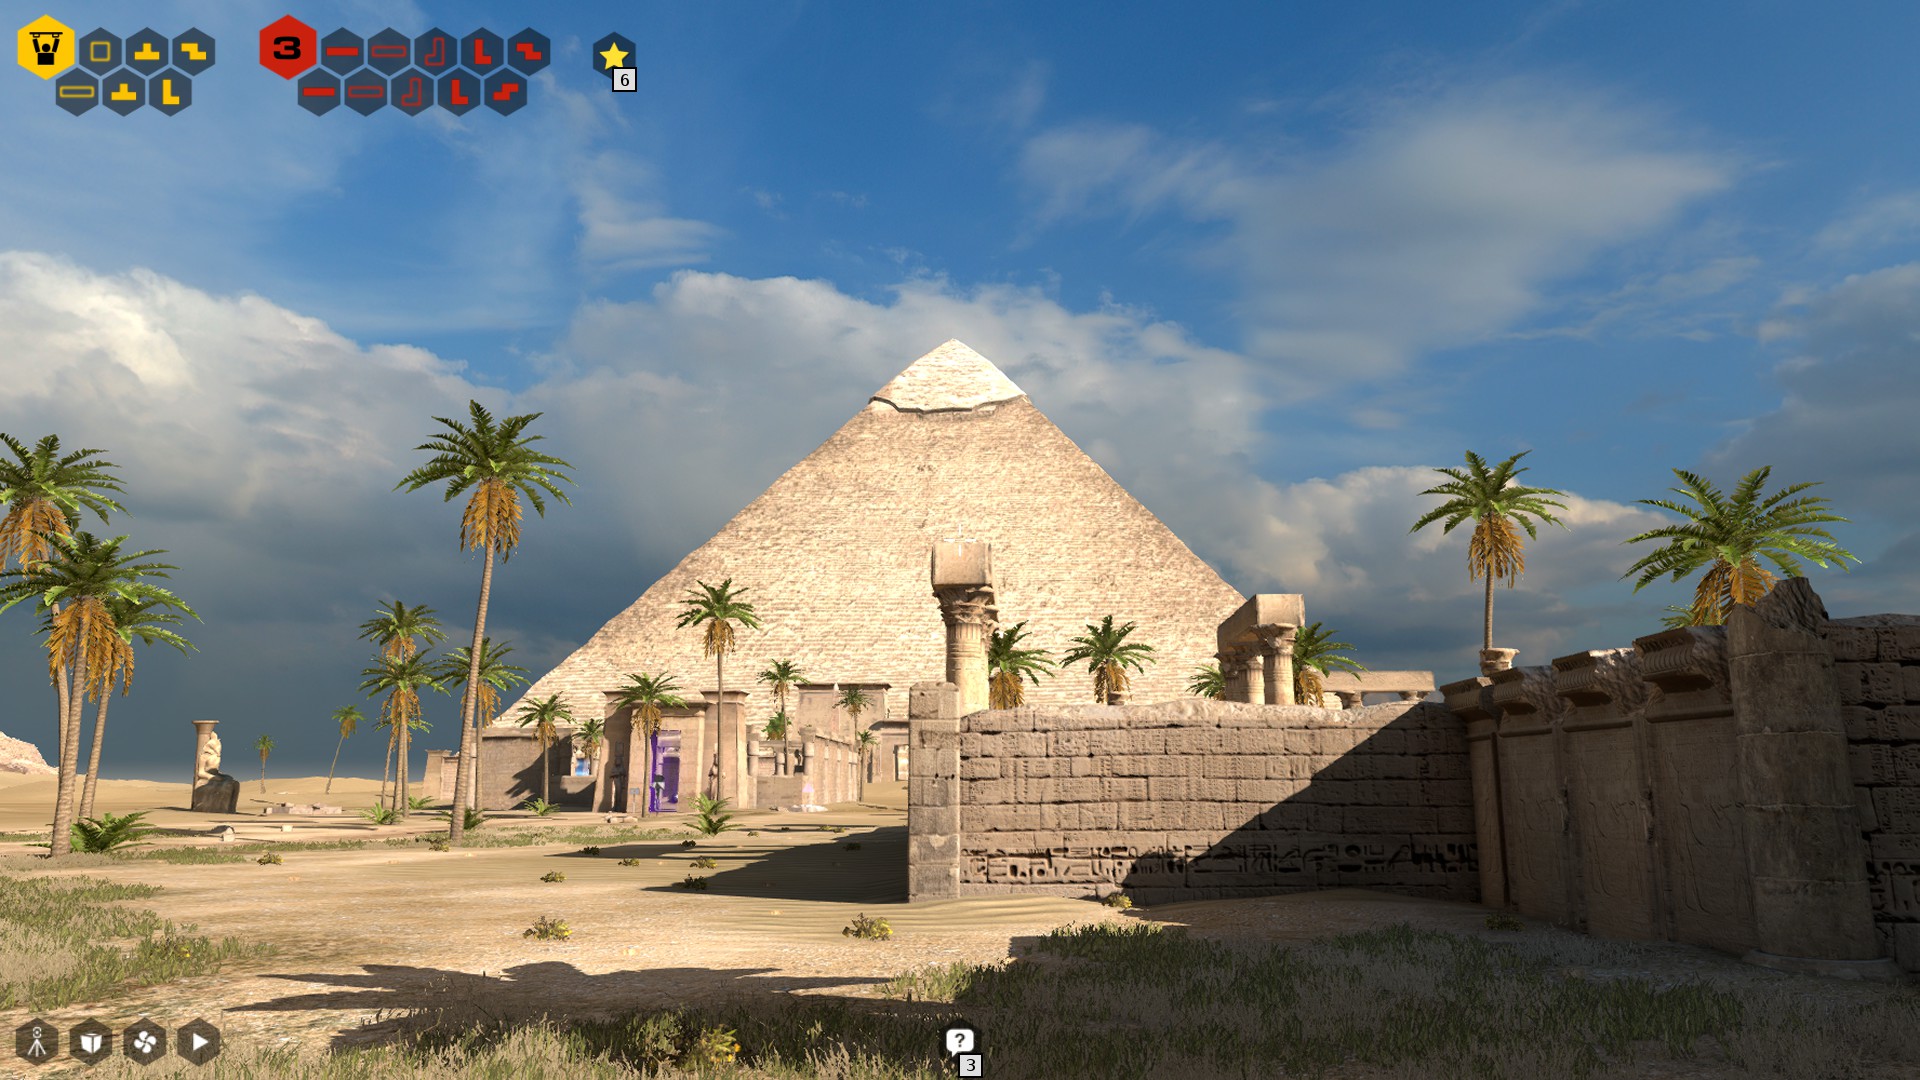
World A Level 7
There are 5 sigils to find and one star. Just as you enter you’ll hear the Terminal beeping at you. Take a look for a few more messages and to perhaps move the story along. There’s also an Audiolog just behind you.
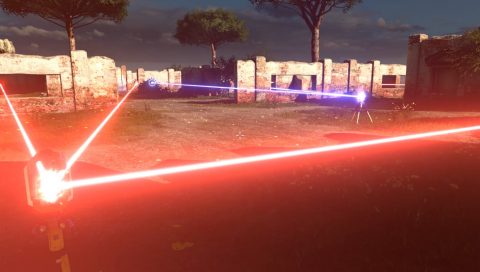
Two Pesky Little Buzzers (Red)
The Star is just around to the left but you’ll need to bring a blue laser to this area. We’ll do that later. For now grab the Connector. Place it at the back of the puzzle, connecting the red laser to the receptacle by the barrier.
This way you avoid one of the Droids although the other Droid will still go through it. You should have just enough time for the laser to open the barrier before the Droid breaks the line of sight.
On the other side you’ll find a second Connector and a box. Use the Box to trap the first Droid and move the connector to the other side.

Place the second connector down to open the barrier with the Sigil. Once again you should have just enough time to open the barrier.
You can climb up the ladder so you don’t need to wait for the barriers again.
Pinhole Windows (Red)
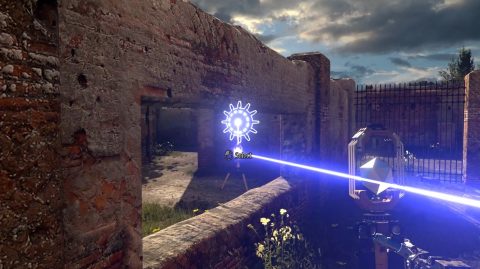
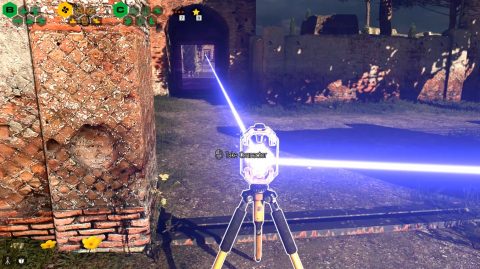
Grab the Connector on the left by the red laser. Use it to connect the red laser to both red barriers.
It’s just the second red barrier on the right that you need to worry about for now. It opens up the blue laser and two more connectors.
Use the 2 Connectors to bring the red laser around the outskirts of the puzzle through the windows and behind the small building. Use a Connector closer in to bring the blue laser to the blue barrier. When you’re done it should look something like this.
Go through and pick up the Red Sigil.
Trapped Inside (Green)
Grab the Connector and target the blue barrier through the window. This will free up the second Connector inside the room.
Use the 2 Connectors to bring the blue laser around to the blue barrier. Go through for the Green Sigil.
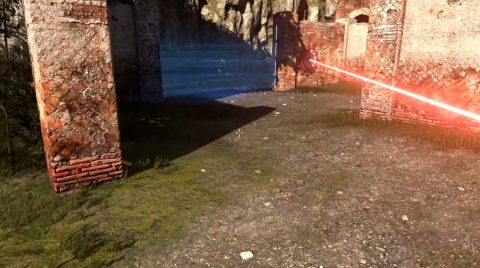
Locked from Inside (Green)
This one is fairly complex. Grab the first Connector and open the red barrier on the left side. Inside you’ll find a Connector and 2 red barriers. Place the second Connector in this small area between the ruins so you can see the first Connector when you place it on the platform with the pillars.
You can use it to open the red barrier on that side. This opens up the blue laser, blue barrier and a third Connector. First use the third Connector to open the other red barrier and get the fourth Connector.
Now open the blue barrier with the blue laser.
Use a second Connector the bring the blue laser to open the other blue barrier from the inside. You can then bring the red laser in to open the barrier with the sigil.
Star #9
Enter Two Pesky Little Buzzers and grab the 2 Connectors and the Box. Place one Connector on the box close to the entrance. And the other Connector so it can see the first Connector and the star.
Enter Locked from the Inside and bring the blue laser through the entrance to the Connector in Two Pesky Little Buzzers.
Go into Two Pesky Little Buzzers and use the second Connector to open the barrier to Star #9.
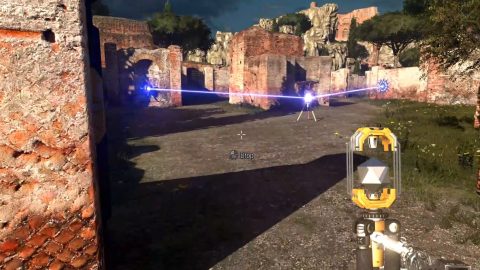
Windows into a Labyrinth (Red)
This is another fairly tricky puzzle so take a look around first. Grab the Connector and open the red barrier. Go inside to find a second Connector. Use it to free the Jammer behind a red barrier.
Use the Jammer to open the first barrier from the inside. Use the Connector to send the red laser through the window on the right side.
Go inside and use the Jammer to open the next barrier. Use the second Connector to open the red barrier far to the side. You’ll need to open it for the third Connector.
Move the Connector on the outside so you can see through the window to the furthest red barrier. Then use the Connectors on the inside to open the next two barriers and the Jammer to open the barrier to the Red Sigil. The gate opens giving you a path to the exit.
Return to the portal. You should be done with World A for now. We’ll be back for the Star Levels later. Take the lift up.
Hub World
In the first room to the left as you approach the exit you’ll spot a Terminal. Take a look for a few messages. From here you can enter the Tower and World C but we’ll go to World B next.
As you enter the World B building you’ll spot another Terminal beeping at you. Use the Green Sigils to open the gate. Here is one solution.
Take the lift down to the temple area and enter.
Next: World B Level 1
Back: World A Level 6