World B Level 3
Back to The Talos Principle
World B Level 3
Take a look at the Terminal for a few messages and then enter the first puzzle. A second Terminal can be found in the back right corner of this area.
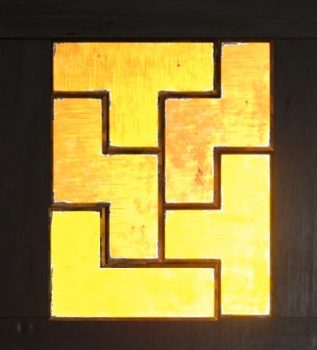
Sunshot (Yellow)
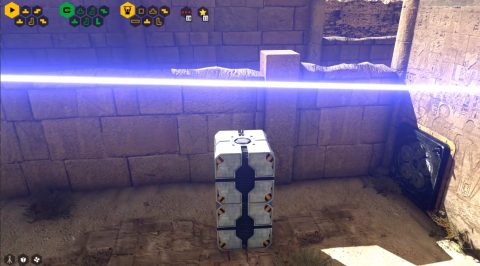
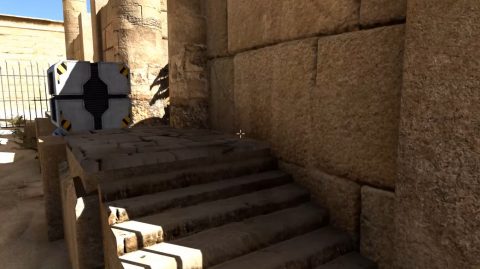
To the left you’ll find a Fan and to the right two Boxes. Place a Box on the fan and stand on the button to send it over the wall. Do the same with the second box and then climb over the ladder.
Place a Box on the button to power the next fan. Grab the other Box and stand on the fan to get blown over the fence. Place the Box on the button to open the barrier and grab the Yellow Sigil.
Whoosh! (Red)
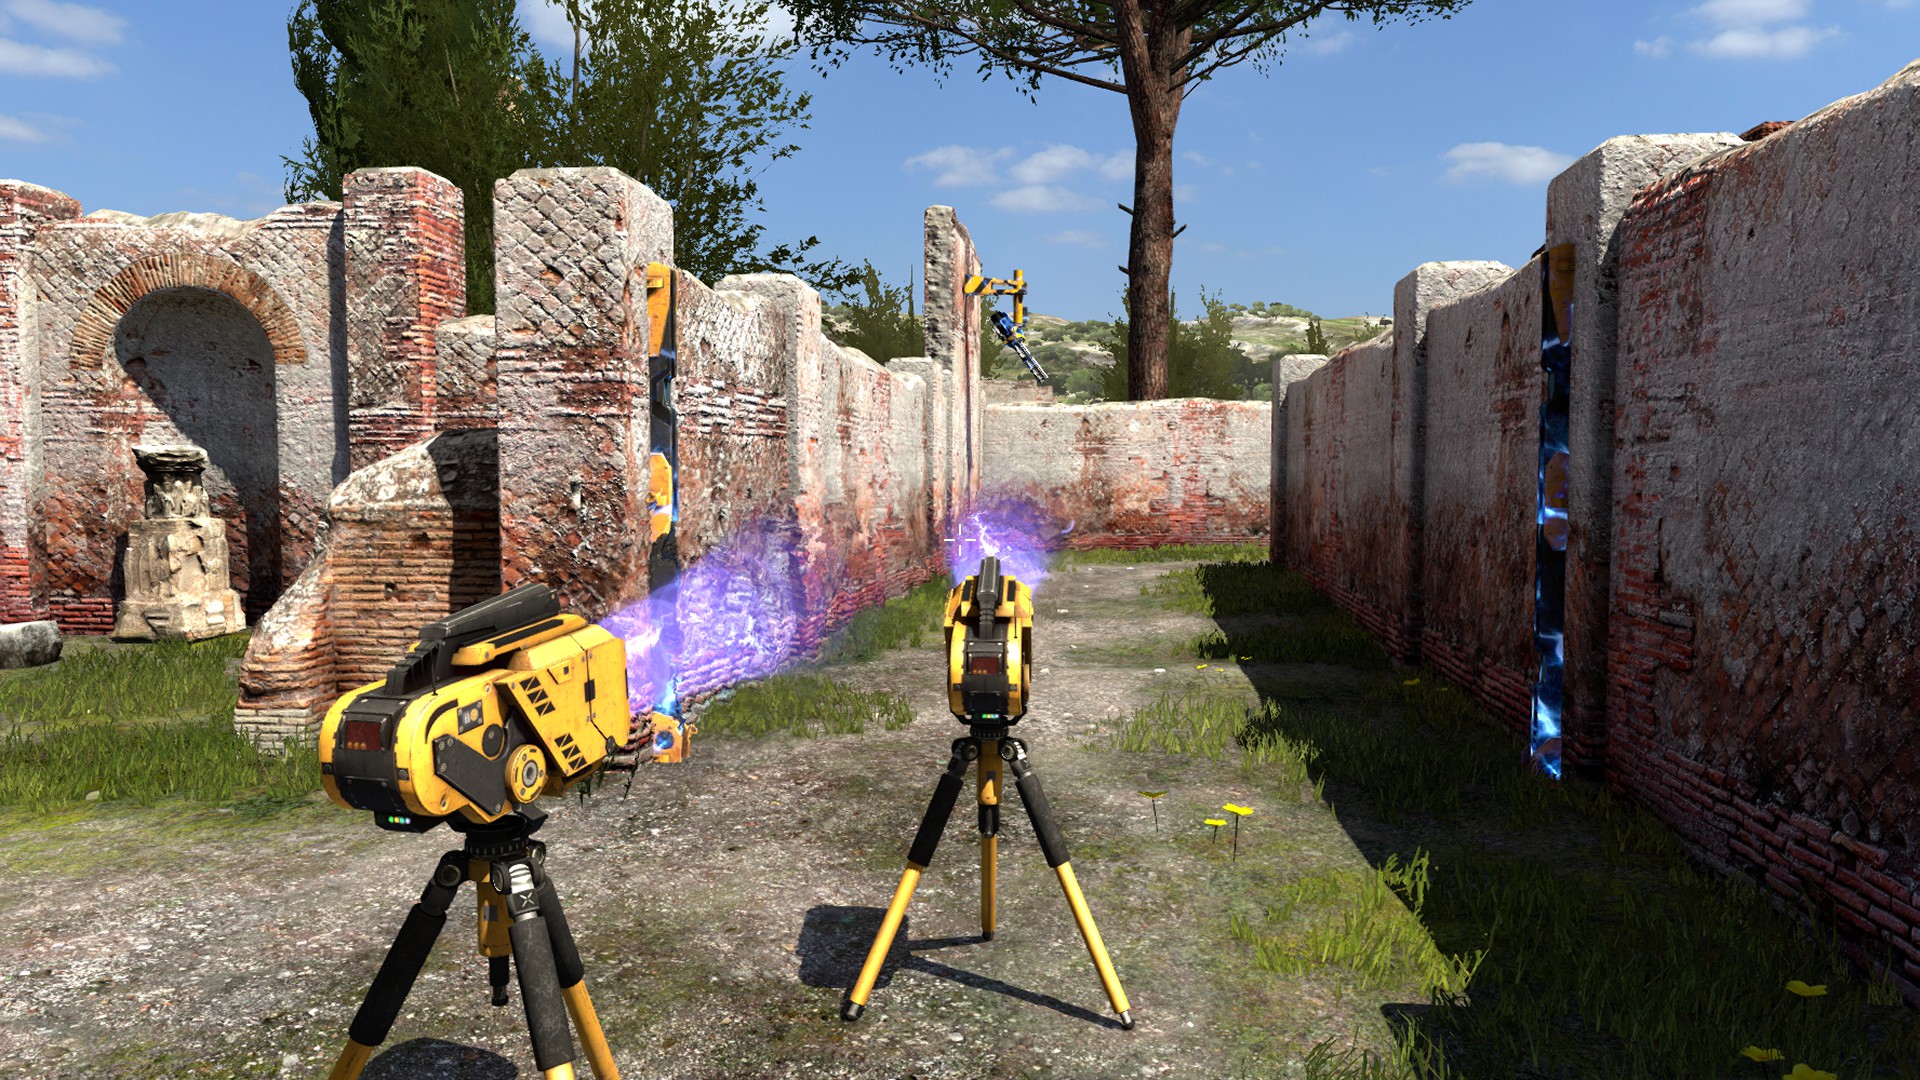
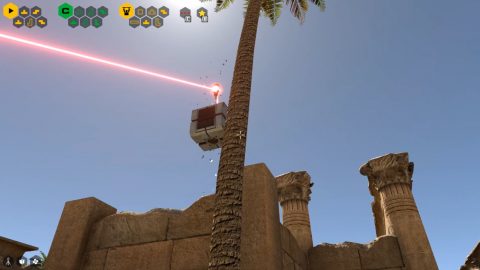
When you first enter you’ll see fans everywhere and lasers crisscrossing above. Grab the fan piece at the back side and place it on the back wall so it blows the box through the hole in the wall.
Grab the fan piece and place it under the red laser near to the blue laser emitter. Place a box on the fan to block the red laser. The fan to the right will turn off.
Place a fan piece on the on the wall by the blue laser. Grab the other fan piece on the right side by the sigil and place it on the fan facing towards the sigil. You’ll be using the fans to move quickly towards the entrance to the Sigil room.
Grab the fan piece under the red laser and place it under the blue laser. Place the two Boxes directly under the blue laser. Stand on the fan and jump onto the boxes to block the blue laser.
When the laser powers down quickly drop down and ride the fans to the entrance to the Red Sigil.
Star #12
Place the two Boxes down closer to the wall. Ride the fan up and jump to the boxes and then to the top of the wall.
Grab a Box before dropping down on the other side. Place the Box on the button around the corner. Look up and you should see the Connector flying in the air.
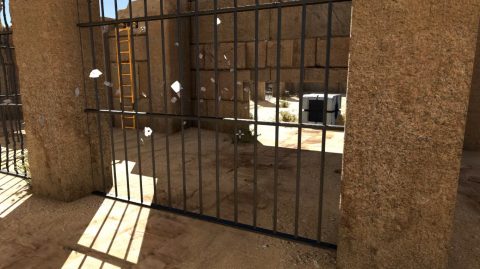
Climb the ladder and leave the puzzle. Enter the next puzzle along on the left called Blown Away. There’s a red receptacle by the entrance.
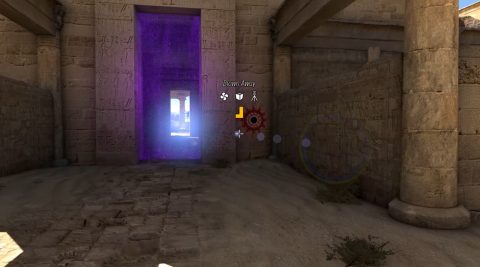
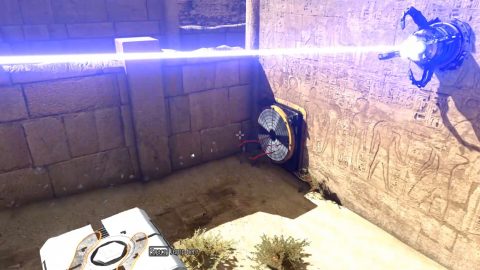
Use the Connector to bring the blue laser to the blue receptacle through the barrier. You’ll need to stand on the button to open the barrier. A Box will get thrown over the fence.
Grab the Box and place it near the back wall. Connect the red laser from the previous puzzle to the red receptacle.
When the wall opens go through for Star #12.
Blown Away (Yellow)
After getting the Box needed for the Star place the box on the button to open the barrier. Use the Connector to open the blue barrier. Go through for the Yellow Sigil.
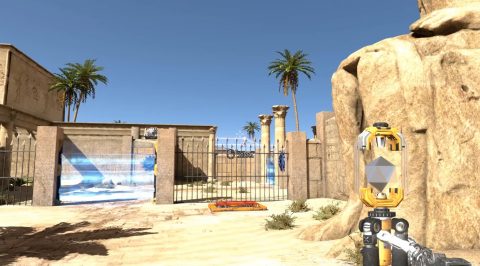
Eagle’s Nest (Red)
Take both Boxes around the back and use the fan to boost over the center courtyard. Drop the boxes down as you’re flying, then take the ladder up to the center.
Place both boxes down under the laser. Climb up the steps and stand on the boxes to break the laser.
When the fan stops quickly drop down, and run around behind it for the Red Sigil.
Return through the portal. You have the sigils needed to unlock the Camera. Here’s a solution.
Next: World B Level 4
Back: World B Level 2