Red Alert!
Secrets: 3
Before you move turn to the right and use the HK in sniper mode to kill the Soldier on the landing above. He’ll crash through the railing. Run up the stairs to the first landing. Turn right and take a standing jump to the next corner.
Go up the stairs and use grab to hang onto the steps when they collapse. Get off into the passage to the left for Golden Rose #1.
Take a standing jump diagonally back to the broken steps or drop down and jump up to grab onto them. Pull up and run up the stairs, taking a running jump to the next landing.
Turn right, run half-way up the stairs and jump over the second half which will collapse underneath you. Kick the broken wall, using the Action key, and then crawl inside.
Crawl around to a small white room underneath a grating. Jump up to grab onto the grate on the right to open it.

Climb out and shoot the Soldier. Pick up the Grappling Gun Ammo and the HK Clips from the crates and then turn to face the hallway on the right. Use the HK in sniper mode to shoot the red wheel on the pipe. This will break the pipe and release steam. You can now see the moving lasers on the right side. Carefully make your way past the 5 lasers as they blink off.
Climb on top of the two crates to the left of the exit for a Large Medipack. Then drop down and run towards the elevator. When you get close the doors will open and a Soldier will attack.
Head inside the elevator and press the Buttons. When the door opens take out the next Soldier. Just ahead are two glass doors leading to two shooting ranges. You’ll need to complete both of them to get access to the second secret. SAVE your game first because you only get one chance.
Go through the glass door on the left first. Pick up the HK Clips on the bench and then press the Button to begin the test. Use your HK with sniper mode and zoom. You need to shoot all of the targets before they pass the second line on the floor.
It’s easiest to shoot them in this order. Mid, left, far left, right, far right. If that works the door to the second range will open. Leave and enter through the door to the second range.
Once more pick up the HK Clips and then press the Button to begin the test. This time shoot the targets in this order, Mid, Left, Far Right, Far Left, Right. The next set come in Far Left, Far Right, Mid, Left and then Right. There’s a poisonous gas being released in this room so leave as quickly as you can.
Run down the corridor to the right of the elevator. If you completed both shooting ranges the door to the Armoury to the left should be open. Go inside for HK Clips and Golden Rose #2.
Leave and enter the Armoury on the other side of the corridor. Inside you’ll find HK Clips on the floor and Grappling Gun Ammo. Search the rack with the green lasers for the Grappling Gun. When you do a Soldier will attack from the entrance.
Run past the bench to a storage room with crates. A Soldier attacks from behind the crates in the far left corner. Climb up the small crate ahead and take a running jump to grab the crate in the far right corner. Take a standing jump to grab the crate to the left and pull up for HK Clips.
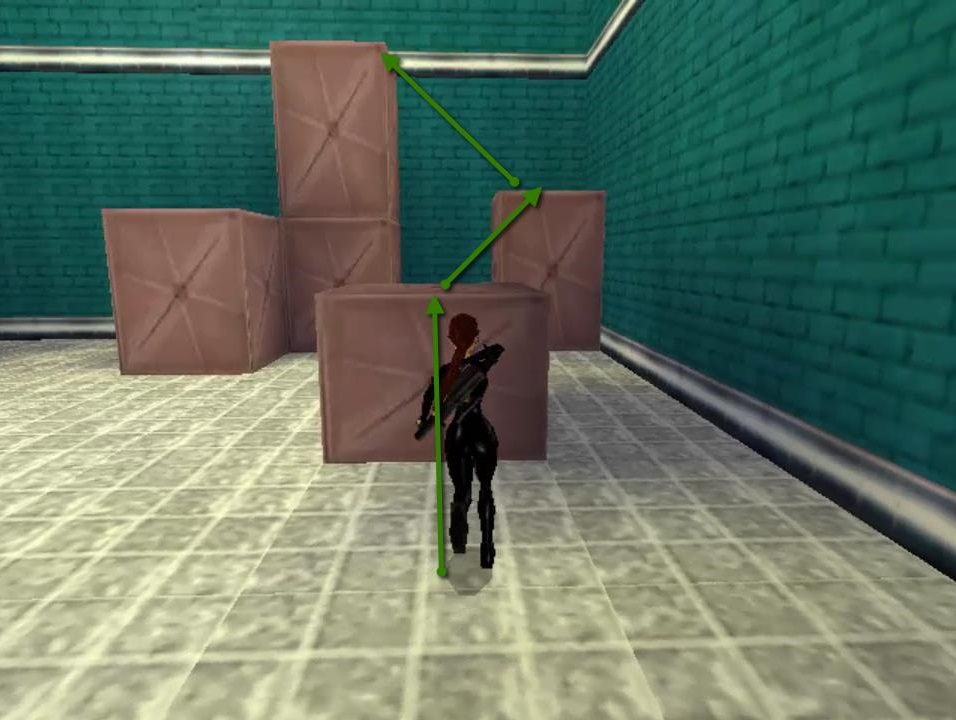
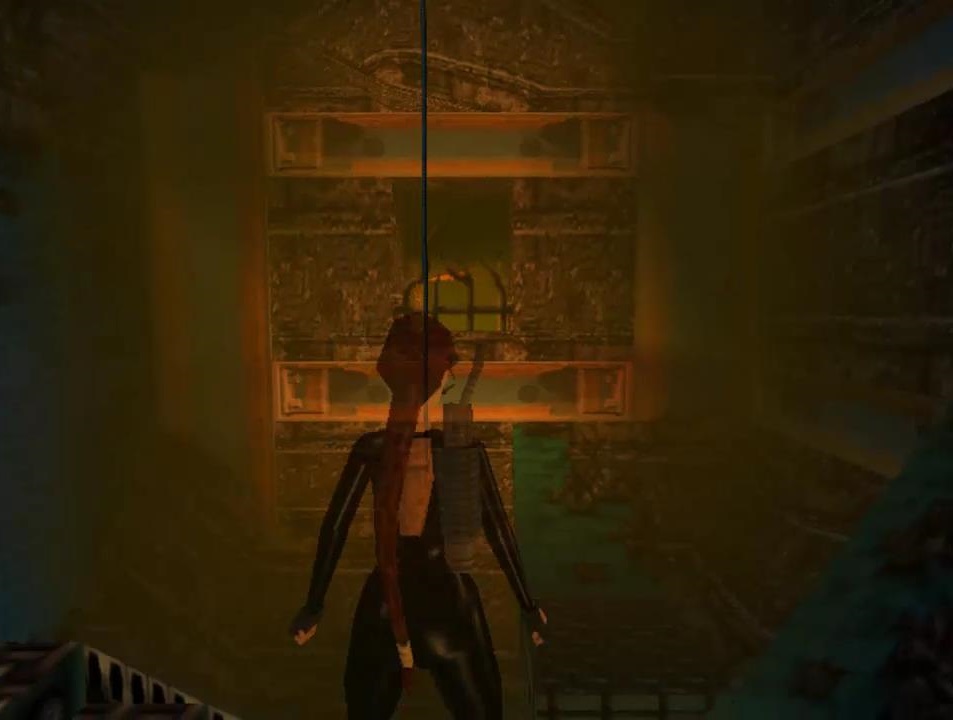
Face towards the center of the room and use the Grappling Gun to shoot a hook into the vent in the ceiling. Drop down to the crate below and to the left.
Take a running jump to grab onto the Rope and swing across to grab onto the small crack in the wall ahead. Traverse across to the right and climb into the duct.
Slide down to the left, back to the corridor and shoot the 2 Soldiers as they walk towards you. Run down the corridor and into the elevator to the right. Press the Buttons to return to the previous floor.
As you run forwards a Soldier attacks from around the corner to the right. Go back through the 5 laser trap and drop down the hole in the floor to the small white room. Walk to the back of the room and crawl through the small passage back to the stairwell.
Use your Grappling Gun to place a grappling hook in the dangling stairs above. You can now swing across to the passage on the other side.
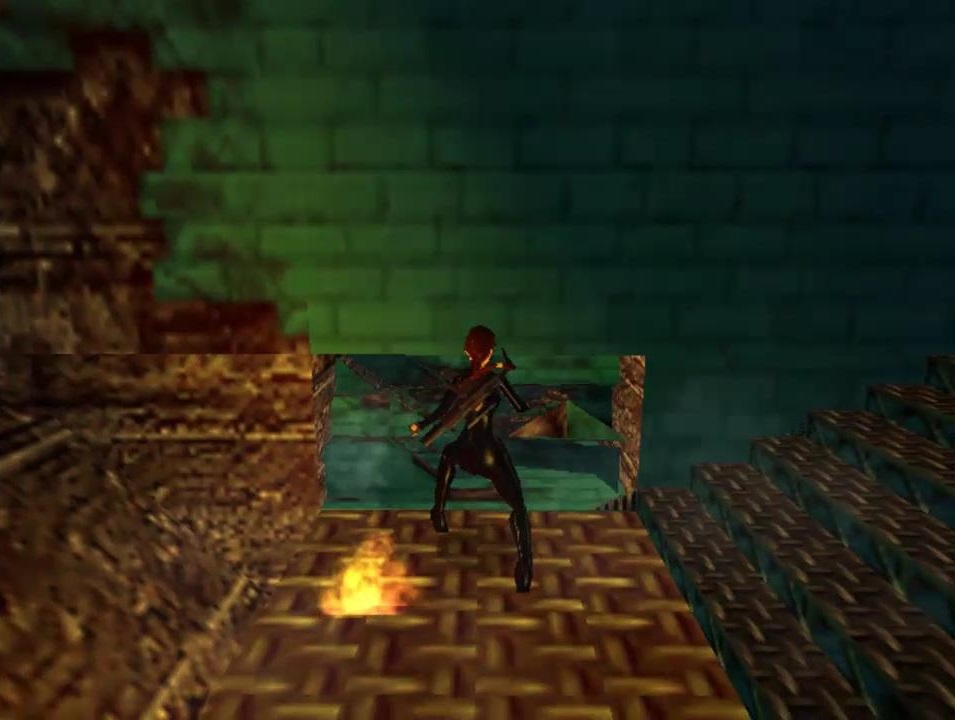
As you slide down jump to grab onto the ledge before you land in the fire and pull up. Crawl through the duct around to the right and position Lara so that she’s facing the edge diagonally to the right on the far right side.
Flip off the edge with the Jump key to land on a tall crate. Turn to the left and use the HK with sniper mode to take out the Soldier down below.
Drop down and then pull the Switch to open the door. Pick up the Large Medipack before heading to the corridor with glass windows.
When you head out turn around to the right and press the elevator Button. Press the Buttons to go to the next floor.
As you come out 2 Soldiers will rappel down from the roof. Take them both out and then run to the left side of the door ahead. Turn around and swing from the Rope to the top of the two crates.
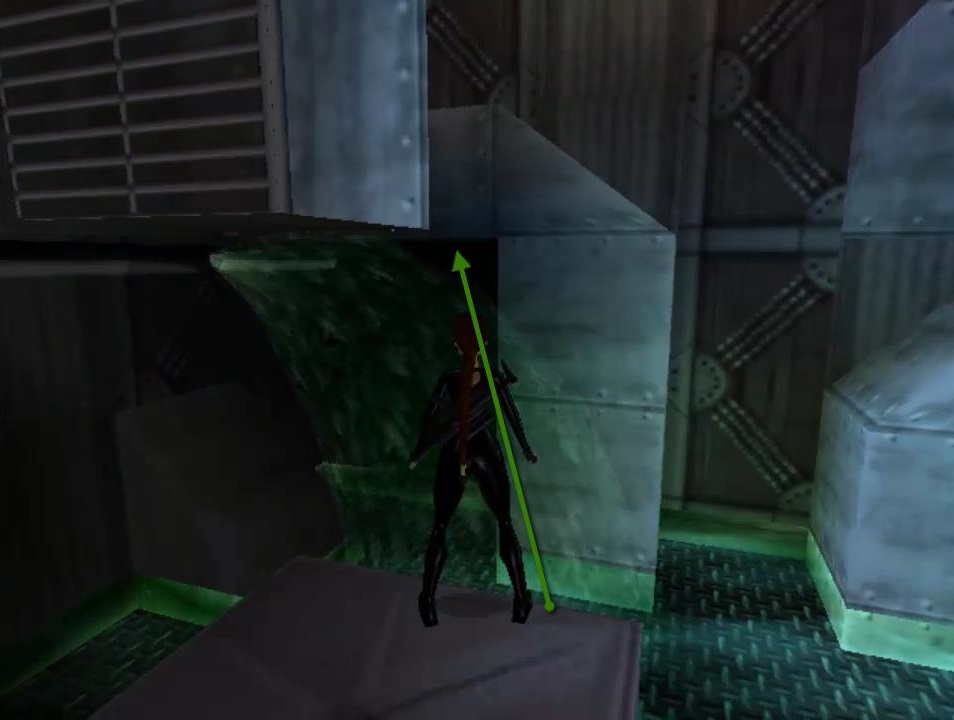
Jump up to grab onto the panels in the sloped wall and open them. A Soldier attacks from the passage you just opened and another Soldier appears from the door with the H above it. Kill them both and then climb into the passage.
Run around to the right and before you reach the button on the end wall you’ll slide down through a trapdoor. Continue forwards. Run around to the right before you hit the lasers and right again.
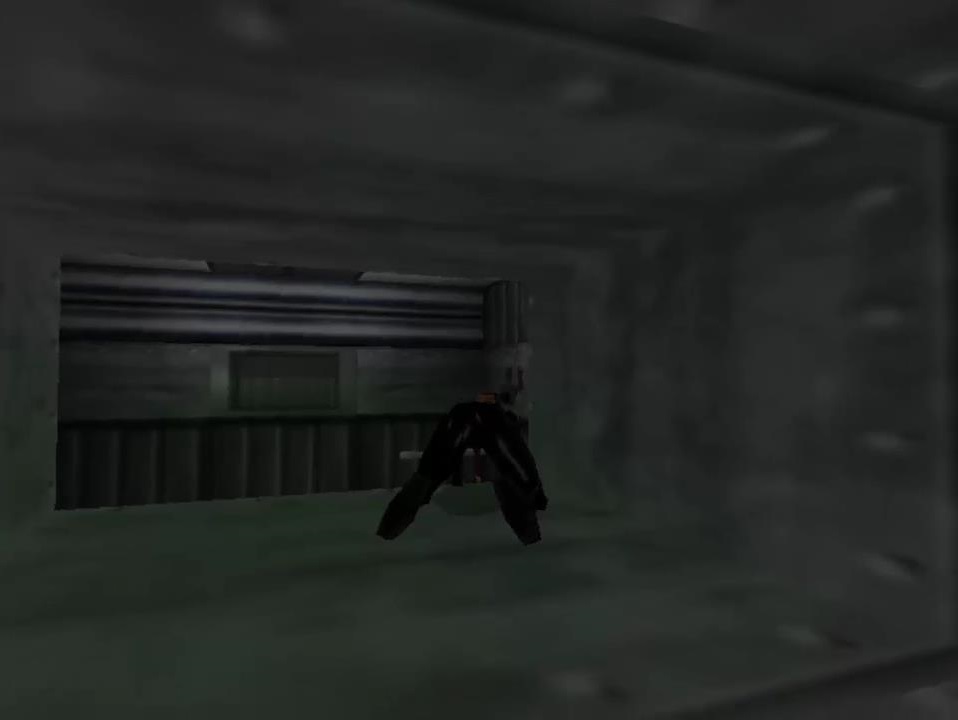
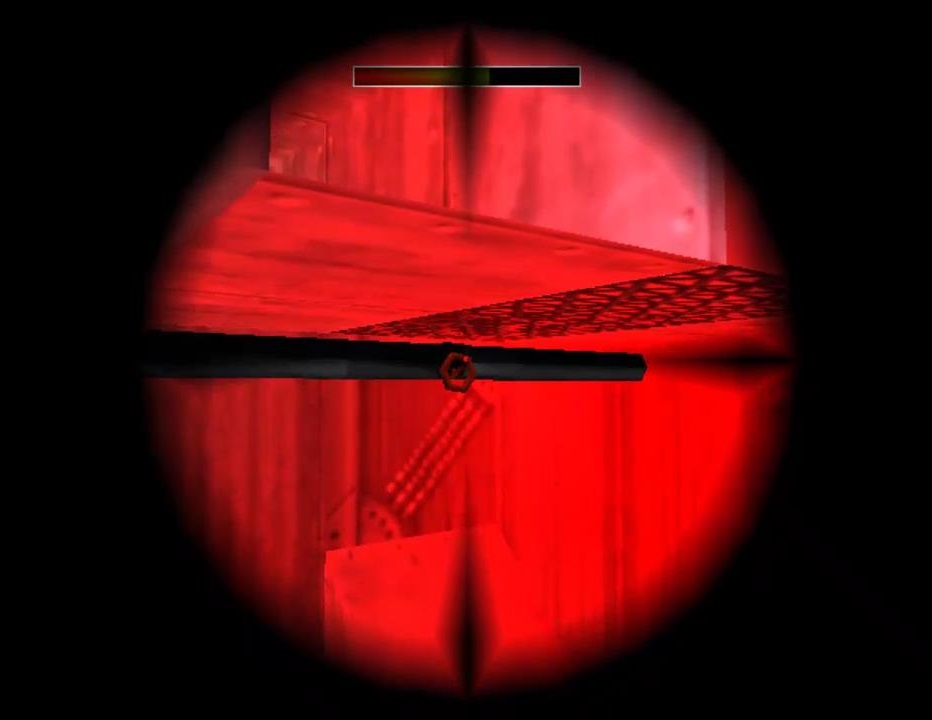
Crawl through and climb up the vent on the other side. As you run forwards another vent opens. Drop down diagaonally to the right, turn to the left and use the HK with sniper mode to shoot the red wheel on the pipe.
A Cyborg attacks. Either shoot the Cyborg from here or, if you’re taking too much damage, take a diagonal jump to grab onto the edge of the duct where you just came from. Pull up and shoot him from there.
As you shoot him more metal parts of him will get exposed. Eventually he’ll get electrocuted in the water. If you drop down into the water now you’ll be killed.
From the crate below the duct take a running jump to the ledge just beyond the duct. You may need to curve around a little as you jump.
Pick up the Grappling Gun Ammo and climb onto the top of the grate to the left. Use the Grappling Gun to shoot a hook into the vent in the roof and take a standing jump to swing across to grab the passage on the other side of the room. Pull up and pull the Switch to remove the water in the room below and also close the vent leading to the duct.
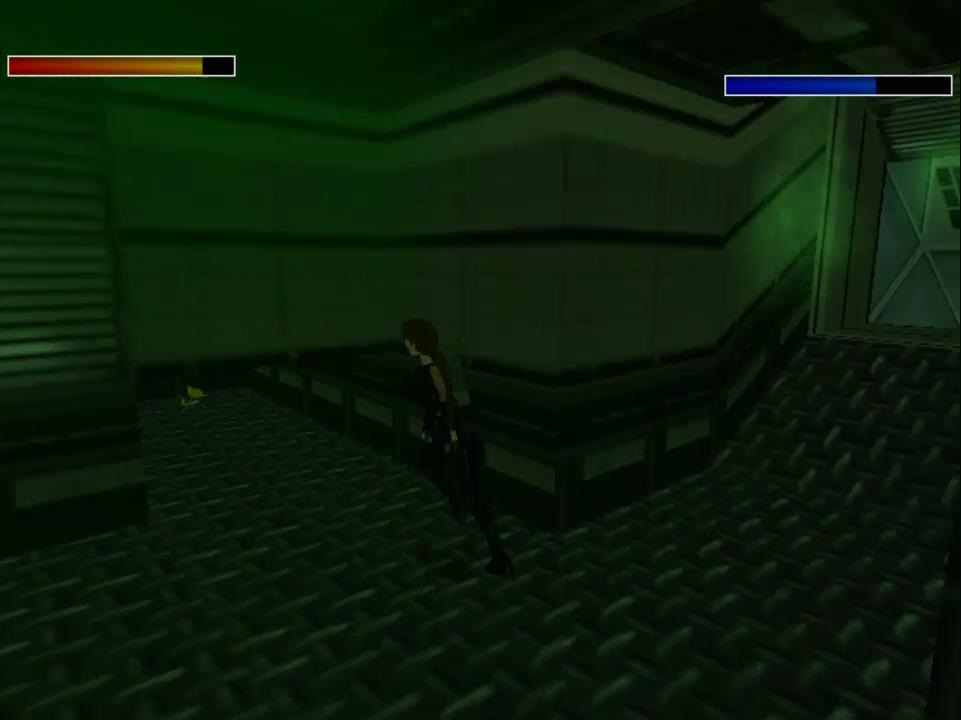
Jump back to one of the structures and drop down to the room below. Now you’re safe to pick up the Large Medipack and first Key Bit from the Cyborg.
Climb back onto the crate and then around to the ledge by the duct. Climb onto the duct and swing back to the passage. Pull the Switch again to open the vent to the duct. Jump back to the Rope and across to the top of the vent. Drop backwards, grab onto the vent and crawl inside.
Drop back down the hole and crawl through to the corridor. When you run down the corridor with the glass on the right you’ll be shot at by a Helicopter. You’ll need to run fast. There are Large Medipacks if you stop to pick them up underneath the broken floor but I find it’s not worth the hassle. If the floor has not yet been destroyed you can just sprint across to the other side.
Run forwards, take a running jump over the first gap and then a running jump to grab the second bit of flooring. Pull up, take another running jump and then a standing jump over the last hole.
Run into the lounge and then left into the bar. Run behind the bar. You can duck down if you need to take cover. Push the Button in the alcove at the end of the bar.
Run back the way you came, ignoring the second Cyborg and make the jumps in reverse. The way you came is blocked by lasers so run up the ramp to the right.
You need to run fast in order to trap the Cyborg in a specific room in a few seconds. Follow the path around to the left and at the first intersection take a left. Run down to a Switch on the left. Wait until the Cyborg walks into the room you just came from and pull the Switch to lock him inside. If he makes it out the other side of the room before you pull the switch he’ll continue chasing you and you’ll need to reload.
Run back up the ramp and then take a left at the top. Run around to the left, through a door that opens automatically and then straight forwards through another door. This area is poisoned so you’ll take damage over time. Take the next left into another room and pull the Switch on the far wall.
Turn around and crawl into the passage on the left for Golden Rose #3.
Leave the room the way you came and run through the door to the right. A Soldier attacks but you can just ignore him. Take the next right and pull the Switch in this room to gas the Cyborg. After a while he’ll die and leave behind his second part of the key.
Pull the Switch again and leave the way you came. Run to the right, and right again at the lasers. Go right down the ramp and pull the Switch to open the doors where the Cyborg was trapped.
Head up the ramp, take a right and pick up the second Key Bit. Go back up the ramp to the corridor with glass walls and turn to the right. The lasers are no longer blocking this exit.
Take a right and then a left at the lasers. Climb into the duct, immediately turn around and take a standing jump to grab onto the wall. Climb up to the top and get off to the left.
Drop down to the crate and then to the floor. Combine the 2 Key Bits in your inventory to make the Helipad Access Key and then use it on the slot to the left of the door with a H above it. Run through to finish the game and enjoy the final cut-scene.
Congratulations on complete Tomb Raider Chronicles!