Labyrinth
Secrets: 3 Golden Roses
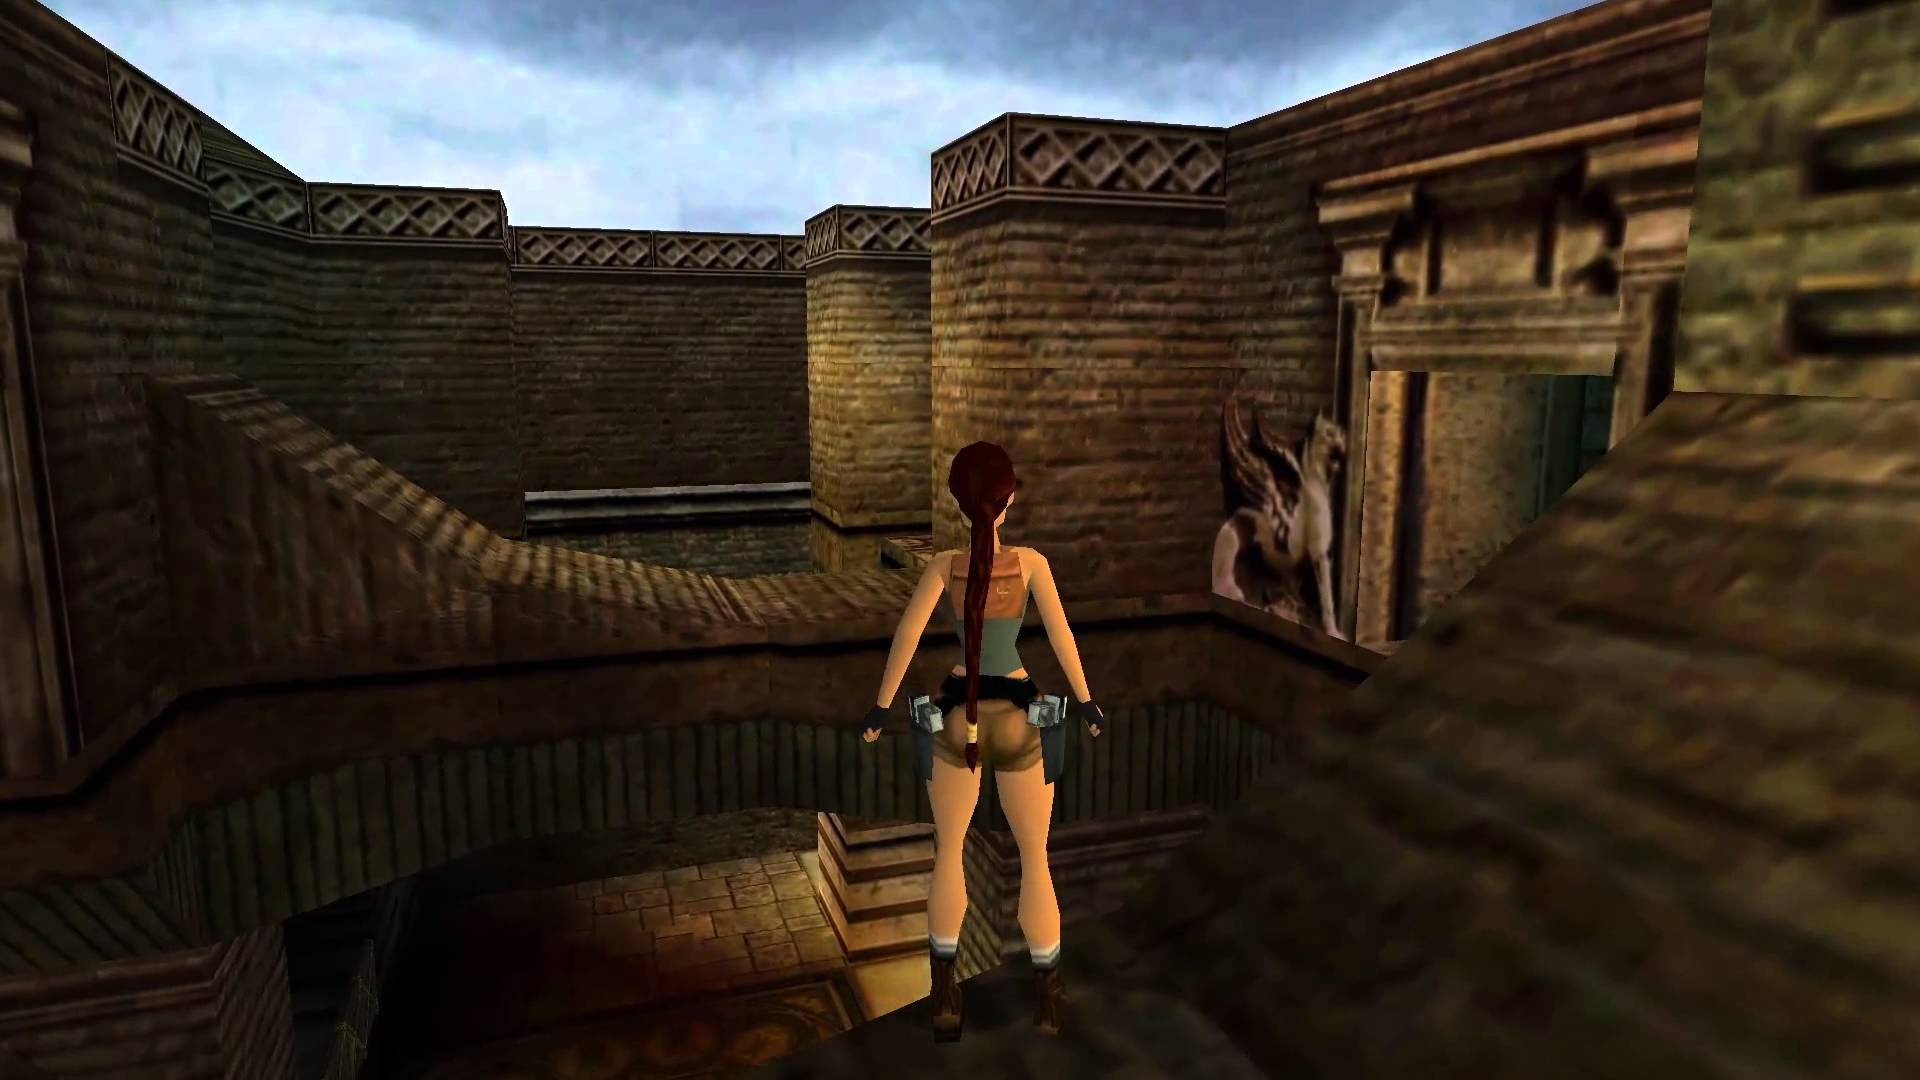
Turn around and walk towards the iron gate behind the pew for a cut-scene. Run towards the front of the Chapel where there are three carved tiles on the wall. The camera angles make navigating the Chapel a bit difficult.
Press the carved tiles in this order, Middle, Left and then Right. 5 Phantom Skeletons will appear. They remain stationary but will swing at Lara if she gets too close. You’ll need to run back to the other end of the room while avoid the Phantoms.
Run to the left, towards the small alcove with the bowl and then go in between the pews to the left. Go between the wooden pillar and the wall and walk around the next pew. Finally hug the last pew tightly and walk around it to the open door in the right wall.
Towards the front of this small room is a Small Medipack. Walk back and use Action to twist the Jeweled Newel from the back pew. Lara will grab some Bone Dust.
Make your way back to the front of the Chapel, avoiding the Phantom Skeletons along the way and use the Bone Dust on the bowl in the alcove to the left. The Phantom Skeletons will fly away and the gate by the small white bridge will open.
Head back to the other side of the Chapel and go through the gate. Don’t slide down the ramp. Instead pull up at the end and pull the Switch to open a gate in the other room with the skeleton. Go back to the room with the Jeweled Newel and enter through the gate you just opened to the right of the skeleton. Inside you’ll find a Large Medipack. Search the niche at the end for Golden Rose #1.
Go back to the main room and into the other passage where you pulled the Switch. This time slide down the ramp. You’ll be attacked by Bats. Duck down in a corner until they disperse.
Drop down the hole in the center and you should land in a small pool of water below. Pull out of the water for a cut-scene. A Cloaked Figure will show you the way out of the tower.
Run up the ramp and go through the first passage. Along the way you’ll spot a Small Medipack on the ground. Follow the passage to a bridge over a pool of lava. Turn left at the missing rails.
Take a running jump to grab the ledge ahead and then traverse around the corner to the right. Pull up when you can. Turn around and take a running jump to another small ledge with railing. Go through the passage to the left for Golden Rose #2.
Go back to the Lava Room. Turn right and take a running jump to grab the higher ledge. Traverse back around to the left and pull up. Turn around and take a running jump back to the bridge. Run along the bridge to the center of the room and pull the Switch. You’ll see the central structure rotate.
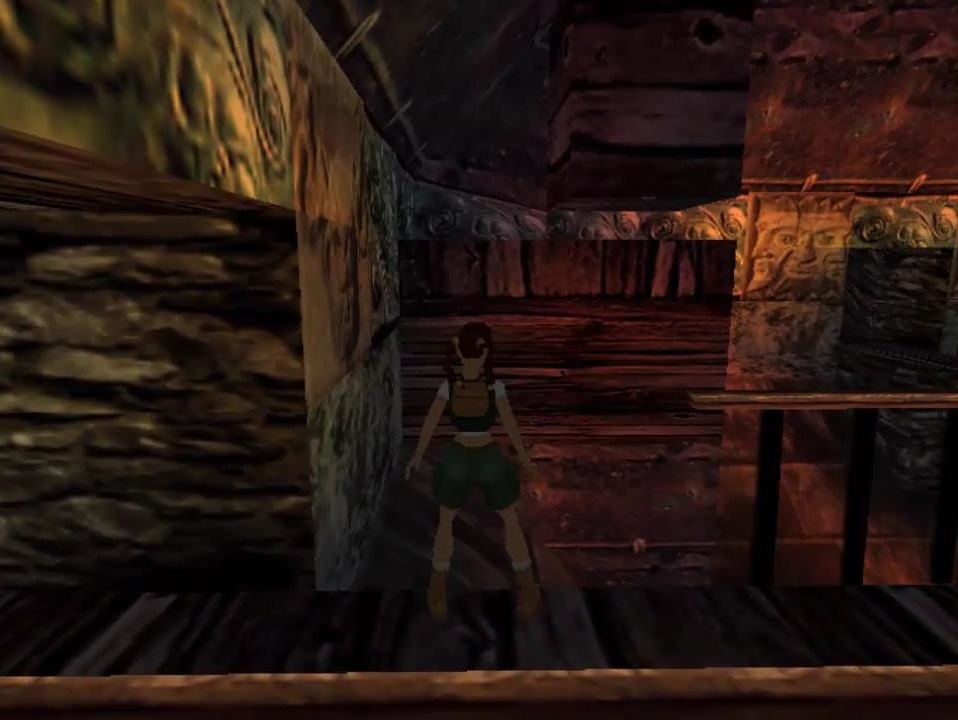
Run back across the bridge, which now takes you to a different passage. Follow the passage around to another tower and run up the ramp. Enter the first passage on the right and follow it to a Spike Pit Room. Go across the bridge, ignore the Switch and head across the bridge to the right into another passage.
Follow it to another tower and go up the ramp. Ignore the first exit and continue up the ramp until you need to crawl. Crawl forwards for a Small Medipack and then go back and take the exit next to the carved tile of a funny man.
Follow the passage to the Gas Jet Room. Cross the bridge to the center and pick up the Bestiary. Take a running jump to the entrance of another tower and climb up to the passage. Follow the passage to the base of a tower with a White Wisp. The Wisp will show you the way out of the towers.
Pick up the Large Medipack and then jump up to grab the ramp. At the top of the ramp take a standing jump to grab onto the slats on the roof and then swing forwards to the crawlway. Drop down and grab onto the edge of the crawlway.
Crawl inside and drop backwards into the spiked pit. Traverse around to the other side and pull up for Golden Rose #3. Make your way back to the tower, drop down and climb up the ramp once more.
This time take a running jump to grab onto the wooden ledge to the right of the slats. Pull up, turn around and take a running jump to land on the higher section of the ramp. Follow the Wisp up to the top and then SAVE your game.
The next section is a short maze. The Wisp will guide you through it but you’ll need to move quickly before a creature attacks you.
Slide down the ramp and continue through the passage to the start of the maze. Run forwards, hop over the pit and then take the next right.
Continue through the passage and hop over the pit to the left. Follow the Wisp forwards and around to the left. Hop over another pit and take the next left. Hop over another pit, follow the Wisp around to the right and slide down the ramp to finish the maze.
Pick up the Large Medipack from the center of the room and approach the open coffin to complete the level.
Next: Old Mill
Back: Tomb Raider Chronicles