The Submarine
Secrets: 3
You’ve been trapped in the crewman’s quarters. Look for the Broken Handrail in between the rows of bunks and use Action to pull it off so that you can use it like a Crowbar.
Use the Crowbar on the vent in the far left corner of the quarters from where you started the level. Crawl through the duct towards the fan and then climb up the ladder.
Crawl through the duct and then drop backwards over the edge of the shaft. Hold on and climb down to a passage on the left, a few blocks up from the bottom. Pick up Golden Rose #1 from the end of the duct and then walk back to the shaft. Take a standing jump to grab onto the wall of the shaft directly opposite and climb up.
When you are at the top traverse across to the right, pull up and climb up the ladder by the fan. When you are at the top turn to the right, crawl through the gap and then hang over the edge of the shaft with the dangling wires. Traverse to the left, to the middle passage and pull up.
Use Action to open the grating and then drop down to a storeroom. Search the shelves for a Small Medipack and the drawers for a Battery(-). Climb onto the brown crate and then back into the duct.
Hang back over the edge, traverse to the left, pull up and then climb up the ladder by the fan. Crawl through the passage. When you’re halfway through Lara will stop to listen to a conversation.
After the cut-scene continue crawling through the duct. Climb down the ladder and then open the trapdoor. Drop down into the kitchen below. Walk slowly towards the Cook and when you’re behind him use the Crowbar to knock him out. Be careful of the stove burners. If you touch them you’ll catch on fire.
When the Cook dies he drops a Bronze Key. Use this to open the door to the storeroom. Search the shelves and drawers to find a Silver Key and Pistols. Use the Bronze Key to open the other door leading out of the kitchen.
Kill the 2 Soldiers in the Mess Hall and the third Soldier who comes out of the door to the bathroom in the in the far right corner. When he dies he drops Shotgun Shells.
Turn around and go through the passage at the opposite end of the mess hall. At the t-junction turn left. Follow the passage around and kill the next Soldier that attacks around a corner.
At the next t-junction take a right and turn the Wheel to open the door. Go up the ladder and follow the passage around to a room with crates. A Soldier pops out from behind one of the crates. Climb up the crate he was hiding behind for the Shotgun.
Jump across to the large white crate. To the left of the brown crate you’ll find an Aqualung and on a crate to the far left you’ll find a Large Medipack. Drop down to the floor and use the Crowbar on the damage brown crate to open it. Inside is Golden Rose #2.
Leave the room, climb back down the ladder and follow the passage back to the Mess Hall. Run to the opposite end of the Mess Hall and turn the Wheel to open the door in the far right corner.
The first right leads to a Storeroom. Kill the Soldier lurking inside and then climb onto the crate. There’s nothing in the shelves. Jump up to open the trapdoor and then climb back into the ducts.
As you crawl through stop at the third grate. Here you can stand up. Light a Flare and look up.
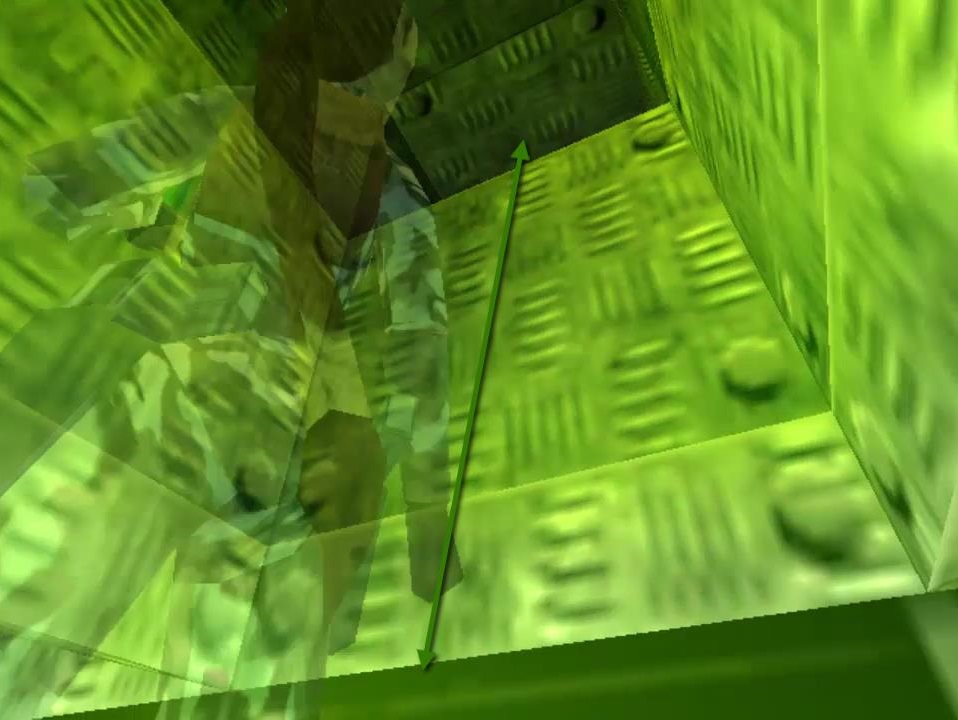
There’s a secret passage up and to your right. Climb into it for Golden Rose #3. Drop back down and continue crawling along the duct. Open the trapdoor and drop down into a Dark Storeroom.
When you stand in front of the door leading out of the storeroom you’ll be attacked by a Soldier. Search the drawers for a Battery(+).
Go through the exit were you killed the soldier and follow the passage around until you come to a t-junction. Continue straight ahead and climb down the ladder. Follow the passage to another t-junction and kill the Soldier at end of the passage. He drops Wide Shotgun Shells. Head past the where the soldier came from and into the Bunk Room.
To the left side of the room you’ll find a Small Medipack. Return the way you came and take a right at the intersection. Turn the Wheel to open the door and kill the Soldier on the other side. Climb the ladder at the end of the corridor which leads to the Diving Suit Area.
Turn the Wheel on the first hatch to the right and go inside. Kill the Soldier and pick up the Suit Console that he drops. Leave the room, turn right down the corridor and enter the next room on the right. Kill the Soldier so he doesn’t bother you and then turn around and turn the Wheel to open the door directly opposite. This room has an accessible diving suit.
Stand in front of the torso section of the diving suit and combine the Suit Console with the Aqualung. Then use the Suit Console on the Diving Suit. Combine Battery(+) with Battery(-) and then use the Suit Battery on the Diving Suit.
This automatically ends the level and Lara gets into the diving suit ready for an adventure outside.
Next: Deepsea Dive
Back: Tomb Raider Chronicles