The Colosseum
Secrets: 3 Golden Roses
After sliding down run forwards through the passage and turn right to face the block with the ring attached. Push it forwards twice to reveal a room with the Golden Rose #1 secret.
Leave the room and continue along the passage. Sprint when you get to the corridor with the stone floor as it will give way behind you. Jump before you reach the end of the corridor as the path ahead of you will also collapse.
Hop backwards and hang off the edge. Traverse to the left and pull up into a crawlway. Drop down the other side and push the Button to open a door above. Climb back out, traverse around to the right and pull up into the room with the grating on the floor.
Run through the open door and slide down to the Lion’s Pit. Kill the Lion. A Shotgun works well here. Push the Button on the wall to the left to open the exit and release another Lion.
Climb up the ladder in the next room, turn around and pick up the Gemstone Piece from the pedestal. Turn around and go through the exit. You’ll be attacked by a Gladiator from the left. Go into the small room he came from for a Small Medipack.
Leave the room and head up the ramp on the far side of the room to the next level. You’ll be attacked by another Gladiator from the left. Kill him and then press the Button in the room he came from to open a door on the upper level. There’s also Uzi Clips on the floor.
Go up the ramp to the next level. There’s an entrance to a cavern but ignore it for now and instead go up the next ramp to the top level. You’ll be attacked by a Gladiator and a Lion. Enter the passage they came from and run around to the last room for the Uzis.
Head back down the ramp and enter the cavern. Light shines on the central platform and a rope chain is down to the left. Walk to the central platform and take a running jump onto the ledge with the rope chain. Pulling the rope chain starts a timer. You’ll need to pull it three times and then get back to the central platform in time to grab the second Gemstone Piece.
When you pull the Rope for the third time immediately roll and drop down off the ledge. Run forwards and take a running jump to the ledge on the right and another running jump to cross the gap to the white stone ledge.
Take a running jump to grab onto the ledge to the left. Turn left to face the central platform. Hop backwards and take a running jump to grab onto the central platform.

Pull up and take the second Gemstone Piece from the pedestal. Run along the path to the other side of the cavern. The door opens as you approach. Once you’re past the door a trapdoor will open and Lara will slide down to a chasm.
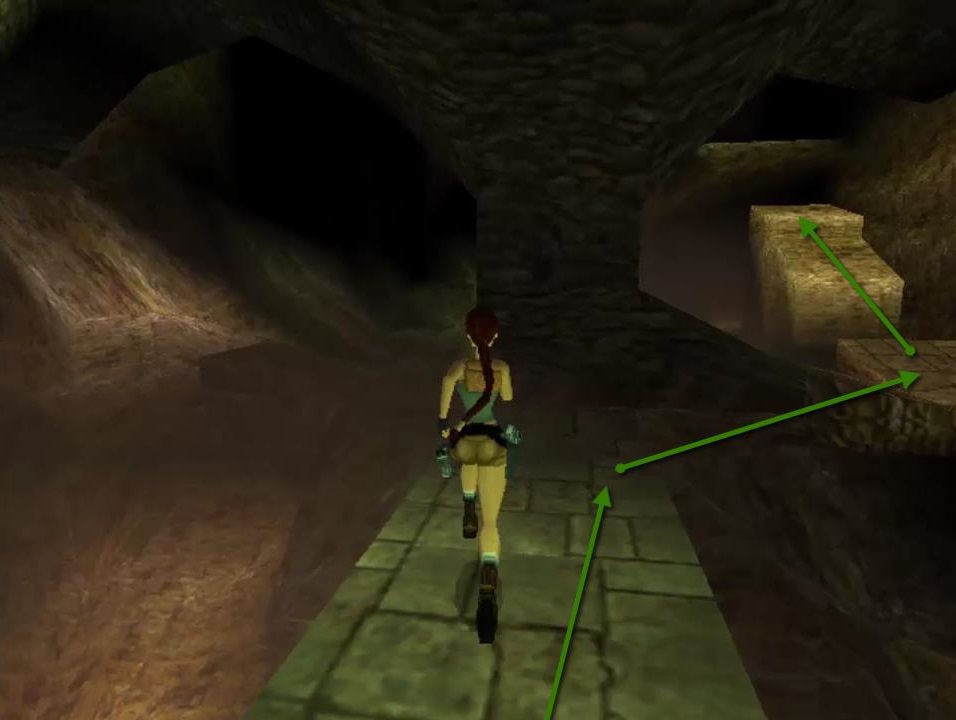
After the cut-scene turn right and run along the side of the chasm. Jump over the slope to a flat spot and then jump up to the passage in the wall at the end. Run up the steps. This takes you back to the bottom of the cavern where you just did the timed run.
Run under the arch and then jump up to one of the ledges on the left. Make your way back up to the central platform with the pedestal. There’s no rush this time.
Go through the door where you fell down earlier and this time jump across the hole in the floor. The gate on the other side will open automatically. Grab the Golden Rose #2 from the pedestal for the second secret.
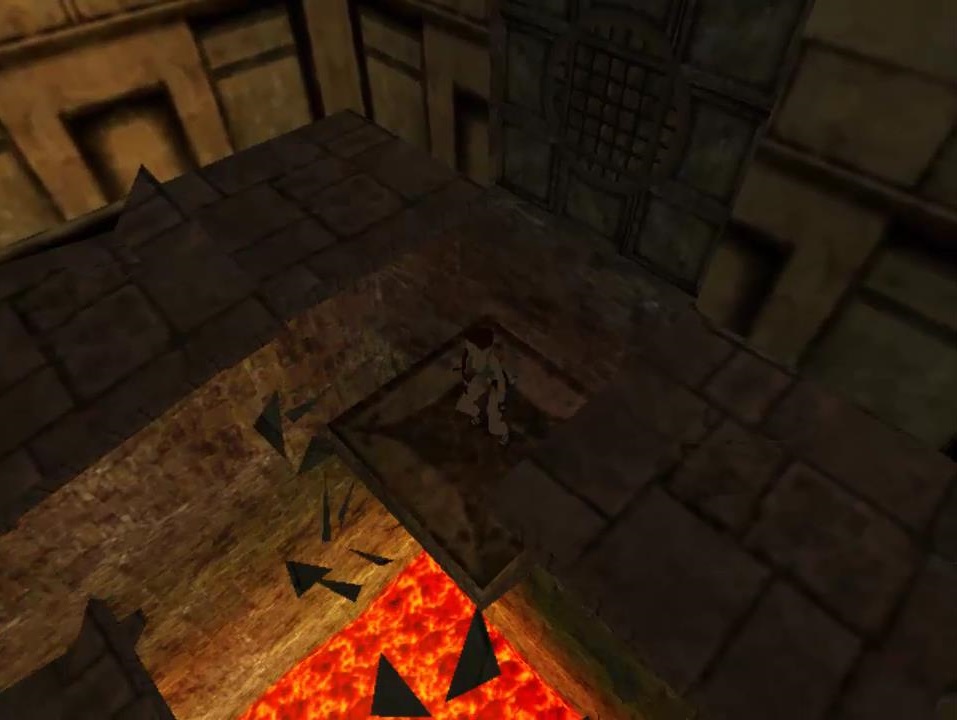
Drop down the trapdoor and slide back down to the chasm. Go through the passage to the right to a room with a receptacle at the other end. Combine the two Gemstone Pieces together and use them on the receptacle.
After the cut-scene the floor will begin to collapse. Immediately hop backwards once and then backflip. You’ll land on a solid ledge.
Take a running jump across the pit to a small cave on the other side. Drop backwards and hang onto the edge. Traverse across to the left until you can drop onto a ledge. Turn around and run into the room on the right with a hole in the roof. Climb up through the hole to the Colosseum.
As you move forwards you’ll be attacked by a Lion and a Gladiator. when the Gladiator falls he drops the Colosseum Key. Head over to the large doors and use the Colosseum Key on the lock. Another Statue will come to life. This one has a Thunder Hammer with area-of-effect damage so stay away.
Once the Statue is killed a passage will open up in one of the walls. Go through and take the second Colosseum Key from the pedestal. Go back to the room where you killed the statue and use the second Colosseum Key on the locked doors.
You’ll slide down to a cavern with a yellow glow and the Philosopher’s Stone on the wall next to you. Before grabbing it take a running jump to the middle ledge and another running jump to grab onto the ledge on the other side of the cavern. Crawl through the passage and pick up Golden Rose #3 for the final secret of this level.
Take the jumps back to the Philosopher’s Stone and use the Crowbar to pry it out of the wall to complete this section.
Next: The Base
Back: Tomb Raider Chronicles