Streets of Rome
Secrets: 3 Golden Roses
Lara begins with Pistols, Binoculars, 3 Flares, 3 Small Medipacks and 1 Large Medipack. You begin with new equipment at the beginning of each new episode so you might as well use up the ammo when you find it.
Walk forwards and enter the first building on the left. A sign above the door reads “Opera Backstage”. For the first level you’ll be given some voice directions.
Jump onto the brown crate and then climb onto the grey crate next to it. Turn to the left and climb onto the walkway. Run across and jump over the gap to the left to the other walkway. Go through to the next room. Take a running jump across the gap and climb up the other side of the scaffolding to pick up a Small Medipack from the top.

Take a standing jump across to the crane in the center of the room for Flares. Turn right and crawl into the alcove for a Large Medipack. Crawl out and take a standing jump back to the walkway.
Run forwards and around to the left to another room. Take a running jump across the gap to grab onto the walkway on the other side.
Run around the walkway and at the end side flip to the left to land on the center walkway. Run forwards to the next room. Jump up to grab the scaffolding on the roof and monkey swing across to the other side.
Climb up the ladder and drop down onto the yellow roof on the left. Crawl through the tunnel and jump or drop down. Flip the Switch on the right to open the door and go through.
Run down the stairs and continue all the way to the far left corner. Jump onto the grey crate and then climb up the yellow crate. Turn around and take a running jump to the pool. Dive in and follow the tunnel down and around to another pool where you can take a breath.
Dive back down and swim through the tunnel in the floor. At the end of the tunnel pull up into a small room for Shotgun Shells, Revolver Bullets and a Large Medipack. Dive back into the water and swim through the tunnel to the pool.
Pull up in the corner and go through to a ledge overlooking the area you just came from. Turn to the left to a room with a tightrope. To walk across it press Action and forwards. You’ll then need to readjust your balance as you go by pressing the directional arrows. Let Lara fall to the floor below if you want to pick up all of the goodies.
Drop down to the floor and run into the storage room ahead. Search the shelf on the left for Flares. Push the black shelves in the back corner forwards to reveal Revolver Bullets. Push the shelves in the other corner forwards twice to reveal a secret passage.
Search the shelf here for Golden Rose #1 and then pick up the Uzi Clips from the floor. Run back out to the large room and climb up the crates to the end of the tightrope walk.
Enter the small hallway ahead and search the shelves on the right for a Small Medipack. Continue down the steps to the end and pull the Switch on the left to open the door. This takes you back to the start of the building. Drop down and go through the door on the right back to the streets.
Turn left and run down the street. Turn right just before the gap in the wall and follow the path to a courtyard with a fountain. A Doberman attacks here.
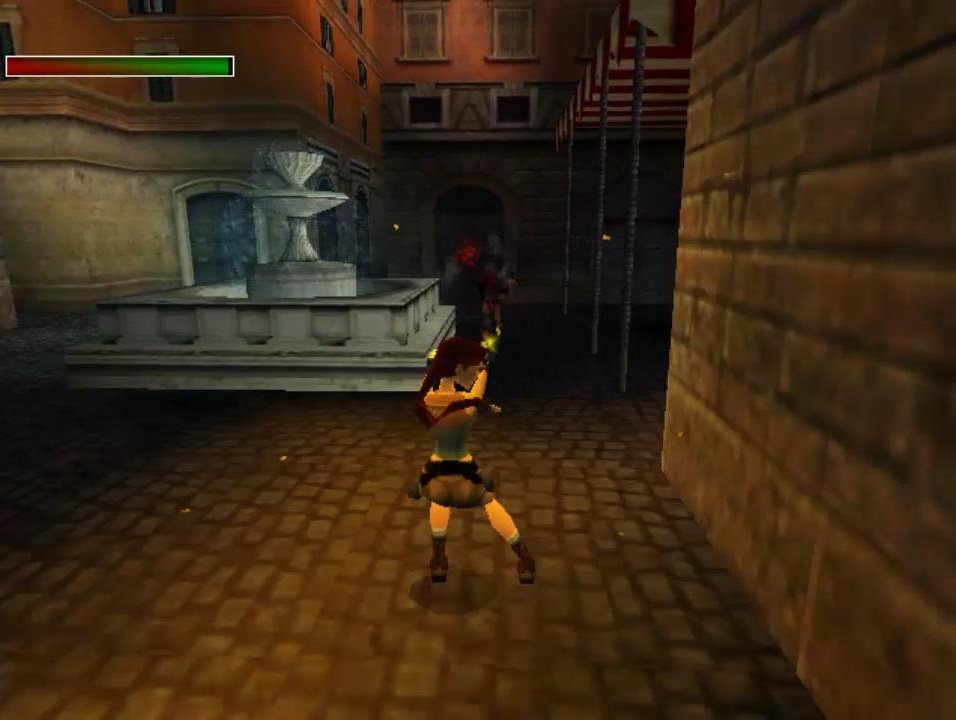
Take the first right before the fountain and follow the alley around to a Niche in the wall. Search it to open a gate. Go back to the fountain, take a left to go back the way you came and this time turn right to go through the square opening.
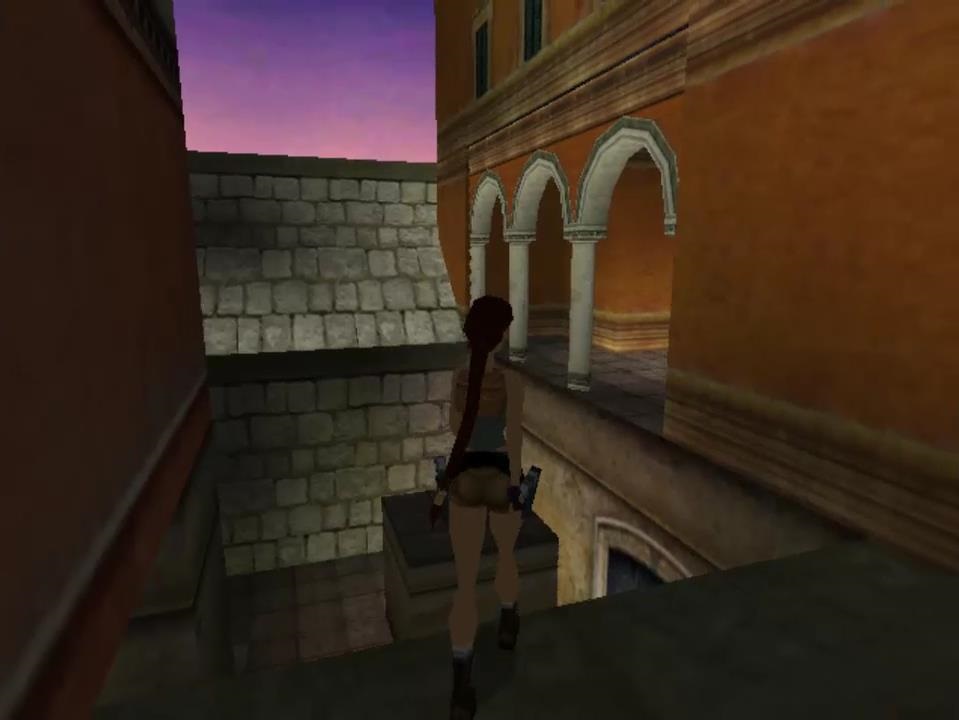
Follow the path around to the left, under some greenery, and search the Niche that you just uncovered. This raises a block so that you can climb up onto the ledge with the arches but also releases a swarm of Bats. Duck down in the corner until they disperse.
Climb onto the block and then up to the arches. Before going forwards turn around and take a diagonal running jump to the top of the wall for a Small Medipack. Turn around and jump back to the arches.
Run up the ramp to a room with red lounge chairs. Continue through to an outdoor room and drop down straight ahead. You’ll land near a window. Break the window and pick up the Revolver Bullets.
Turn around and run along the corridor. Smash the window on the right for a Small Medipack. You can leave the window on the left for now, you’ll come back here later.
Run down the steps. In the room below you’ll be attacked by a Doberman. Open the large blue doors to the right and kill another Doberman. Go through for a Large Medipack. Climb onto the brown crate to the left for Wide Shotgun Shells.
Drop down and run out the other the exit opposite the blue doors you just opened. Follow the corridor around to a Switch. Pull it to open a gate that leads back to the fountain but you don’t need to go through.
Go back the way you came, to the room with the blue doors, and go up the stairs. Shoot the window which is now on your right and climb into the alcove. Take a standing jump across the alley to the other side and run through the opening to the left.
Climb up the ramp to the top. The camera angle is a little weird here. Pick up the Golden Key and run back down the ramp.
Turn left at the end to go deeper into the building. Follow the ramp up to the top and you’ll be shown a cut-scene of the courtyard.
Jump over the railing onto the striped awning and pick up the Flares. Drop down, kill the Doberman and use the Golden Key to open the gate.
Run forwards to a courtyard with palm trees and shoot Larson on the balcony to the left until he runs away. On the ground it he right corner, as you enter, there’s a Small Medipack.
Go through the exit under the balcony. Take the first left and follow the passage down to a crate room. Climb up the small crate on the left for the Garden Key. It looks like a star in a circle.
Go back the way you came, past the entrance and up the ramp on the other side. Up the top you’ll spot Larson at the other side of the tightrope. Once again shoot him until he runs away and follow him across the tightrope.
Drop down to the street level and pull the Switch on the right to open a gate. This is just for ease of access, you don’t need to go through it. Instead turn around and at the t-junction run to the left. Follow the passage to the right and take the first left into a small room with Revolver Bullets. You’ll come back here later once the wooden gate has been opened.
Leave the room and take a left. Run up the steps and pick up the Revolver from the first landing. Head up the ramp and open the large blue doors to a room with large barrels. Pick up the Laser Sight from the floor on the left and combine it with your Revolver in your inventory.
Walk to the end of the room and use the Revolver to shoot the lock on the gate. Go through to pick up the second Garden Key. As you do Rats attack but just ignore them. Leave the room and run back down the steps.
Run all the way back to the t-junction and go past the large gates on the left. Take a left at the end and use the 2 Garden Keys in the slots. This opens the gates to the garden. Return to the street and enter the garden.
As you approach the façade with the 3 dragon heads a cut-scene will play.
Run to the right side of the face and go through the stone passage. As you run up the ramp you’ll be shown another cut-scene with a bell. Continue to the top and use the Revolver with Laser Sight to ring the bell. The door on the left of the temple opens but so does the wooden gate back in one of the small rooms.
Turn around and run back down the ramp. Leave the garden through the garden gates, turn right and run through the small opening at the end of the street. Turn right, take the first left and enter the room which was locked by the wooden gate. As you enter you’re attacked by a Doberman. Search both shelves for Golden Rose #2 and a Large Medipack.
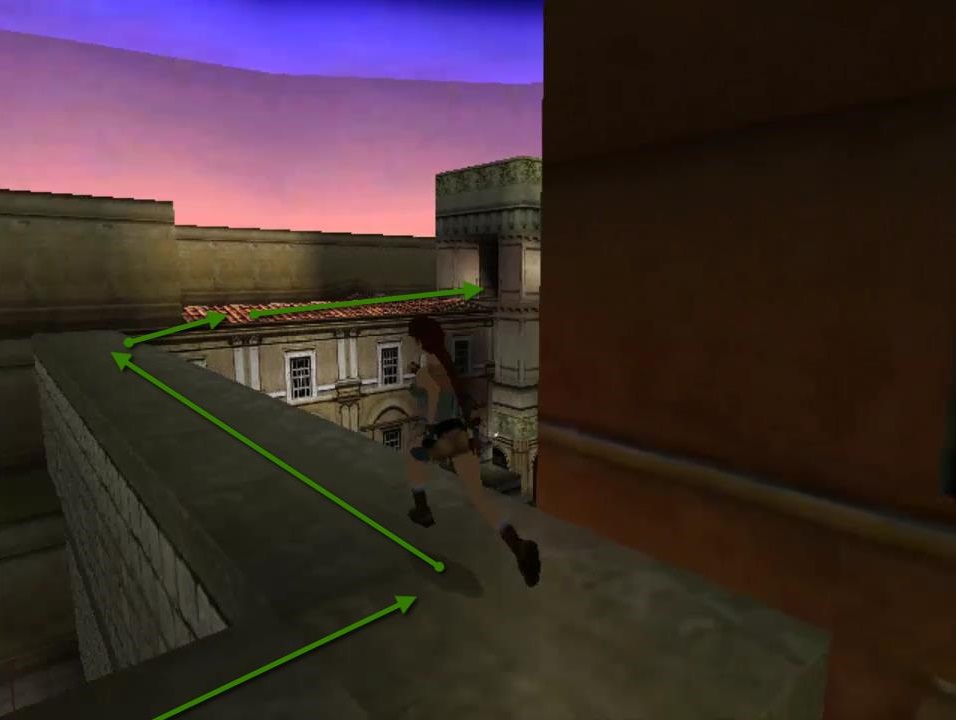
Run back to the bell and go half way up the steps on the left. Climb up the wall on the left and run around to the left. Take a running jump to the top of the tiled roof and jump across to a room where you’ll find Revolver Bullets and a Large Medipack.
Make your way back to the couryard and run up the steps on the left. This time climb into the hole at the top on the left.

Take a running jump across the gap, using Action so you don’t bump your head. When you enter a swarm of Bats will attack. Duck down in a corner to avoid taking much damage. Search the Niche to activate a mechanism that opens the upper door of the temple.
Jump back across the gap and go towards the temple. You’ll find a Laser Sight on the ground, although you should already have one, and more Revolver Bullets on the right side.
Go through the door to a room with 2 Raven Statues. Run down the passage on the far right side. Pull the Switch to turn the Raven into a Dove. Go back out and use Action on the Dove to turn it around.
Go through the passage on the left side and continue up the ramp. When you see the battering ram get as close as you can and then hop backwards over the edge on the right side. Grab on and traverse across to the right.
Continue traversing all the way to the right until you can pull up. Pull the Switch in the small alcove to turn the second Raven to a Dove and then drop down to the ground. Run back and use Action to turn the second Dove around. This opens a door at the base of the temple.
Leave the temple but before going to the door you just opened climb into the opening at the top of the steps which is now on your right. Take a running jump back to the room with the recess. Two secrets doors have opened. Once contains a Small Medipack and the other Golden Rose #3.
Jump back across to the temple and go down the steps at the base to find the Saturn Stone. Walk back out to end the level.
Next: Trajan’s Markets
Back: Tomb Raider Chronicles