The Strahov Fortress
Back to Angel of Darkness
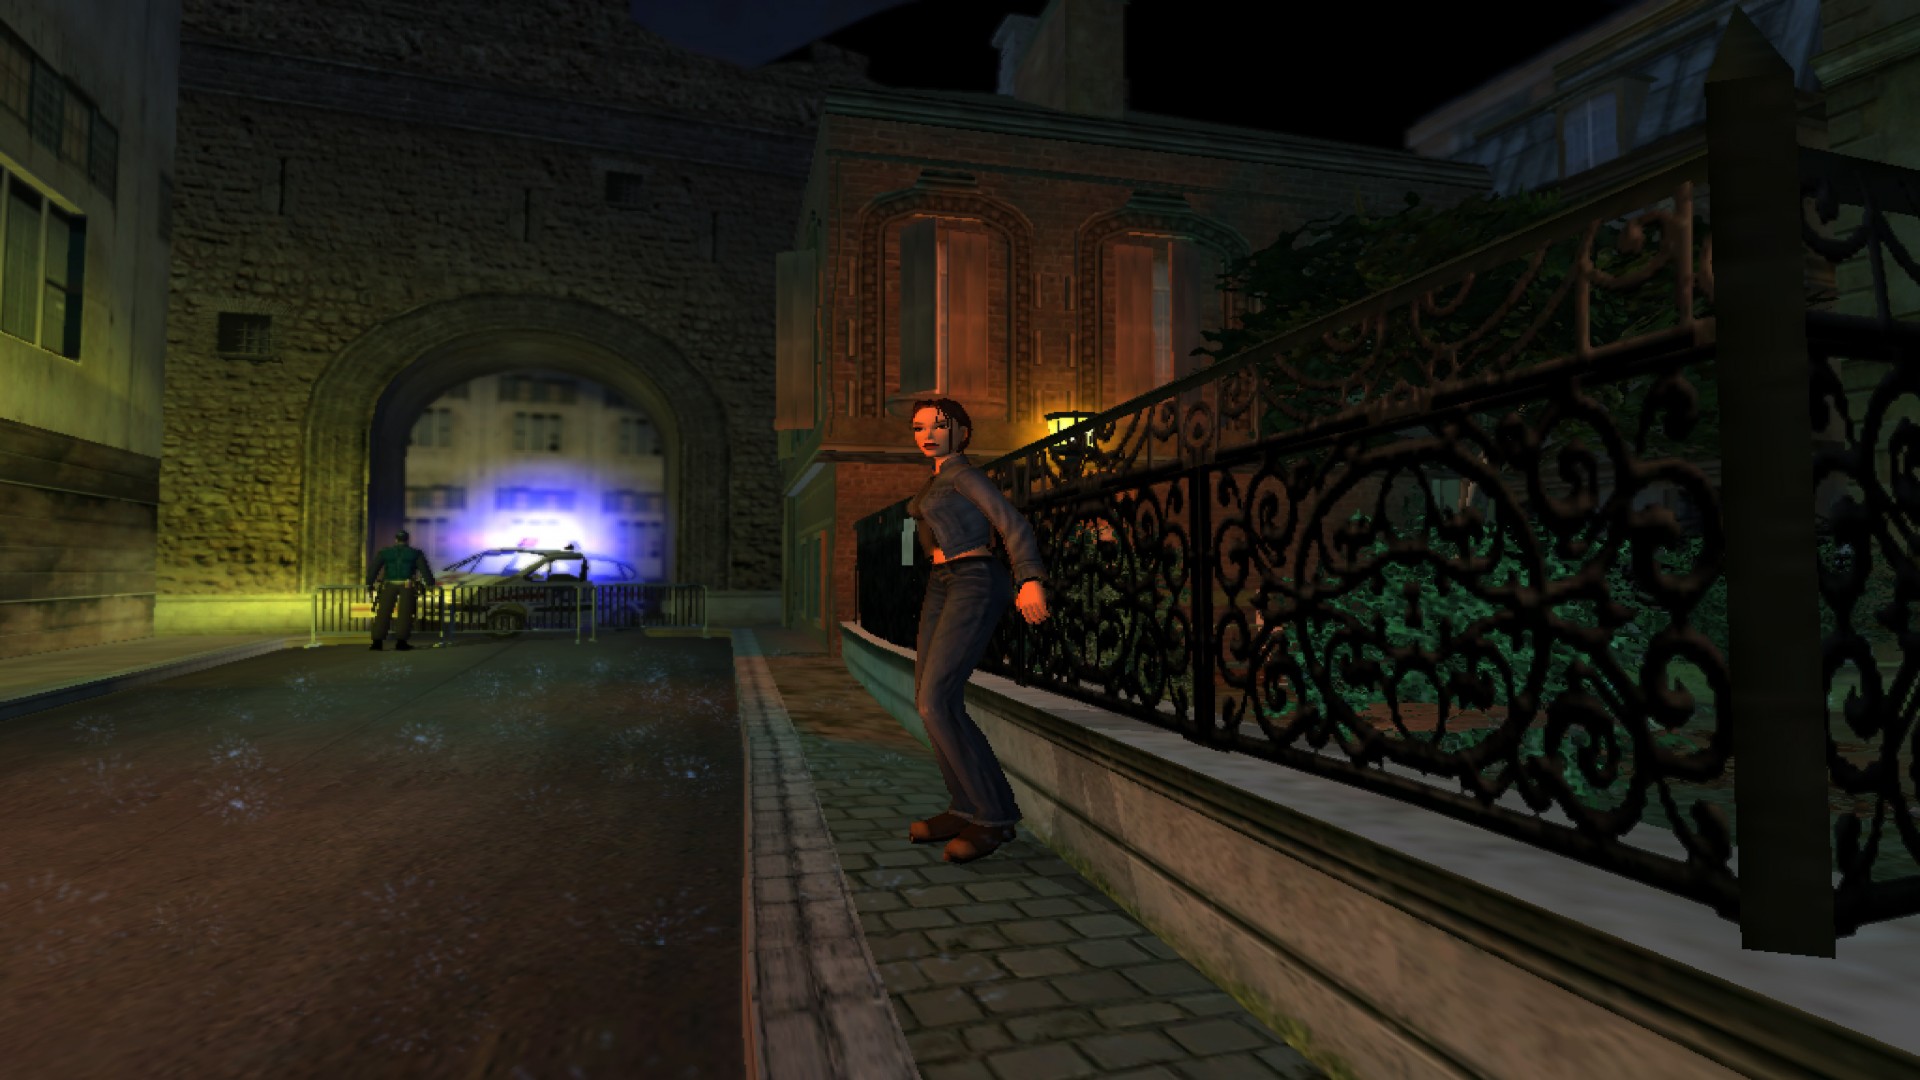
Your notebook is updated when you begin this level with the goal of finding the security control room. Run straight ahead into the open container and pick up the Large Health Pack. Turn around and approach the large garage door with the red lion symbol painted on it.
After the short cut-scene a magnet will move into position to pick up one of the containers on the left. Quickly run to the left and climb up on the lowest container. Turn left and take a running jump to grab the side of the two containers and climb up. Turn to the left and watch the container that’s being moved. When it drops a little lower take a running jump to grab the side of it.

Climb up and wait for the magnet to lift the container over the wall and drop you down on the other side. Drop down to the floor and take out the 3 Guards. Two of them drop Mag Clips and the third in the office drops a Strahov Low Security Pass.
Make your way to the far corner of the room and climb up on the crates. Jump up to grab the ladder and climb all the way to the top. Go through the green door on the right and then use the Low Security Pass on the card reader to get through to the next area.
Don’t walk too far out but instead climb up the ladder immediately to your left. Wait for the Guard above to turn away, then climb up and either do a sneak attack or shoot him from close range. He drops a Mag Vega. Use the Lever to open the door to the Crane Control Room on the other side of this area.
Climb back down the ladder. There are 2 Guards patrolling these catwalks. You may be able to avoid them but if you get spotted take them out. Run across the catwalks to the opposite side and climb up the long ladder. Follow the catwalks around to the crane control room and as you walk down the steps into the room you’ll see a cut-scene of Lara using the magnet to take out the turrets.
Run back to the long ladder and climb down. Run to the other side, where you entered this area and climb down the ladder to the ground floor on the right. Follow the tracks in the floor to the opposite side of the room and go through the green door.
Ahead you’ll notice a hub with partially erected cement barriers in a kind of circle. To the left is a door that’s blocked by an electric field. Instead turn to the right and shoot the Dog on the other side of the fence. A second Dog may spot you now or later once you’ve climbed over the fence.
Climb up the crates on the left. This is a small puzzle. You need to figure out how to move the top crate to the corner closest to the wire fence.

Drop down into the hole in the corner and pull the crate towards the wall. Climb over it and finish pushing it into the corner. Climb onto the crate you just moved and pull the highest crate closer to the fence. Walk around to the other side of it. You’ll need to climb around it because if you climb over it Lara will be killed by the steam. Once the top crate is in the corner you’ll get the Upper-Body Strength Upgrade.
Now that you have the strength upgrade return to the hub, turn right and pull the two crates stacked on top of each other on the left towards the other wall. Push them as close to the air conditioning unit above as you can. Climb onto the crates and then climb on top of the air conditioning unit. Turn the Valve to stop steam escaping from above the wire fence.
Return to the wire fence and climb up to the highest crate. Jump up to grab the pipe above and shimmy across to the other side. Press Duck to lift your legs up over the barbed-wire.

Drop down on the other side and take out the second Dog if you haven’t already. Climb up the ladder to the left and use the Lever to start the rotating blades. One of them will cut through the ventilation ducts.
Jump up to grab the metal beam to the left of the lever. Shimmy across to the right a little and pull up. Walk along the beam and onto the crossbeam. From here you can climb onto the ventilation duct. Walk to the end of the duct that was cut with the saw. Turn around and drop back, holding onto the edge. Let go and grab again. You can now pull up into the duct. Crawl to the end of the duct and drop down for a cut-scene.
Crawl forwards towards the end of the duct until the camera pans out. You should see a Guard walking down below. Drop down and take him out. He drops the Strahov High Security Pass.
The path to the left is blocked with lasers and mines. Instead go to the right. Head up the stairs and use the security pass to open the silver door. Inside you’ll find a Guard in the first room and 2 Guards in the back room. Each of them drop a Mag Vega Clip. There’s also another Mag Vega Clip on one of the tables as well as a Chocolate Bar.
The cabinets near the door have Scorpion X Clips. Once you are done use the Control Panel. Lara will figure out that she needs to make it to the Bio-Dome but also releases some strange beast in the process.
Leave the office and head back towards the mines. Turn around and shoot the Red Fire Extinguisher. This causes the cable spool to roll down the hall and set off 2 of the 3 mines.

The door in the hallway to the left leads to the room where Luddick was murdered. Inside you’ll find the Scorpion X on the bed and Bandages in the locker.
Head back to the hall and commando crawl under the lasers. Stay to the left side to avoid the third mine. When you’re clear stand up and run around to the left back to the hub. The door that was behind the electric field clear now that Lara has turned off the power. Use the card reader to open the green door to the right and go through to the next level.
Back: The Monstrum Crime Scene Next: Bio-Research Facility