Castle Lockstone
Back to Death’s Door
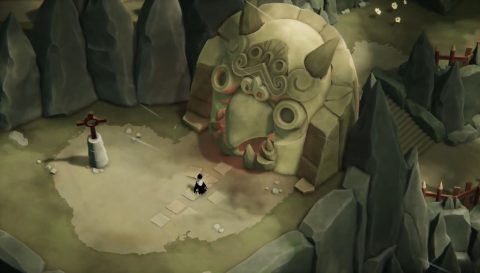
Lost Cemetery
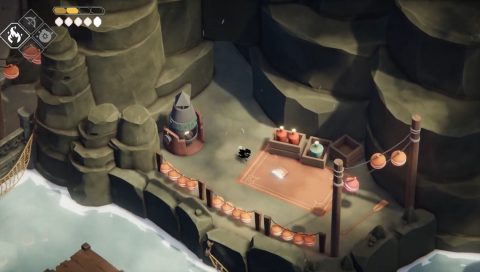
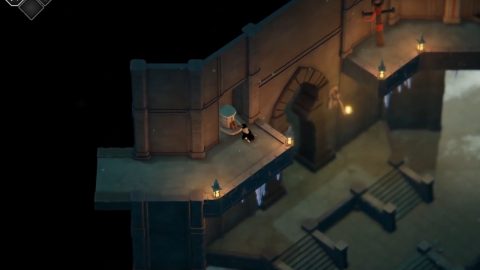
Take the ladder up just south of the Reaper Door and head along the bridge to the northwest and then northeast. Light the brazier to the north to lower the ladder and open the gate.
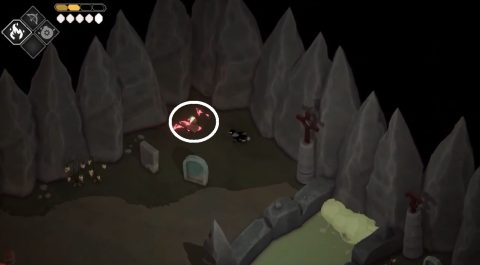
Follow the path along until you see the ladder down and cave entrance. The Stranded Sailer is through the keyhole entrance to the cave but take the ladder down first.
Follow the path along and break the wall in the cave entrance. Go through to face a Large Knight. Take it out, climb up the ladder and head out the exit. Climb up the ladders and eventually you’ll find Magic Shrine #4.
Follow the path back and go through the keyhole entrance into the cave to the north.
Head across the wooden bridge and break all the crates in the corner for Life Seed #27.
Drop down the ladders and take the exit to the northwest. Continue across the bridges and follow the wooden path out to The Stranded Sailor.
The Stranded Sailor
Go down the stairs and turn around to back through the hole in the mountain to the northeast. You’ll come out at a little camp where you’ll find the Captain’s Log.
Go back through the mountain and then west and north to the Reaper Door and the bar. Inside you can have a chat with Jefferson. If you agree to have a drink he’ll give you clues about some of the things you’re still missing.
From the Reaper Door go north to the sign and climb up the stairs. At the top you’ll find Barb the Bard. Break through the low wall and continue up the stairs to the north. You’ll come to Life Seed #28 on a box.
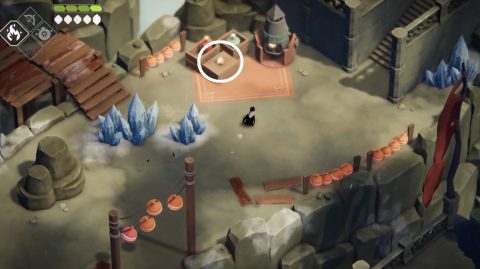
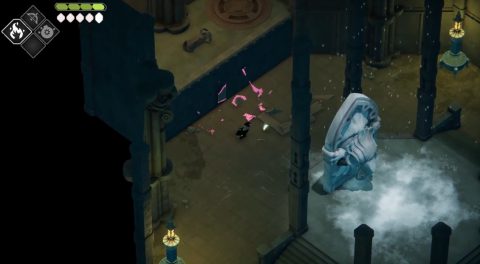
Climb up the stairs to the east and break the ice. Head around the back of the building and the camera will pan around. Drop down and pull the lever to lower down the ladder.
Drop down again to the Soul Orb and pull the lever to lower down the next ladder. Climb up the ladder and smash down through the pipe. Follow the pipe along to Magic Shrine #5.
Climb up the ladder to the statue and drop down. Head back up to where you picked up the last life seed and this time go to the southwest.
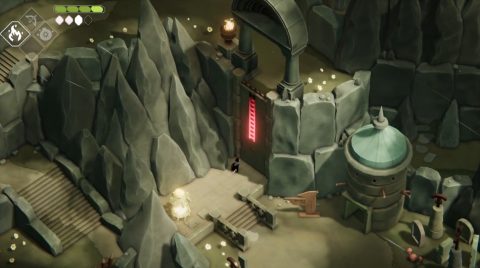
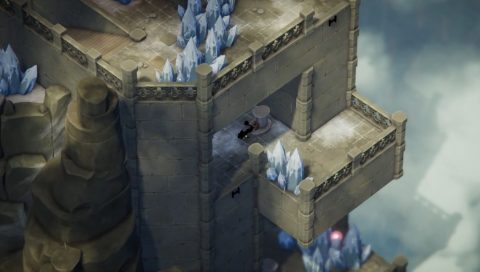
Head up the stairs and ladder and then across the bridge to Castle Lockstone.
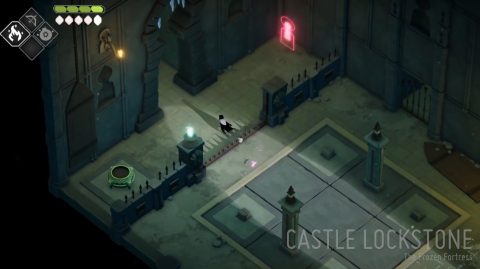
Castle Lockstone
Hit the 4 buttons to open the gate and you’ll find Pot #25 and the Reaper Door on the other side.
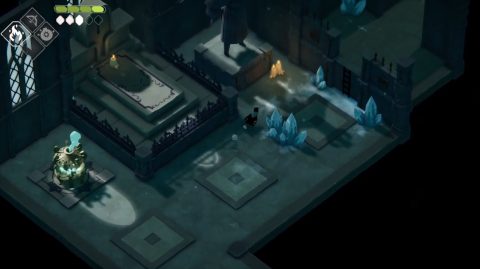
Go through to the main hall and you’ll meet Barb the Bard again. From here there are a few different exits. To the northwest you’ll find the Ancient Door. Break the crates behind it to find Life Seed #29.
Go back to the main hall and take the exit to the southwest. Make your way across the breakable tiles into the next room.
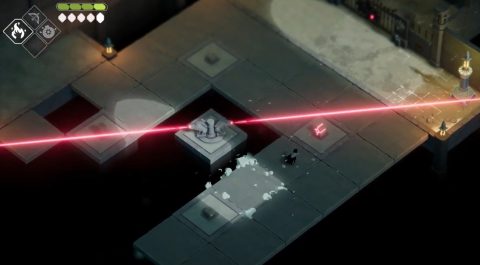
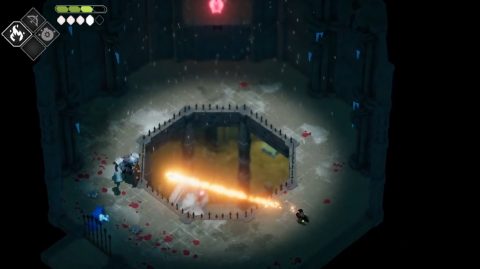
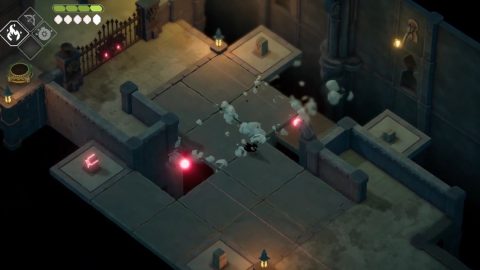
There’s nothing you can do in the room with the buttons at the moment. Take the exit to the south and hit the buttons around the revolving laser to open the gate.
Go through the to the northeast for an arena battle. Once the enemies have been defeated climb up the ladder to free Spirit #1.
Take the exit to the northeast and you’ll be back at the castle entrance. From the main hall take the exit to the west.
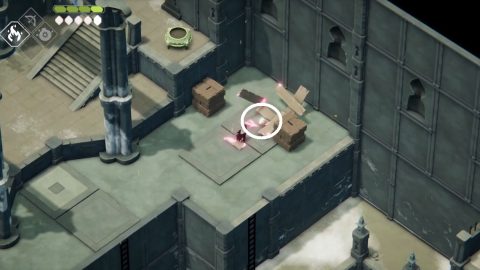
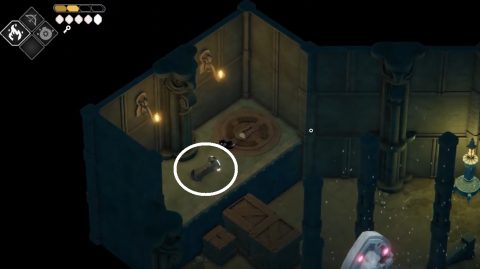
Break the ice and climb the ladder. Inside the crates to the right you’ll find Life Seed #30.
Drop down the ladder and smash through the pipe entrance. Follow it along to the ledge at the end of the room for a Soul Orb.
Come back to the right and take the upper exit to the right. Pull the lever to open the gate in the main hall on the east side.
Go back to the west and climb up the ladder to the left. Take the exit to the west to find the first statue. Light the brazier to light one of the fires in the main hall. Once you light all four the lift will activate but we’ll get to that once we come back here for the second time.
Go back to the east and you’ll notice Pot #26 by the entrance to the next arena to the northeast.
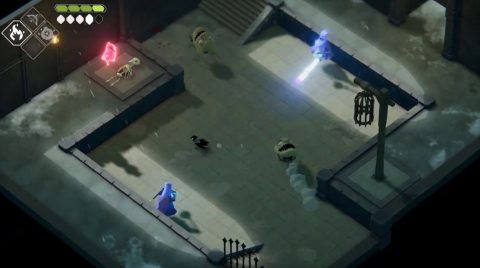
Once again take out all the enemies and then climb the ladder to free Spirit #2.
Return to the main hall and take the exit you opened to the east. Run across the collapsible path and then hit the four buttons in the next room. Make sure you pick up Life Seed #31 along the way.
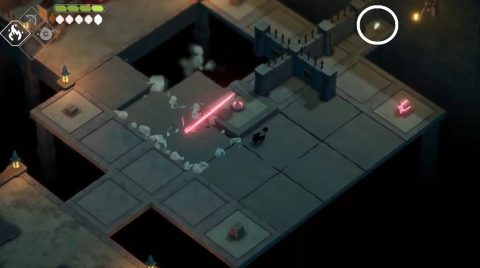
Take the exit to the northwest and hit the next four buttons while avoiding the collapsible tiles and lasers. Just past the gate you’ll find Pot #27 and the entrance to the next battle arena.
Take out the enemies and then climb up the ladder on the right to free Spirit #3. Climb up the ladders on the left side and take the exit to the southwest.
Break the crates to the south to find Life Seed #32.

Hit the four buttons in this room while avoiding the lasers and then go through the gate to grab the Key.
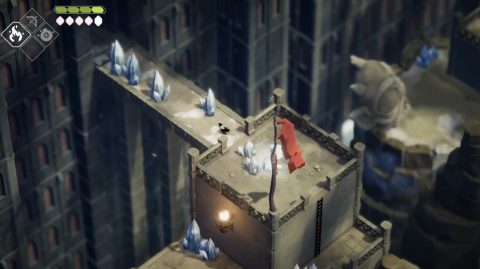
Go over the walkway to the south and smash down through the pipe.

This takes you to the Soul Orb on the ledge to the right if you follow the path straight ahead at the T-junction. Climb up and smash through the pipe entrance again. This time take a right at the T-junction.
After a long walk you’ll end up at the back of the room with the Ancient Door. Grab the Ancient Crown and then drop down.
From the main hall take the exit to the west and unlock the door on the western side. Go through to find Pot #28. Plant a seed and go through to the final arena.
Defeat all the enemies and free Spirit #4. That’s the last spirit so head back to the Ancient Door and go through.
Hall of Doors
Head up the stairs to the chest and go inside for the battle.
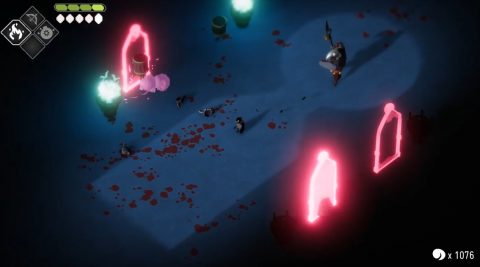
Once you’ve defeated the four waves of enemies you’ll be rewarded with the Hookshot Spell.
Head down the stairs and hook across the lamps. Grab the Soul Orb to the right and check out the Reaper Logbook.
Use the lamps to hookshot back to where you began the game. Head up to the office area. Go down to the southeast and hook to the lamp on the floating island.
Follow the lamps along and you’ll eventually find a Soul Orb, Reaper Logbook and Modern Reaper Door.
When you are ready head back to the Lost Cemetery.
Next: Return to Lost Cemetery
Back: Mushroom Dungeon