The Old Watchtowers and Betty’s Lair
Back to Death’s Door
If you haven’t freed the Clever Grunt in the Mushroom Dungeon head there now and blast open the low wall. He’ll thank you for your help. From the Hall of Doors take the stairs up to the west and enter The Stranded Sailor.
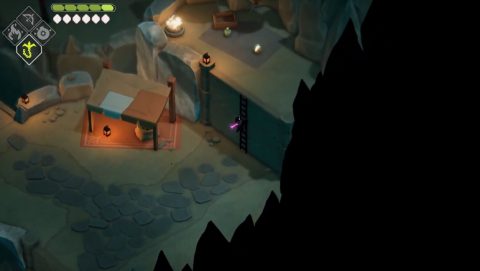
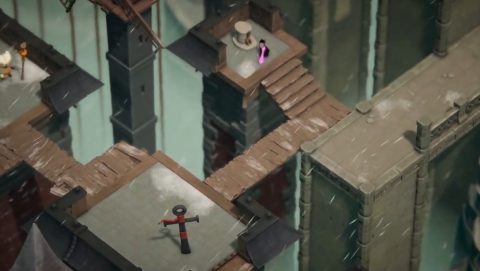
The Stranded Sailor
As soon as you arrive you’ll see the Clever Grunt has set up a mat. Talk to him and he’ll give you Grunt’s Old Mask.
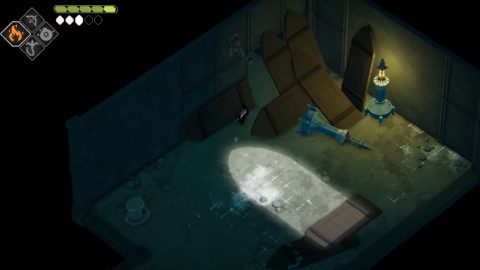
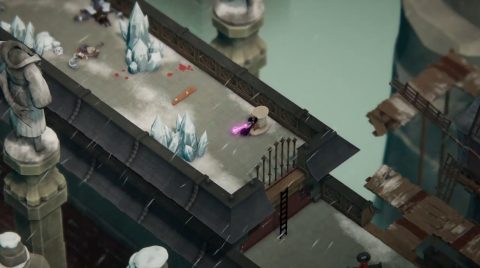
Go to the eastern docks and hookshot across. Take out the Knight and then climb up the ladder. up the top you’ll find an Ink Covered Teddy Bear.
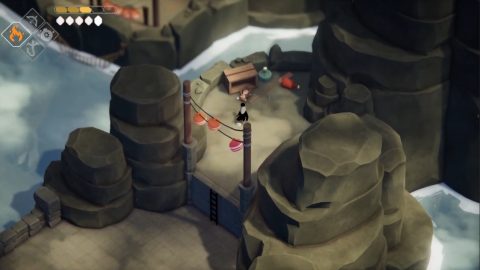
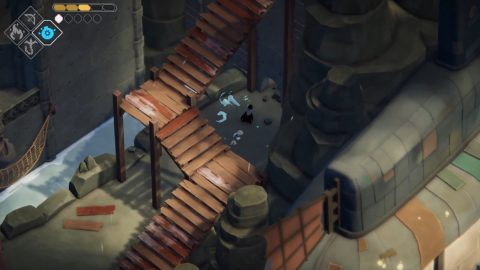
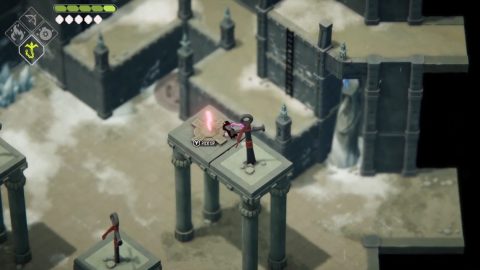
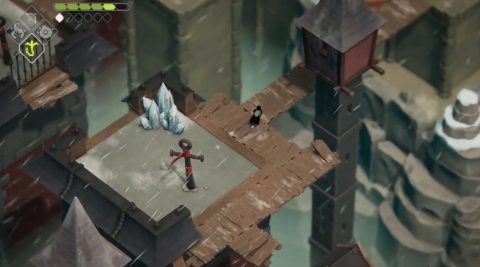
Go to the western docks and hookshot across. To the right is a platform with the final weapon. Take a look at the inscription. This is the first clue to completing the puzzle to get to the sword. The inscription reads “Beneath a wooden walkway, a secret waits for thee..”
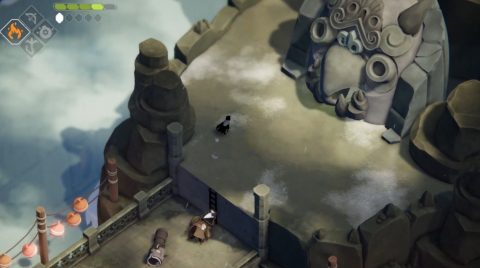
Leave it for now and continue to the west. Hookshot across to the square platform and defeat all the enemies.
Take out the mortar enemy on the ledge behind you and then climb up the ladder to Vitality Shrine #7.
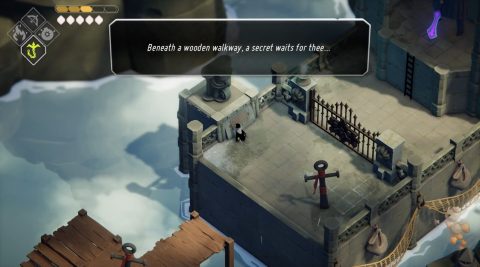
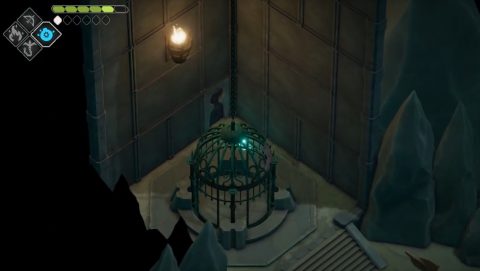
Return to the long staircase behind the Stranded Sailor bar and destroy the wall.
Go inside for a button and the second clue. This one says “Behind twin columns, as secret waits for thee..”
Go up the long stairs and continue up and then to the west. Throw a bomb between the columns on the side of the building to destroy the wall.

Go inside for the second button and the third clue “Where a giant face stares, a secret waits for thee…”
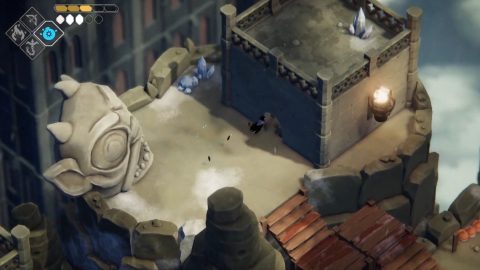
Head out and go back over the bridge to the east. Then go north to the giant face and destroy the wall.
Go inside for the third button and a clue to the final button “Beneath a gargoyle, a secret waits for thee…”
Leave and go back to the south. Go up the stairs to the east and head around the back of the building where you’ll see the gargoyle. Break the wall underneath it.
Go inside and hit the fourth button. Return to the western docks and open the gate leading to the sword. Climb up the ladder and grab the Reaper’s Greatsword.
Head back to the Reaper Door and take it to the Hall of Doors. Then go through the door next to it back to Castle Lockstone.
Castle Lockstone
Go into the main hall and you’ll need to light the four fires to activate the elevator. If you followed the walkthrough one of the fires should already be lit from the first time we came here.
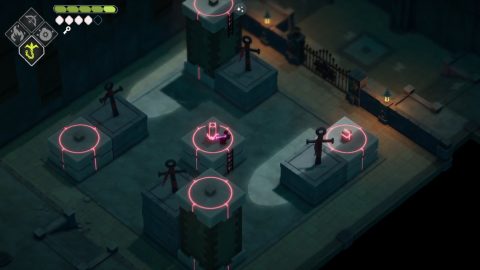
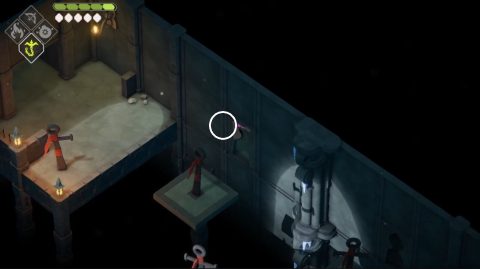
Take the exit to the southwest and walk over the crumbling path. Hit the button and ride the small pillar. Walk onto the next pillar and shoot the button to ride it up.

You won’t be able to get the seed from this side. Instead hookshot across the gap and take the upper exit to the southeast.
In this room hit the buttons using the hooks and ladders to get across the platforms. Then go through the gate.
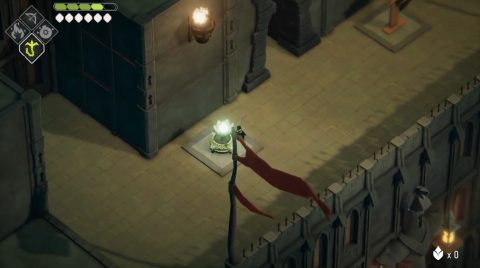
Go inside and light the brazier to light the second fire in the main hall. A grate in the floor will open. Drop down and take the exit to the east. You’ll be back at the castle entrance.
From the main hall take the exit to the west. Climb up the ladder and hook across to the platform to grab the Key.
Go back and take the upper exit to the east. You’ll be on the upper ledge in the main hall. You’ve pulled the first lever already so leave it and hookshot across the gap.
Pull the lever on the eastern side to lower down a ladder for a shortcut, then take the upper exit to the east.
In the next room shoot the button, climb up the ladder on the pillar to shoot the second button. Then hookshot across and continue to the east.
You’ll need to hit the buttons in order. The center button lifts the pillars up and down.
Once four buttons have been hit go through the gate and take the exit to the north. Make your way past the laser while hitting the buttons and continue through the gate to the north.
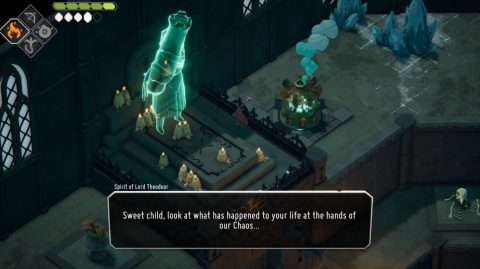
Light the brazier and have a chat with a spirit of the Lord of Doors. The third fire in the main hall will light up.
Make your way back past the laser room to the room with the pillars. Take the exit to the southeast and then go through to the southwest.
Hookshot across the crumbling path before the tiles fall away.
Light the brazier in the next room and the fourth fire in the main hall will light. This activates the elevator. The grate also opens so you can drop down to the room below.
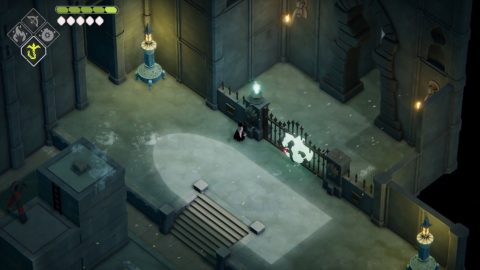
Talk to the spirit of the Lord of Doors and drop down the grate. There’s a little secret hallway behind the wooden doors to the north.
Make your way along the hallway to a room where you’ll find the Signed Contract.
Go back through the secret and take the exit to the southwest back to the castle entrance.
From the main hall take the western exit and climb up the ladder. Go west again to the first brazier that we lit the first time we were here and take the exit to the south.
From here you can hookshot to the platform and then hookshot through the keyhole in the wall. Pull the hidden lever to open the gate to the southwest.
Hookshot across to the southwest and you’ll find Magic Shrine #8. Go back and take the exit to the southeast. You’ll be behind the bars in a previous room where you can pick up Life Seed #43.
Go back to the main hall and take the elevator up.
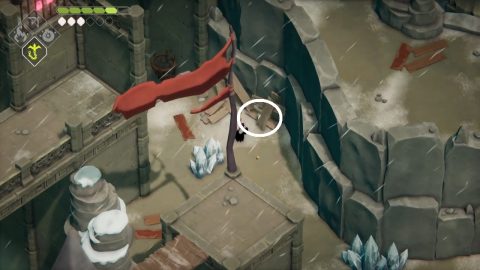
Exit to the south and break the ice in the corner for a Soul Orb. Take the exit south to head outside the castle and you’ll find Pot #43.
Climb up the ladder to the east and hookshot back to above the entrance to the west for a Soul Orb. Drop down and climb back up the ladder.
Make your way up the wooden platform and take out the enemies above. In one of the crates you’ll find Life Seed #44.
Continue east and climb up the ladder. Follow the wooden bridge to the east and enter the cave. Climb up two ladders for Life Seed #45.
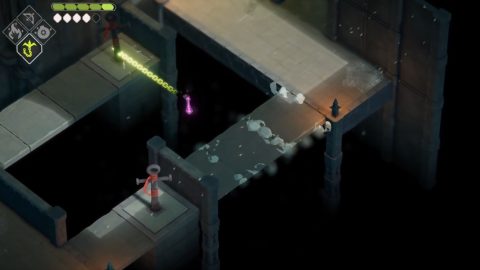
Drop down and hookshot across to the Reaper Door. Enter the cave just to the north to meet the Free Crows.
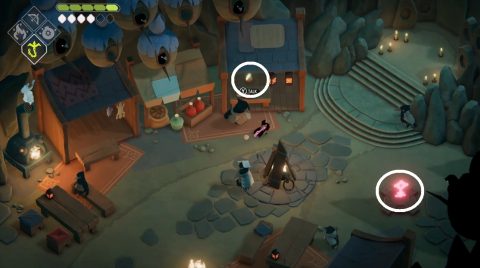
Camp of the Free Crows
Have a chat with the crows and then pick up Life Seed #46 in one of the stalls and a Key.
Leave and open the gate to the north. If you want to grab the Soul Orb on the bridge hookshot across to the broken bridge and head south. Grab the Soul Orb and make your way back around by grappling onto the pole to the south.
Head north to the sign and follow the way it’s pointing to the southwest.
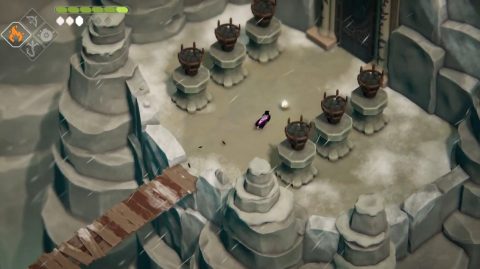
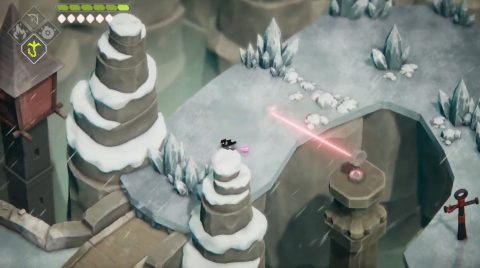
In the next section you’ll be sliding across the ice and shooting buttons to lower or raise pillars so you can continue.
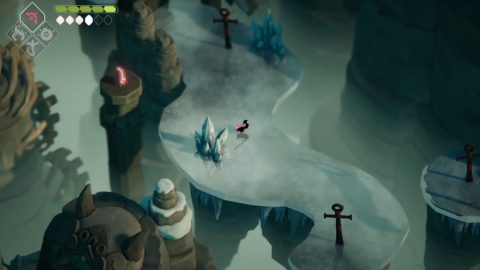
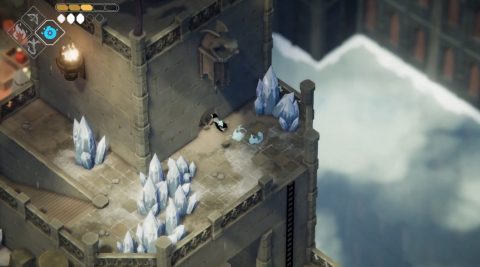
After shooting the buttons you’ll only have a few seconds before the pillars return to their original position. Hit the ice along the way if you need more magic. If you make it across the ice in time you’ll find Vitality Shrine #8.
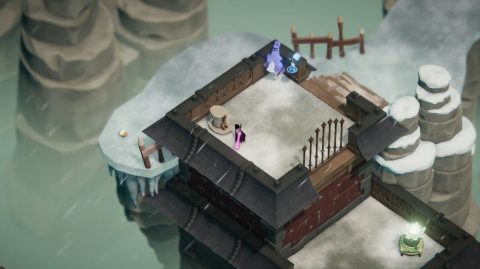
Hookshot back to the cavern and enter. Take the ladder up to the east and you’ll find Barb the Bard again.
Go up the stairs to the elevator and you’ll spot a secret in the corner. Break open the wall with the key symbol on it and go through.
Inside you’ll find a Shiny Medallion. Exit and take the elevator up to The Old Watchtowers.
The Old Watchtowers
Head outside and climb one of the ladders up. Climb a second ladder and open the Reaper Door. Hookshot across to the north.
In this area you’ll be taken side paths to the left and right to open up shortcuts for the central path. The gate ahead is closed but you’ll open it from the other side. Follow the bridge to the east.
Drop off the edge and break the crates to the north for Life Seed #47.
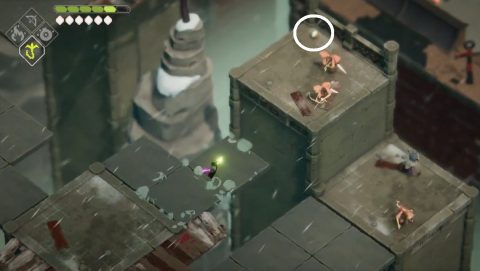
Go south and across the bridge. Take out the Archers on the platform and once all the enemies have been defeated the gate will open. Take the ladder up for Pot #44.
Make your way along the platform to the northwest and up the stairs for a fight with a Spearman. Take him out and climb the ladder.
Take the path to the northeast first for Life Seed #48. You’ll see a large door next to 6 unlit fires. We’ll get to that in a later episode.
Go back to the southwest and drop down. Take out the enemies as they spawn in while avoiding the laser.
Climb up the ladder to the north and make your way along the platforms to the southwest. After defeating the enemies the gate will open.
Drop down and pull the lever to open the gate back to the Reaper Door.
Just to the north you’ll find Barb the Bard and Pot #45.
Take the lift up and if you want a Soul Orb drop down to the ledge on the left and walk behind the building. The camera will shift so you can see the Soul Orb.
Head back up the lift and this time we’ll take a detour to the west to open up the next shortcut to the north.
Make your way across the platforms to the west. When you get to the two Archers hookshot across to them and grab Life Seed #49.
Continue west and then north along a large platform with lasers and enemies spawning in. Once you’ve defeated them the gate to the north will open.
Head through the gate and you’ll find Pot #46 on the other side.
Take the lift up to the east and make your way around clockwise back to the center path. Pull the lever to the south to open up the shortcut.
The third gate to the north is closed so you’ll need to take one more detour around to open it. To the north east you’ll find Pot #47 but you can’t proceed further.
Come back to the south and take the wooden walkways east around the windmill. Ride the lift up and head around the slippery ice.
Take the next lift up and hookshot across the ice platforms. Race the laser around and continue along the next ice section.
Eventually you’ll come around to the lever above the previous pot. Behind the platform you’ll find Life Seed #50.
Head north through the gate and defeat all the enemies that spawn in. Climb up the ladder to Pot #48 and enter the cave.
Betty’s Lair

Activate the Reaper Door first and go back for any upgrades if you want them.
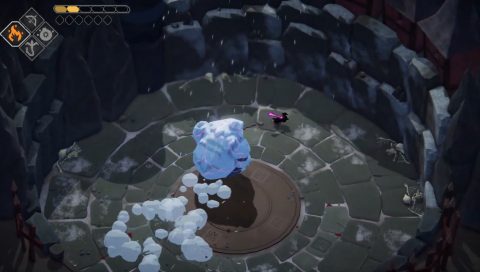
Betty is a large gorilla like creature with a few different attacks. She has a ground pound, a swipe and a roll. The roll is by far the most dangerous as she repeats it 3 times, giving you little time to get out of the way.
Once Betty has been defeated you’ll get the third large soul and there will be a little ceremony for Betty.
Take the Reaper Door back to the Hall of Doors.
Next: Lord of Doors
Back: Flooded Fortress & Frog King