True Ending
Back to Death’s Door
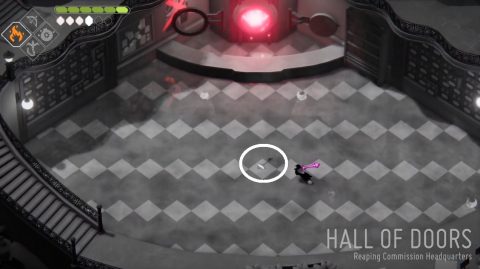
Hall of Doors
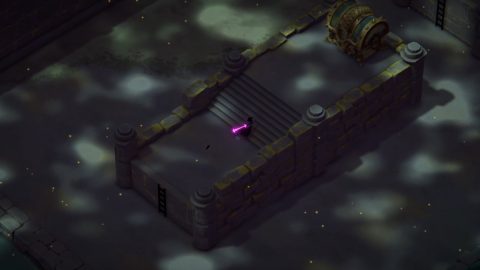
Take the Reaper Door back to the Hall of Doors and go back to the work place where you fought the Lord of Doors. On the ground in the center you’ll find the Rusty Belltower Key.
Lost Cemetery
Take the door above to the Lost Cemetery and go all the way to the east to where you fought the Cemetery Boss. Just by the entrance to the Estate of the Urn Witch you’ll find the Belltower.
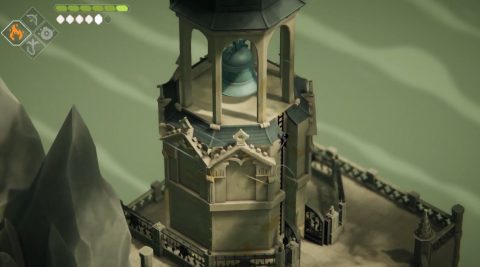
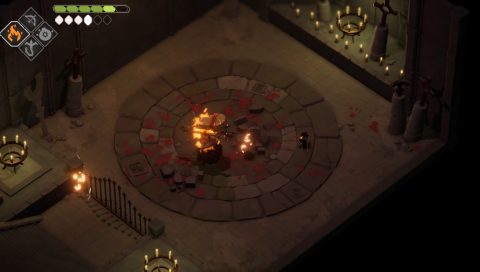
Use the key to open the gate, climb up the belltower and hit the bell to change day to night.
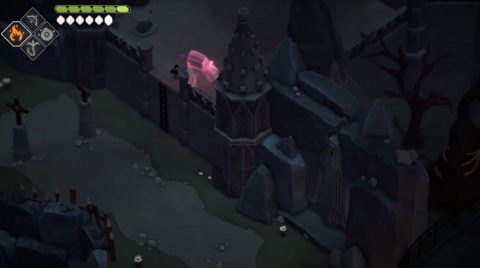
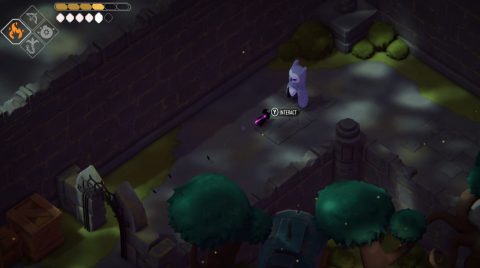
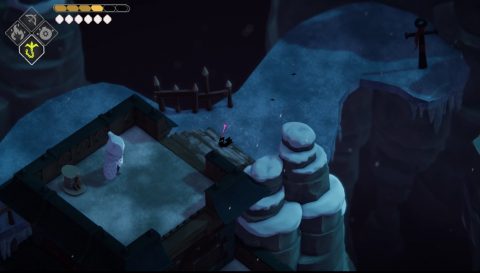
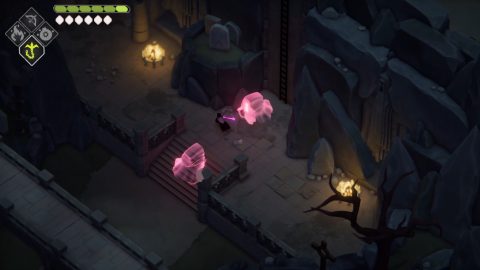
At the entrance to the Estate of the Urn Witch you’ll spot the first of the 7 lost ghosts. Lead it to the Lord of Doors statue just below.
Now go and enter the Estate.
Estate of the Urn Witch
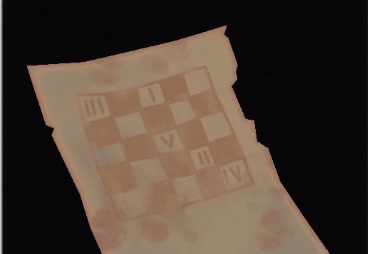
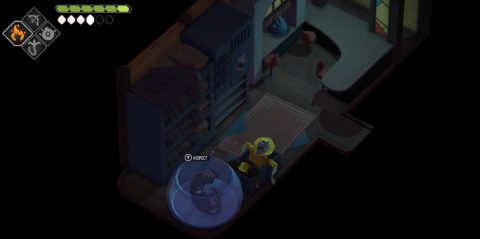
Open your inventory and take a look at the Old Photograph. At the back you’ll see a picture showing a small chess board with numbers on it. This is the order you need to break the jars in the garden area.
Make your way through the Estate until you’re at the gardens near to the Ceramic Manor. To the northwest you’ll find the jars.
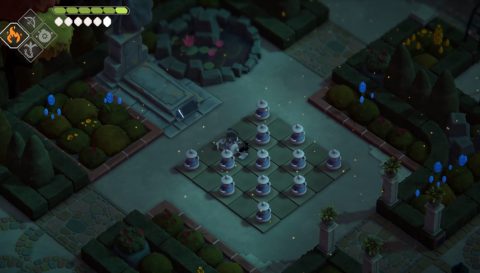
Hit them in order and the gravestone will open up. Go through to the garden on the other side and you’ll find the last two pots, Pot #49 and Pot #50.
Once you plant the final Life Seeds the door just further on will open. Grab the Garden Trowel just in front of the tent and then enter the large door. Inside you’ll find Ancient Tablet of Knowledge #1.
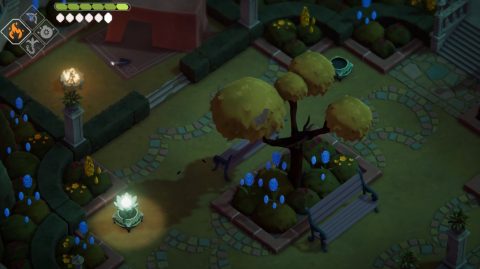
While you’ve been here you may have noticed the hooting of an owl. Head up to the entrance to the ceramic Manor and go to the southeast. Follow the path along until you find Owl #1.
It will fly away and leave behind a Shard of a Tablet. You’ll need to find three of these to form a full tablet
Go back to the Hall of Doors and take the door to the southeast of the center to the Overgrown Ruins.
Overgrown Ruins
Run back to the entrance where you took the gondola ride over. You’ll notice the water has dried up. Drop down into the dry lake and climb up to the Chest.
Once inside the chest you’ll have another battle with four waves of enemies. After completing the challenge you’ll find the Ancient Tablet of Knowledge #2.
The hooting of an owl can also be heard in this area. Make your way to the northern edge to find the owl and a second Shard of a Tablet.
Return to the Hall of Doors and go to the southwest from the center room and enter The Stranded Sailor.
The Stranded Sailor
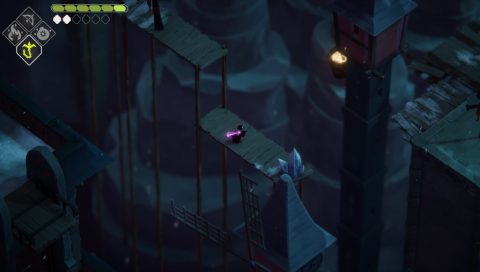
Talk to Jefferson to find his secret. You need to go with him to the Flooded Fortress without using any Reaper Doors. Make your way back to the Lost Cemetery and then the gondola ride to the Overgrown Ruins from the southeast corner.
Enter one of the caves into the Mushroom Dungeon, then go south from the Ancient Door and east to the Flooded Fortress.
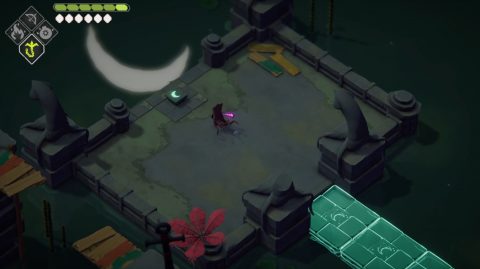
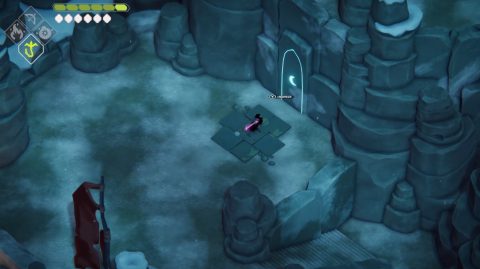
Follow along the path until you see the moon tiles. They are only visible at night.
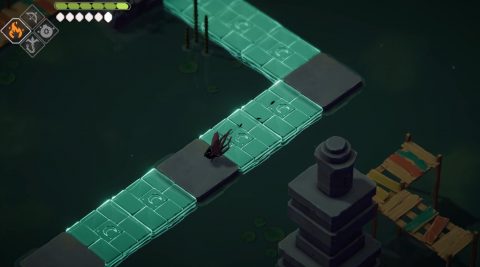
Follow the moon tile path, using hook shots and arrow shots to press buttons as you need. Eventually you’ll find Ancient Tablet of Knowledge #3.
Take the Reaper Door to the Hall of Doors and then go through the door to the southwest from center to The Old Watchtowers.
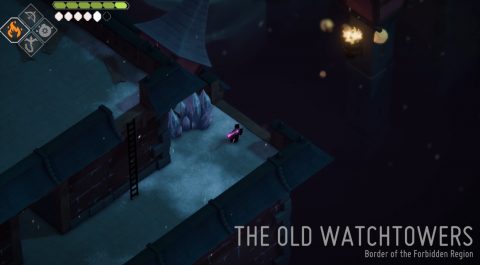
The Old Watchtowers
To find the next tablet you’ll need to light the fires by the watchtowers. From the Reaper Door drop down the ladder to light Watchtower Fire #1.
Climb up the ladder and hook across the gap. The watchtower to the left is where you’ll find Watchtower Fire #2.
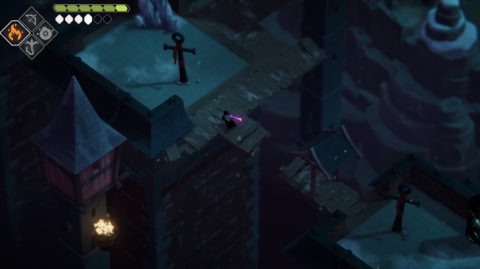
Head to the east, drop down to the ground and light Watchtower Fire #3 just to the north. This one is easy to miss.

Make your way to the southeast and by the pot on the wooden platform is where you’ll find Watchtower Fire #4.

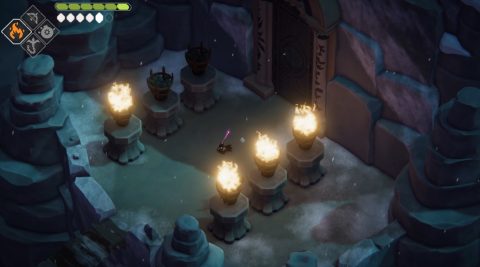
From here go northwest and then east to the large door. If you’ve followed along so far you’ll see that 4 out of the 6 fires are lit.
Head west and north to a floating platform to light Watchtower Fire #5. The last tower is just to the west but you may have trouble reaching it from here.
Go around to the west and north and back to the east until you’re at the other side of the tower. Drop down to the lower walkway and light Watchtower Fire #6.
Head back to the large door. All 6 fires should now be lit. Go inside for Ancient Tablet of Knowledge #4.
Continue through the level and take the eastern path along the icy platforms. Follow it around and eventually you’ll come around to Owl #3.
You’ll get the last fragment and fuse them together to make Ancient Tablet of Knowledge #5.
Head towards Betty’s Lair at the end of the area but climb up the steps around the right behind the ice crystals.
Enter the cave that opens once you reach the top and grab the Mysterious Locket. This is needed for the final tablet.
Take the Reaper Door in Betty’s Lair back to the Hall of Doors, then go through the door to the Lost Cemetery.
Lost Cemetery
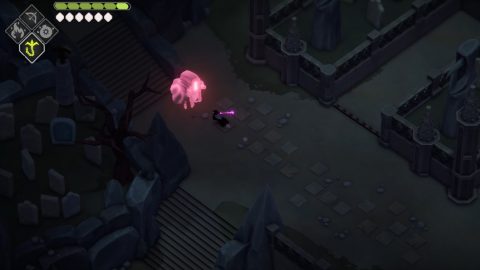
To find the next tablet you’ll need to return all the ghosts to the statues of the Lord of Doors. We found the first ghost when we entered the Estate of the Urn Witch.
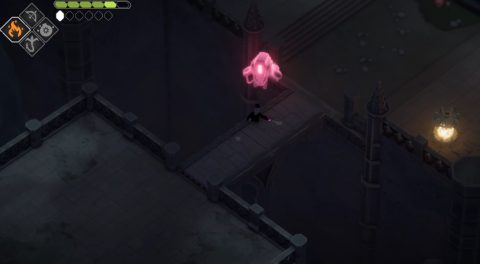
From the Reaper Door head up the stairs to the northeast to find Ghost #2. Lead it up the stairs to the northwest to find the statue.
Continue up the stairs to find Ghost #3. Lead or knock it over the edge with the long ladder and you’ll also find Ghost #4. Lead them to the nearby statues either side of the long ladder.
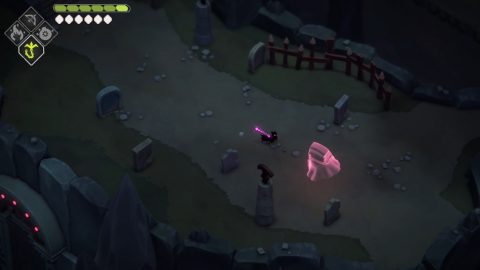
Climb back up the ladder and make your way to the east. Close to the round building with the green roof you’ll find Ghost #5. Lead it to the statue to the southwest.

There are two more Ghosts to find. The second last, Ghost #6, can be found to the east where you fought the boss of this area. Lead it to the statue to the east by the signs.
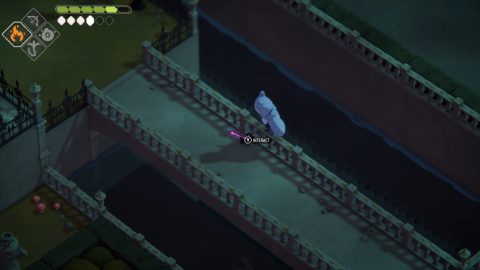
Make your way along the long bridge to the west and take the lift down. Head to the south to find Ghost #7.
Lead it all the way down the long ladder and to the east a little. The large doors to the west should open. Go inside for Ancient Tablet of Knowledge #6.
Head towards the center of the area with the Mausoleum and open grave. You’ll notice the Gravedigger is not sleeping in the open grave like he normally does and the Mausoleum is open.
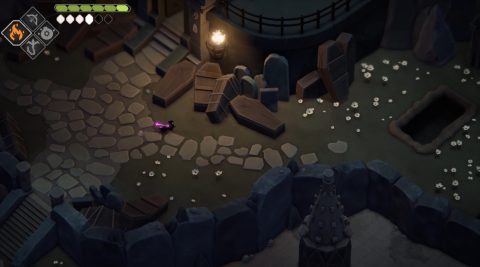
This only happens after you find the Mysterious Locket near Betty’s Lair. Enter the Mausoleum for a final boss fight.
The Gravedigger

The Gravedigger jumps around and smashes the ground, causing one or multiple ripples to radiate out towards the edges of the arena. These are fairly easy to dodge.
Steadhone can also spawn in other enemies and slash with his spade. I used mostly ranged fireball attacks for this fight, only going close to attack a few times to get my magic back.
Once Steadhone has been defeated he’ll be so grateful that he’ll give you Tablet of Knowledge #7.
With all the tables now in your possession make your way back to the Hall of Doors and then out to the Camp of the Free Crows.
Camp of the Free Crows
Place the Tables of Knowledge in the alloted slots and go through the cave. Enjoy the final ending and congratulations on completing Death’s Door!
Return to Death’s Door