Return to Lost Cemetery
Back to Death’s Door
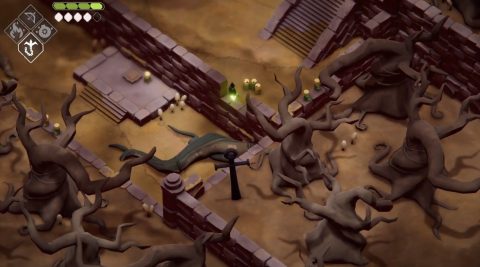
The Grove of Spirits
Enter the Grove of Spirits and head to the southeast. Find a spot where you can hook across to the pole by the dead trees.
Just through the forest and down the stairs you’ll find the Makeshift Soul Key. Head back to the door to the Lost Cemetery past where you fought the Grove of Spirits boss.
Lost Cemetery
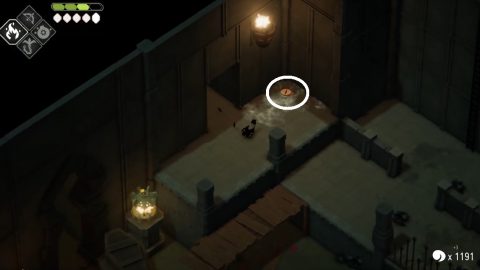
Hook across to the pole from the northwest side of the platform.

Follow the path along and drop down to find Vitality Shrine #3. Head to the east past the large door and you’ll be able to climb up a ladder back to a familiar part of the Lost Cemetery.
Make your way to the north and bomb the side of the building with the lift. Break the crates inside to find a Soul Orb.
Ride the lift up and follow the bridge back to the lever. Drop down the ladder and enter the building. Use the Fire Spell to burn the cobwebs and drop down to the Spider Cavern below.
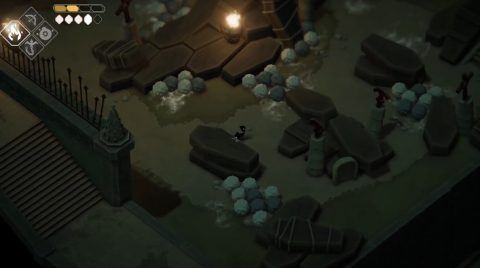
This is a fairly difficult area with lots of spiders and spider eggs. If you hit the eggs they will hatch into spiders.
Go up the stairs on the eastern side and first go up the long ladder on the eastern wall. Up the top you’ll find a Soul Orb. You can pull the lever to open up a shortcut back. Drop back down the ladder and light the brazier to open the gate. Then grab the Soul Orb and head through the gate.
Grab the Soul Orb on the left and plant a seed in Pot #29 at the end of the room.

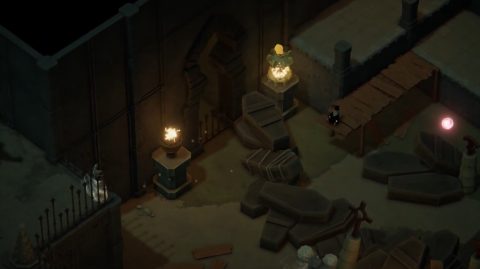
Climb up the ladder and turn around to light the brazier and open the gate. Go through to a mini boss fight with a bunch of enemies and a Giant Spider.
After the fight head up the stairs to light the brazier. This opens the gate and lowers down the stairs on the eastern side.
Take the exit to the east which takes you to the previous room but on a higher ledge. First break the eggs and take the exit to the southeast for the Old Compass.
Go back around and take the exit to the northeast. In this room you’ll need to bomb the wall and then quickly light both fires.
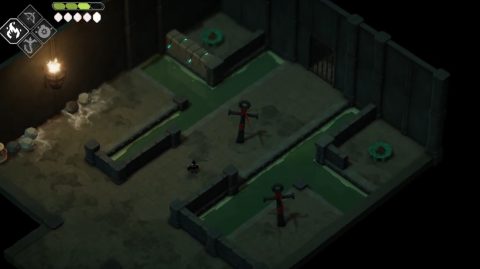
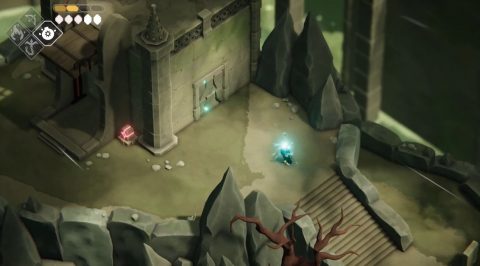
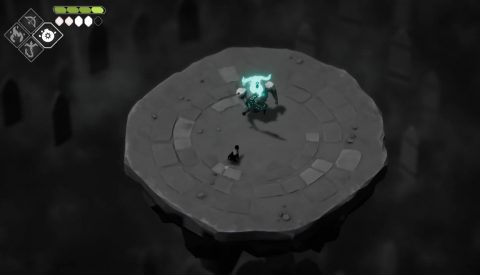
Go through the gate and then through the portal for a boss fight with a Silent Servant.
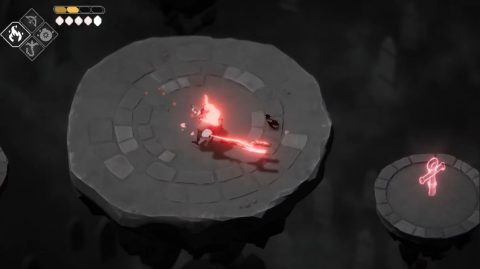
This Silent Servant has a few attacks including a fireball, large swing with his weapon and striking the ground to stun you for a few seconds.
After he’s taken a bit of damage he’ll hookshot around the arena a few times. Once the knight is defeated you’ll be rewarded with the Arrow Spell Upgrade which lets you charge your Arrow Spell for extra damage.
Return to the Lost Cemetery by taking the long ladder up to the lever and going through the gate.
There are another two Silent Servants in this area. One to the northeast and the other to the southeast.
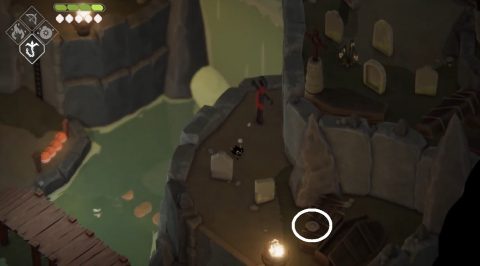
Make your way to the east to the signs and then south to the bridge. Drop down and break the wall underneath.
Just inside you’ll find Pot #30 and a doorway leading to the next Silent Servant. This fight should be easier than the last battle and he only has a swing, strike and thrust with his weapon and releases a bomb every now and again.
After this Silent Servant has been defeated you’ll get the Bomb Spell Upgrade which stops you from taking damage from the explosion.
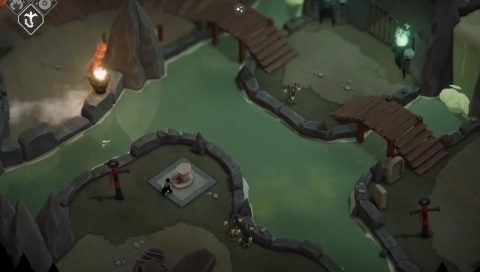
Return to the Lost Cemetery and make your way to the northeast. Find the entrance to the cave leading to The Stranded Sailor.
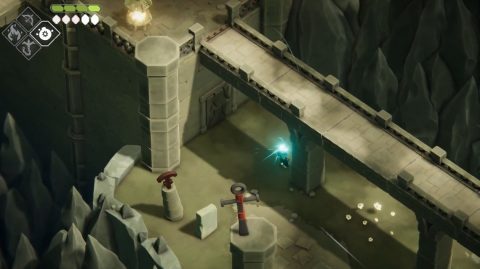
From inside the cavern hook across to the pole by the waterfall and you’ll find the Token of Death on a coffin.
Go into the next room and hookshot across to the lever. Pull the lever to open the gate to the northeast and go through.
You’ll find Pot #31 and a door leading to the third Silent Servant. This one likes to hookshot around the room as well as do all the other attacks.
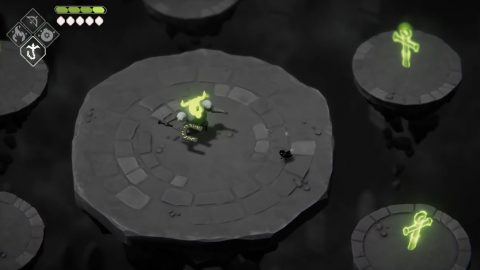
After the battle you’ll be rewarded with the Hookshot Spell Upgrade that lets you do a powerful slash while being pulled towards a target.
That’s all for this area so return to the Hall of Doors.
Next: The Urn Witch
Back: Castle Lockstone