Level 10: Goromorg Temple II
This is the second level of the Gormorg Temple with a few tricky parts including a large cavern with Ogres and a trapped shrine. By now you should be fairly well equipped to deal with anything Grimrock can throw at you.
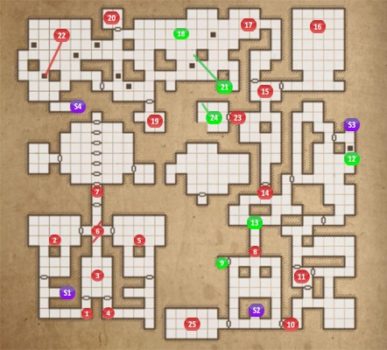
1. You’ll need 2 Round Keys to progress. The first Round Key can be found here and is used behind the banner at #2.
2. Use the Round Key on the lock behind the banner to lift up the walls on the western part of the room. This will release Ice Lizards and Shrakk Torrs and also reveal a Statue Head and 2 Tar Beads.
3. The Pressure Plate in the center will open one of the Gates depending on where the Red Gem is placed. Tear both banners and move the Red Gem from the western shelf to the eastern shelf. Now place an item on the Pressure Plate to open the eastern Gate. When you are finished with this area go back and take the Red Gem.
4. Behind the Gate you’ll find the second Round Key. In this passage you’ll also find another of Toorum’s Notes and a Lever to open the Gate to #5. When you pull the Lever at the end of the passage the Gate will open but also two walls will open up behind you. After defeating the Uggardian and Shrak Torrs who comes out of one of them go into the new passage for the Gauntlets of Valor.
5. Tear off the banner and use the second Round Key on the lock. This raises the walls releasing more Shrakk Torr and Ice Lizards. It also reveals a receptacle. You can find on of Toorum’s notes on the floor.
6. Tear the banners to reveal 2 Buttons. One shoots a light particle from the statue head and the other opens one gate and closes the other. You need to shoot a light particle and then time the gates so that one closes and the other opens just as the light particle is going through the junction. When the light particle hits the receptacle on the other side the door to the north to the Inner Sanctum will open.
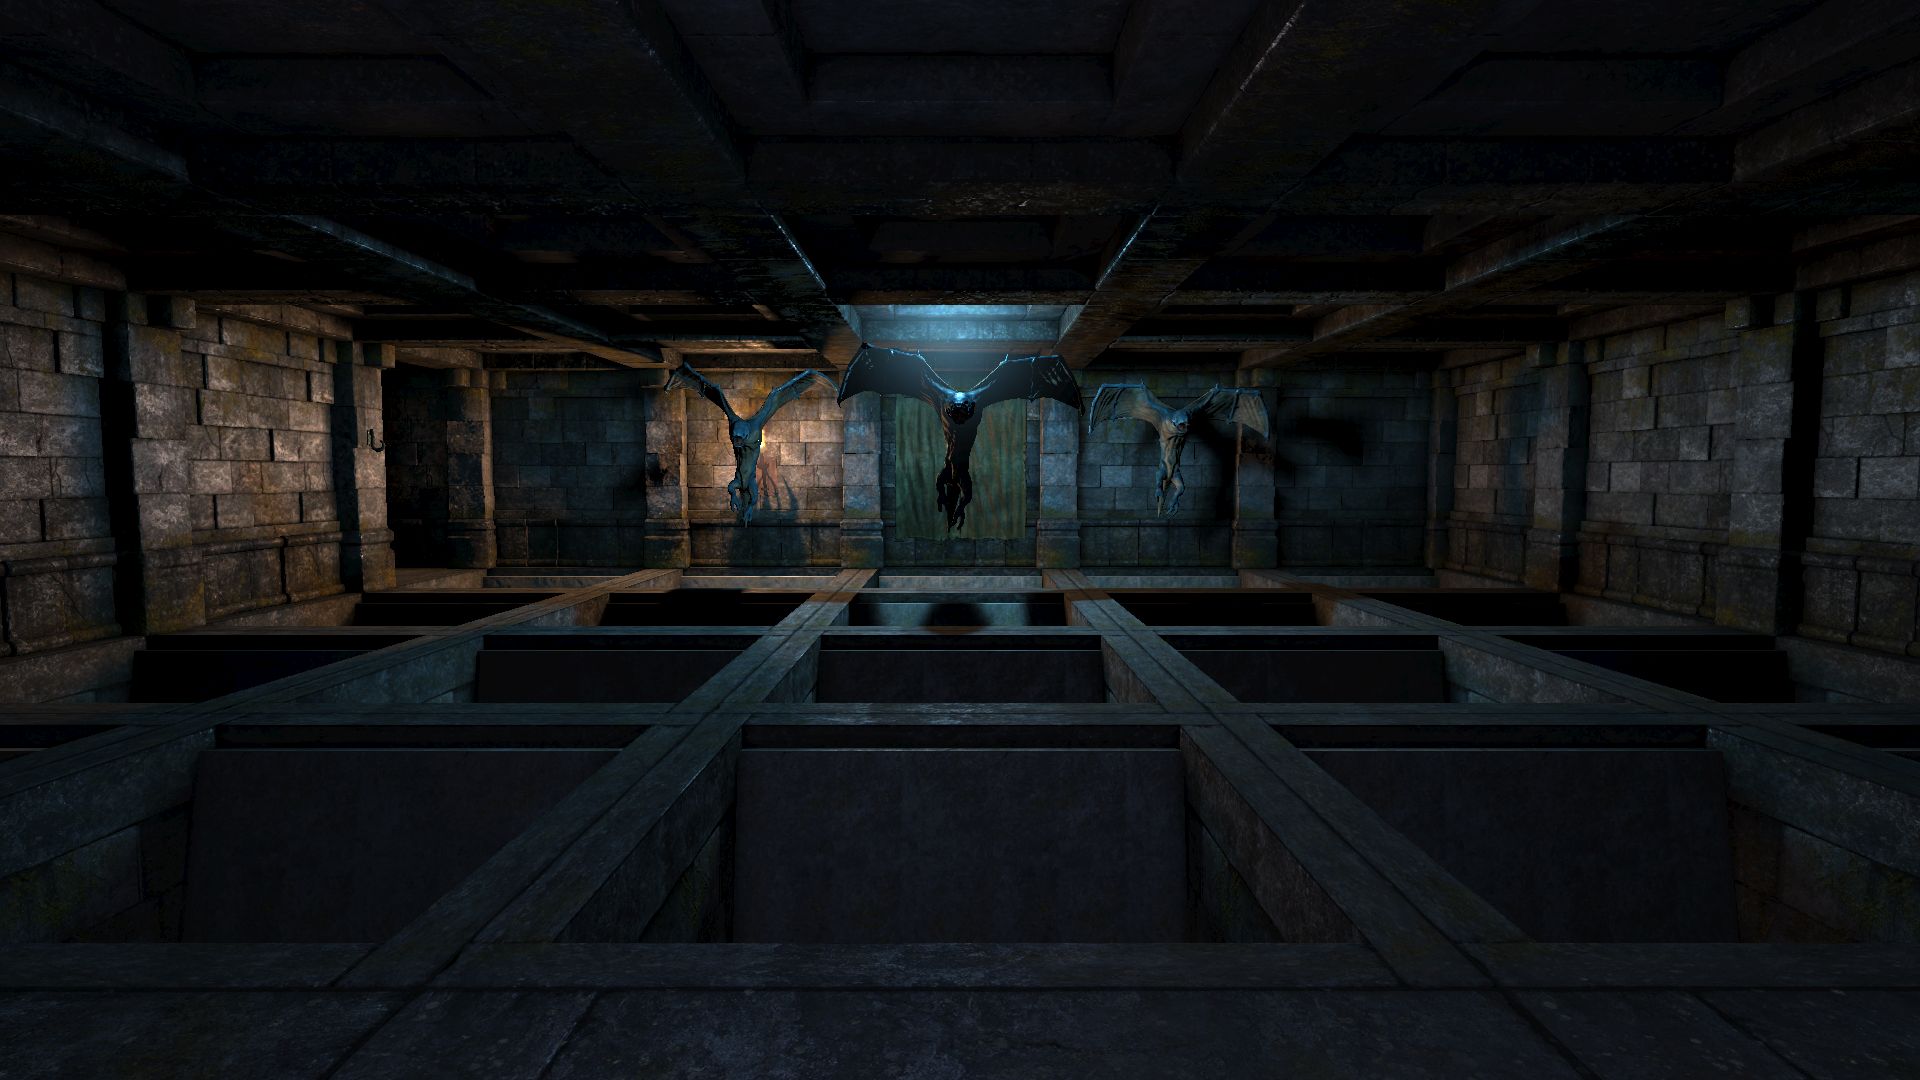
7. The Inner Sanctum. When you stand on the first Pressure Plate the doors will begin to open one-by-one. At the end is another Pressure Plate with 2 Statue Heads that spit poison clouds when the plate is stepped on. Place an item on the Pressure Plate and the side walls will begin to open, turning this tunnel into a large room.
Two Goromorgs will attack as soon as the walls are open. They have a variety of spells and a shield that you need to break through before you can damage them. Once they’ve been defeated search the western room for Throwing Axes and a Baked Maggot and the eastern room for 2 Crossbow Quarrels. In the western room there’s also a Button that activates a Teleport in the center of the large room, but also spawn in another 3 Goromorgs. When you are ready take the Teleporter to the Crystal of Life.
8. Crystal of Life.
9. This is the last Iron Door of the game. Tear the Banner next to the door and place a Red Gem (from #3) on the shelf to open the door. Inside you’ll find a Throwing Axe and the Crookhorn Longbow.
10. This is the only door you can open from this side. Beyond this door are more Shrak Torrs and Goromorgs. If you keep your eyes open you’ll find Alchemy Herbs, Bombs (on a few shelves in the north) and a few other small items.
11. Small room with a couple of Shrak Torrs and the Greaves of Valor, the last item in the Valor armor set.
12. Drop down the pit and get ready to face 4 Giant Crabs. Once you’ve killed them search around for Tar Bead, Cave Nettle, a Shuriken and 3 Frost Bombs. The secret isn’t here so head up the stairs. On the shelf you’ll find the Shield of the Elements. Stand on the Pressure Plate to open the metal door.
13. Press the small Button on the wall to open the wall behind you leading back to the Crystal of Life. You’ll also find 2 Blooddrop Blossoms, 4 Fire Quarrels and one of Toorum’s Notes. To the west of the Button you’ll find a Full Helmet on the ground.
14. When you stand on the Pressure Plate the metal door will open and a lightning bolt will be shot from the other end of the corridor. To get through the door unscathed place an item on the Pressure Plate, stand out of the way until the lightning bolt goes past and then head down the corridor.
15. You need 2 keys to open the door at #24. One can be found in The Shrine (#16) and the other in The Cavern (#17). You can do them in any order.
16. The Shrine. When you enter the Shrine it all appears empty except for an alter with the first of the two Ornate Keys. When you pick up the key Tentacles and Goromorgs will appear. The best way to survive is to quickly run out of the Shrine and fight the Goromorgs from the entrance. Once they’ve been defeated you can go back inside and clear out the remaining Tentacles.
17. The Cavern. Inside the cavern you’ll find wandering Scavengers and Ogres. As well as the final resting place of Toorum.
18. Drop down this pit for a secret. All of the trapdoors in the Cavern lead to the same basement but this is the only trapdoor that will drop you down into the secret area.
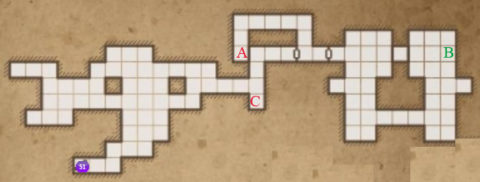
A. This is where you drop down at the pit at #18.
B. The Icefall Hammer. When you pick it up you’ll have to deal with Giant Crabs and a variety of Herders.
C. The last Skull for your Minotaur.
S1. Fight your way through the Slimes to the stairs leading back up the Cavern. This will take you to S4 on the main map.
19. A few Scavengers and another one of Toorum’s Notes.
20. Ice Lizards which you can kill for more food and some Throwing Axes.
21. Toorum’s Remains. Press the small Button on the pillar to open up the passage. This is the final resting place of Toorum. He made it quite far considering he was alone. Luckily the Life Crystals will work with even dry bones. Pick up Toorum’s Remains and bring them back to a crystal. Use them to click on the crystal to bring him back to life. Next time you begin a game you can type in the name “Toorum” as your first character and press enter. You’ll begin the game playing as Toorum! See the video below.
22. Lever Puzzle. Take a look at the pillars nearby. They give you a clue as to whether the levers should be on the northern wall, up or down. From left to right the levers should be Down, Down, Up, Down, Up. This will close the trapdoor in front of the shelf with the second Ornate Key.
23. Use the two Ornate Keys from The Cavern and The Shrine to open this door.
24. Before going through the Teleporter press the small button on the wall to turn off the Teleport and open the trapdoor. Drop down the trapdoor for a secret. Before picking anything up press the small Button on the wall to close the wall in front of the Statue. If you don’t it will shoot Lightning Bolts at you when you try to pick up the loot. On the shelves you’ll find a Scaled Cloak and a Bag with Alchemy Herbs and Food. Return through the Teleporter and press the button to turn on the Teleporter in room #24 once more. Go through the Teleporter to arrive at #25.
25. Pick up the Prison Key, open the door and head down the stairs at s2 for the final section of Legend of Grimrock.
S1. Stairs to Level 9
S2. Stairs to Level 11
S3. Stairs from Secret at #12
S4. Stairs from basement under the Cavern.
Back: Level 9: Goromorg Temple I Next: Level 11-13: Tomb Prison & Cemetery