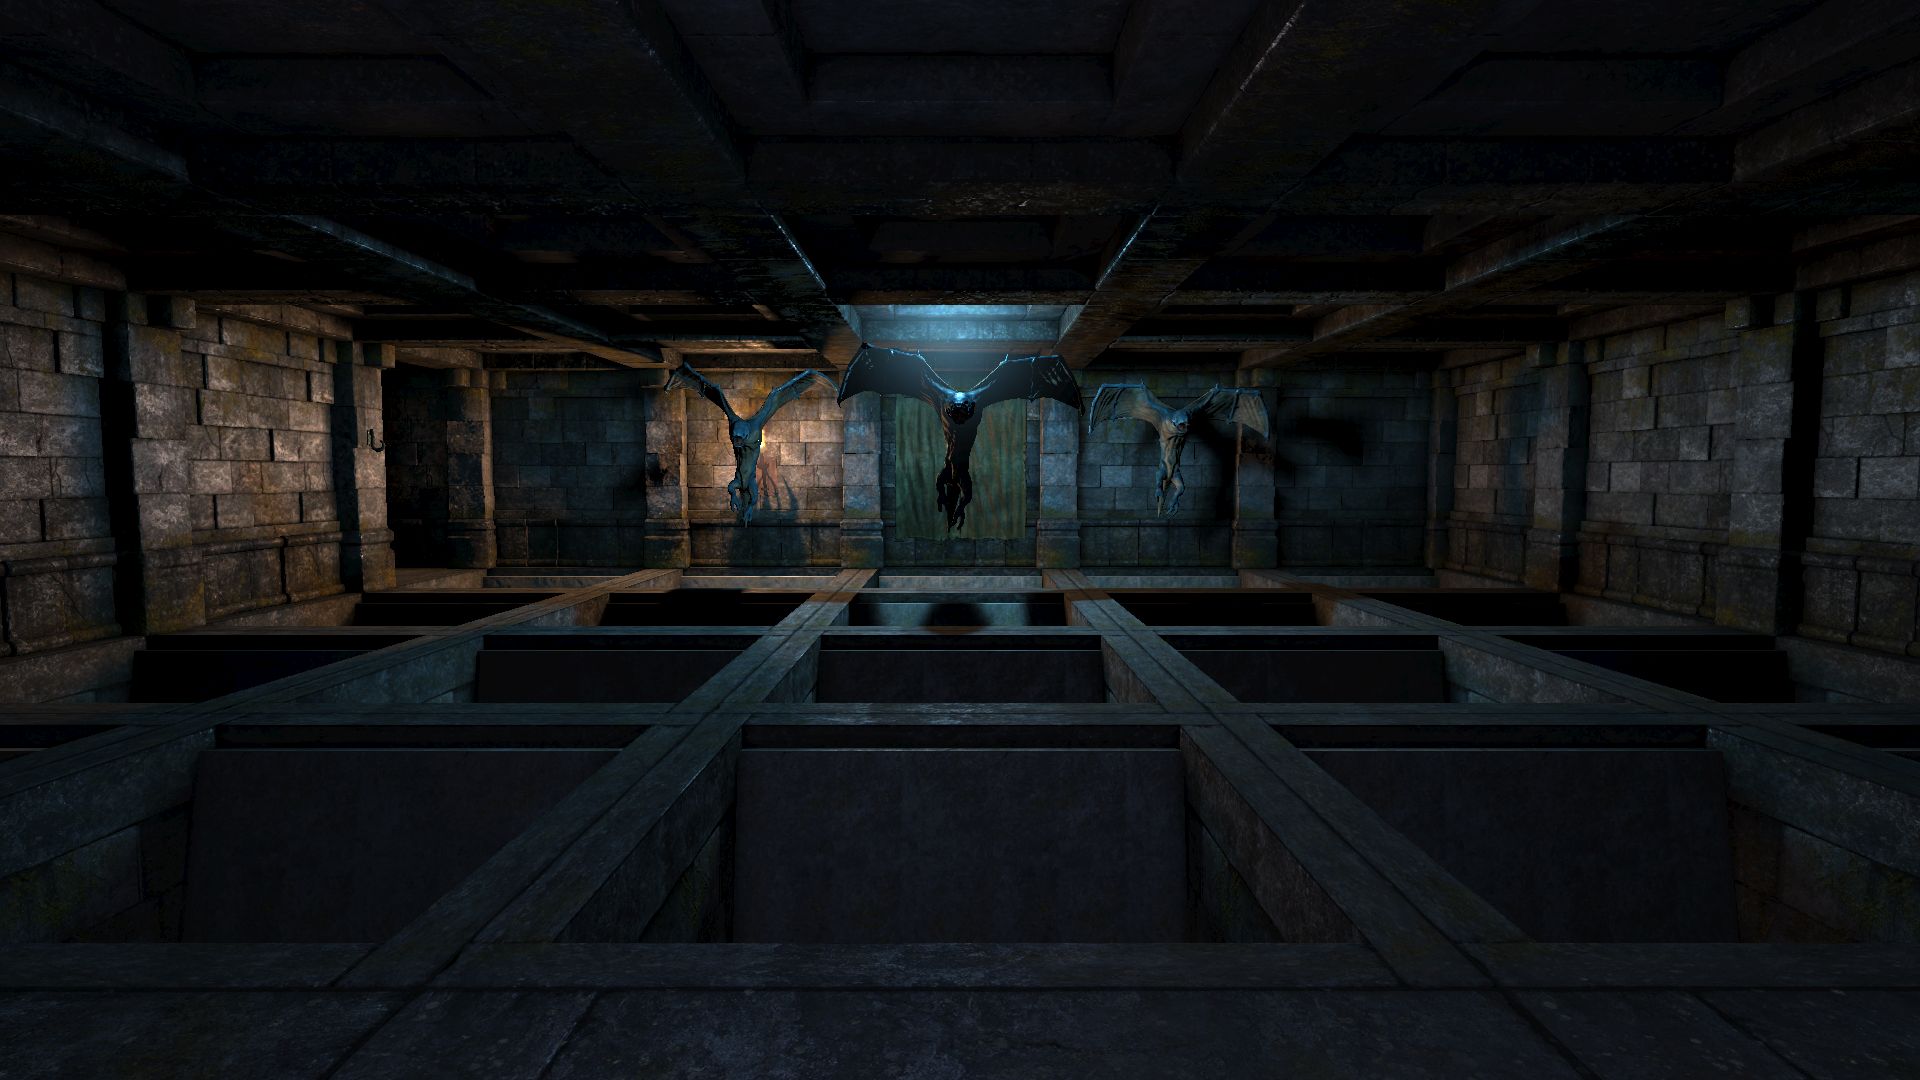
Level 3: Pillars of Light
Level 3 is inhabited by Giant Spiders that have a moderate chance to cause poisoning. You can cure poisoning by using an Antivenom Potion, going back to the Crystal of Life or waiting for it to wear off. The Serpent Bracer helps to prevent poisoning and if you have a Mage with level 13 in Earth Magic you can cast the Poison Shield.
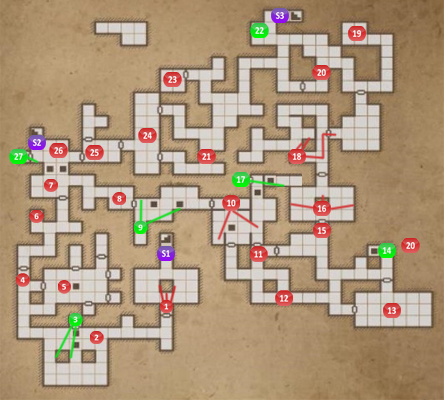
1. Light Puzzle. Place 3 Torches around the central pillar and make sure there are no lights on the outer walls to open the exit. In the niche to the south you’ll find a Frost Bomb.
2. A Skeleton Archer will shoot Frost Arrows at you from behind the pits. You’ll need to run around the pillars to get to him but watch out for the Crowerns.
3. Press the Button on the western pillar to open a wall just to the east where you’ll find a Shuriken and another Button. Press the Button to open the wall to the north. Throw something over the pits to the Pressure Plate to close the pits. You can now get across to the first secret with 3 Broadhead Arrows and a Short Bow.
Take the item off the Pressure Plate and drop down the pit. Kill the Giant Snails and then search around for a Skull and Tar Bead. Pull the Lever to create a teleporter back to level 3.
4. The door to the north requires a Brass Key so go through the door to the east first.
5. When you step on the first Pressure Plate the Gate will close behind you and Skeleton Warriors will be released. The second Pressure Plate opens the trapdoor in the center. You can use it to drop some of the Skeleton Warriors to the level below, making your fight here a bit easier. Inside one of the alcoves you’ll find the Brass Key. You’ll also find a Shuriken, Cave Nettle and Empty Bottle. Pull the Lever to open a wall back to the corridor. Along the way you’ll find a Baked Maggot and 2 Tar Beads.
When you are done put something on the second Pressure Plate and drop down the pit. Fight the Skeletons you dropped down here for extra XP and then go through the teleporter.
6. The first of Toorum’s Notes.
7. Crystal of Life. The stairs leading down are teasingly close but you can’t get to the other side of the pits until the end of the level.
Drop down one of the pits, kill the Herder and find the Leather Greaves before taking the teleporter back to level 3.
8. Your first Giant Spider. There’s a moderate chance of poisoning. Luckily the Crystal of Life is close by.
9. Press the Button before the first pit to close the trapdoors for a few seconds. Quickly head over to the second pit and press the second Button. This opens a wall leading to a teleporter. Go through it to be taken to a secret room with a Shuriken and the Tome of Health. Whoever reads it will gain +25 Health.
Return to the room with the two pits and drop down one of them for another 2 secrets.

Place an item on Pressure Plate (A). Stand opposite the door at (B) and place another item through the Gate. Press the Button at (C) and then place one last item on Pressure Plate (D) to open the Gate. You can now go through for the Serpent Bracer.
For the next secret remove the item at (D) and press the Button again at (C). Now go through the teleporter at (D) to arrive at (E) where you’ll find the Scroll of Invisibility. Pull the Lever to get back out and then go through the teleporter at (F) to return to the third level.
10. When you enter this room you’ll see two moving teleporters and an open trapdoor in the center. Follow the teleporter and when you get to the west side of the trapdoor turn to the east and throw an item onto the Pressure Plate. This closes the pit so you can now stand safely in the center. As a teleporter passes quickly walk to the west and place an item on the second Pressure Plate to open the Gate. Run through the Gate before a teleporter reaches the second Pressure Plate.
11. Pull the Lever to open the Gate so you can more easily make it through the teleporter puzzle. This also give you access to the Iron Door on this level which you’ll open later. There are 2 Poison Bombs in a niche just before the Iron Door.
12. This corridor has been collapsed so you’ll have to go the other way around. Destroy the Spider’s Eggs to find 2 Broadhead Arrows.
13. Spiders Hatchery. Kill all of the Giant Spiders and their eggs before hunting around the room for 2 Bloodrop Blossoms, Sandmole Hide Vest, Loincloth, Iron Key and a Longsword.
14. “I demand a sacrifice”. Place an item through the grate to the closed trapdoor and press the Button. You’ll be rewarded with Silk Hose and the second Iron Key for the door at #15. For the secret place the Silk Hose on the trapdoor and press the Button again. This time you’ll get the Silk Hose back as well as the Nomad Mittens.
15. Use the 2 Iron Keys to open this door. Behind it are another 2 Giant Spiders.
16. To find the secret you need to complete another light puzzle like the first one. I forgot to do this in the video above but came back for it later. This time you need to place a Torch on the west wall, one on the east wall and the last one on the northern side of the pillar. A passage opens leading to the Lever that will open the Iron Door at #17.
17. Once you’ve completed the light puzzle at #16 pull the Lever to open the door and then run back around. If the trapdoor before the Iron Door is open remove the item from the Pressure Plate in the same corridor. Inside the room you’ll find the Hunstman Cloak.
18. In the passage west of #18 you’ll find a Tar Bead (not marked on map).
To get to the room to the east you’ll need to complete a timing puzzle. Push the Button on the wall in front of the gate to release a Giant Spider. Once the spider’s been dealt with press the Button on the western side and quickly run through the Gate that will only open for a few seconds. You’ll now be locked in a room with more Giant Spiders!
19. The room in the north contains a Grim Cap and Boiled Beetle.
20. Leather Gloves on the floor and Giant Spiders everywhere!
21. Another one of Toorum’s Notes warning you about the spiders. Once you pick it up or reach this spot a wall will open leading to secret #22 which also releases another 2 Giant Spiders.
In the alcove to the south you’ll find the Round Shield.
22. Quickly head back to this location and kill the 2 Giant Spiders. One of them will drop a Gold Key to access a secret at the end of the level. In the room itself you’ll find 2 Tar Beads and a secret Button that gives access to the Slime Dungeon on level 4.
23. There a Grim Cap east of the room. Inside the room itself is a Wooden Box with 3 Cave Nettle, 2 Tar Bead, Fire Bomb, Mole Jerky, Scroll of Shock and an unfinished recipe for the Sulphorous Potion. The full recipe is Bloodrop Blossom, Grim Cap and Cave Nettle.
24. Another Giant Spider Hatchery can be found here. After killing the spiders search the room for a Cave Nettle.
25. On the wall is the runes “Spectral Relay”. To open the door place an item on the Pressure Plate through the Gate. Step onto the first Pressure Plate and quickly step off so the Energy Sphere can make it to it’s destination in the far wall. Inside the passage where the Energy Spheres are coming from you’ll find a Baked Maggot.
26. A Lever which closes one of the trapdoors so you can get back to the Crystal of Life.
27. If you killed the 2 Giant Spiders in secret 22 you should have the Gold Key. Use the key to unlock the door by the stairs for the Knoffer Mace and Ring Boots.
S1. Stairs to Level 2.
S2. Stairs to Level 4.
S3. Stairs to secret part of Level 4, the Slime Dungeon.
Back: Level 2: Old Tunnels Next: Level 4: Archives