Level 11 (Obelisk of Khamoon)
In level 11 you need to find the four artifacts and bring them back to the obelisk. The four artifacts are located on a central column surrounded by four drawbridges.
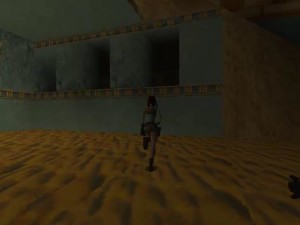
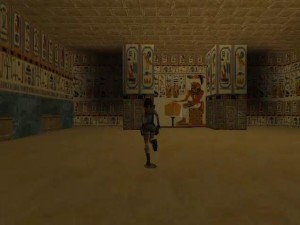 Run through the doors and follow the corridor around to the left. Climb up the wall to the left and run through the corridor past the locked door and into the room with painted walls.
Pull out the movable block to the left and run behind, dive into the water and come out into the next room.
Climb up out of the pool and kill the crocodile that lurks beneath.
Once you’ve killed the crocodile it’s safe to swim down. There’s a Sapphire Key located on a shelf in one of the corners of the structure and magnum clips and a small medi pack on the floor of the pool.
Once you have the items swim back into the painted rooms. If you want all of the kills and items move the other three movable blocks. Behind them you’ll find some panthers, a small medi pack and magnum clips.
If you want to save yourself the hassle of dealing with panthers just run back to the lock you past on the way in and use your Sapphire Key. This doesn’t open the door next to it but the Gold Door in the painted room. Move a block underneath it so you can jump up to it.
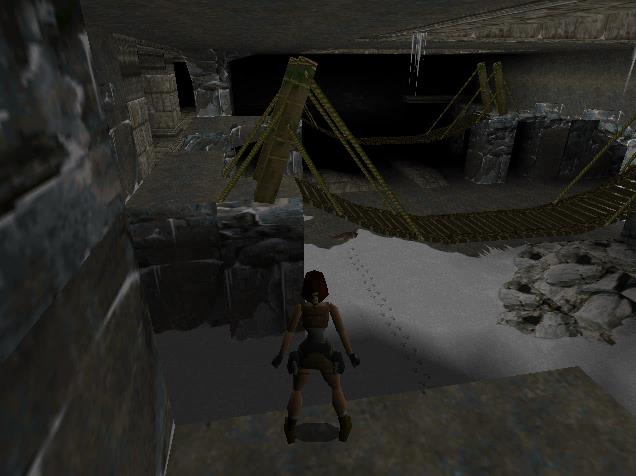
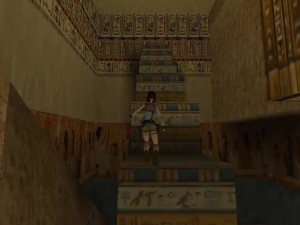
Run up the stairs to a room with chairs. A mummy will attack. At the other side of the room on the left is a switch. Pull the switch to lower one of the drawbridges.
 Run around to the other exit on the right and cross the drawbridge to pick up the Eye of Horus. You’ll see an underwater closed door. It won’t open yet until you have all of the artifacts.
Dive into the water below and pick up the magnum clips from the floor. Then climb onto the central ledge for the shotgun shells.
Face the side with aqua-green walls. There is a corridor on the right side. Enter through it and slide down into the room below. Kill the two panthers before dropping down.
The Tall Room
This room is actually very high. You’ll need to make your way up by climbing up the ledges. Start by running up the stairs at the other end of the room and jump up to the first ledge.
Turn around and do a running jump to the next ledge. Turn around once more and do a running jump to the next highest ledge. Watch the video up the top around the 8:30 mark if this is getting confusing.
 Now walk to the edge and jump straight up to the next highest ledge. Turn around 180 degrees and take a running jump across to the next ledge. Climb up the pillar in the corner. Turn around and jump up to the higher ledge. You’re just about there!
Running jump diagonally across to the ledge on the other side of the room and then over to the steps. Jump up to the last ledge and kill the mummy that comes running down the stairs.
Don’t go up the stairs just yet. Instead go to the green section and pull the lever. This will let down the second drawbridge.
Drop straight down to the fenced ledge and pick up 2 magnum clips and a small medi pack. Climb back up and now head up the stairs where the mummy came running down.
Run all the way up and around, past the Gold Door. From the edge you can look all the way down to see the drawbridges below. At this point two of them should be up and two of them should be down.
Near the edge you’ll see a hole in the floor. Drop into it and slide into the room below. Across the other side of the room are two exits that connect to each other. As you approach a panther will attack. Kill it and then run around the corridor to pick up the magnum clips. There’s nothing else here so head back into the main room.
 As you come out you’ll notice three alcoves. Climb up the one on the right and pull the switch. This will change the slide you just came down into steps.
Climb up four steps and then jump across to the ledge in the middle for some shotgun shells. Jump back to the steps and climb up one more.
Jump diagonally across to the ledge on the left and you’ll see there’s another slide going even higher up. For now just head through the exit.
This will take you back to the drawbridge room to a side that’s still up. Run up the steps to the right and pick up the large medi pack. Pull the lever at the end of the steps and then drop down to the ledge behind you. This will take you to the fourth drawbridge. Don’t worry about it for now. Take a right and go into the next room.
Room with Sarcophagi

You should be in the room to the left. Turn left, run up the steps and then drop down all of the blocks to the bottom. Two mummies should attack. You may need to drop down to the floor and then climb back up a block to stay safe.
This will clear the room of mummies so you are free to explore. Climb back up all the blocks to the end of the steps and then jump up and hold onto the end wall.
Don’t climb up, just shimmy your way across to the right until you are past the block. Climb up and run past the pillar for Secret #1. You’ll find some magnum clips and a large medi pack here.
Follow the corridor around and then take a series of jumps around the ledge next to the wall to find the shotgun shells.
When you have the shells run back, take a first jump to the other side of the room and then safety drop down the next gap. There should be ledge here. Drop back once more to another ledge a little further down. Drop down from this ledge and hang on.
Grapple across to the right until there’s a ledge beneath you and drop down. From here you want to hang off the side to your left and grapple across to the right again until you can drop down to another ledge.
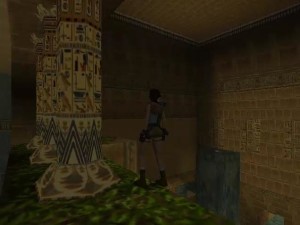
Turn around and take a running jump to the blocks across the gap. Climb up and go left through the exit. There’s a fence here with a lever to your left. Pull the lever to drop the third drawbridge.
Now you can safety drop down to the floor of the Sarcophagi Room. Climb back up all the blocks to the exit and pick up the Scarab, the third artifact.
Jump diagonally across to the lowered bridge to your right, and then diagonally across to the next lowered bridge where you can pick up the Ankh.
Turn around 180 degrees and run across the drawbridge. Turn left and then left again to jump across to the last drawbridge. Take the exit to the room with steps.
Steps Room
 Climb up the steps, turn right and do a running jump to grab onto the crack. Grapple across to the right and drop down onto the gold blocks.
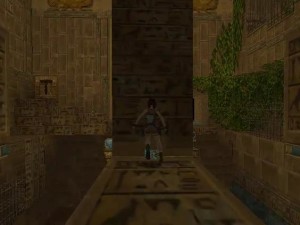
Follow the blocks around to the left and drop down. Enter through the corridor with painted figures and pull the lever on the right. This will turn the slide, next to where you dropped down into steps.
Run back and climb up the steps to the top. Turn around and jump up to grab the ledge and pull up. Be careful of the mummy up here.
Here you’ll find two switches. Pull both of them. The switch next to the gold door opens it and the other one lowers the last drawbridge. Behind the silver statue is a small medi pack.
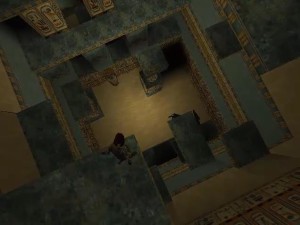
Now run through the gold door. This takes you back to where you dropped through a hole in the floor. Run down the steps to the green floor with columns.
Secret 2 and 3
 Walk around the columns to the point jutting out. Take a running jump to the blue pillar and grab on. Pull up for Secret #2 with a small medi pack and uzi clips.
Now take a running jump to the back left, onto the block with the silver statue, for Secret #3. Here you’ll find a large medi pack and two sets of uzi clips.
With all of the secrets out of the way it’s time to finish this level.
Face away from the wall and drop down to the bridge on your left. Walk across the bridge and jump diagonally across to the next bridge on your left. Pick up the last artifact, the Seal of Anubis and you’ll see the underwater door opening.
Dive into the water and go through the door that has opened in the central structure. Swim all the way down the corridor until you come out at another pool. There’s a few goodies you can grab while underwater in the various alcoves if you have the time.
Pull up out of the pool and shoot the mummy. Climb up to the ledge next to where the leaves are hanging down for two sets of magnum clips.
Take the exit across the other side of the room into the room with the pile of sand. Kill the mummy here and pick up the large medi pack on one side of the sand pile. On the other side of the room is the exit you want to take.
Climb up the blocks and drop down into the large area with the Obelisk. This is the same area from the last level.
Place all four artifacts in their proper places at the base of the Obelisk and a large door will open. Run through the door to exit the level.
Continue on to Level 12 – Sanctuary of the Scion.