Level 9 (Tomb of Tihocan)
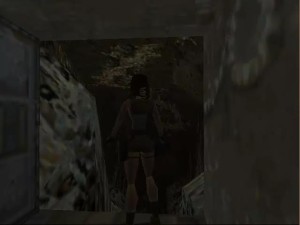
After dropping down into the water from the last level continue down the tunnel. A gate is closed at the end so you’ll need to turn off to pull the switch. Head back through the gate and surface.
Climb out of the water and pull the switch to open the gate. Pull out your guns and head through the gate to take out the crocodile.
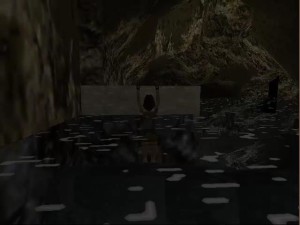
 From the entrance turn left and run to the block ahead. Climb up it and around the steps. Climb over the blocks and drop down until you can’t go any further. Turn left and jump to the ledge in the center of the room. Turn left and move towards the block in the middle. Walk to the right edge of it and climb up.
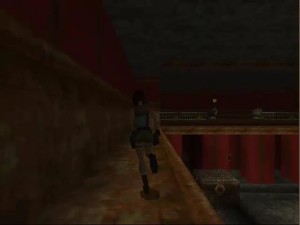
From here you should be safe from the arrows that are flying past.
Do a standing jump to the ledge in the corner. Turn around and do a running jump to the next ledge. Climb up the wall and pull the switch in the alcove. This will raise the level of the water in the room.
Drop down into the water and swim into the alcove opposite the entrance to this room. Pick up a small medi-pack and resurface. From here climb up on the small gray block and enter the passageway. Follow the tunnel around and drop back into the water.
Dive down and when you have the option to take a path deeper down take it until you find the lever. Pull the lever and head back out to the main tunnel and swim down it. You’ll be carried along faster and faster until you come to a point where you can surface.
Get out of the water, kill the rat and pull the movable block out one place. Climb on it to get onto the ledge above. Turn to the left and jump up to the next ledge. Jump up once more to the higher ledge and turn to the left to face the doorway.
 From here jump to the single block and then over to the doorway. Get ready for a fight as Pierre will be waiting for you around the corner!
Room With Secret Pressure Pads
Once you’ve chased Pierre off run down the stairs and jump through the chomping blades. Continue down the stairs and take out the single crocodile.
At the bottom you’ll have a few goodies to collect, shotgun shells and magnum clips.
There are three pressure pads here that open up a secret doorway. The look slightly greyer than the other blocks. One is to the right of the stairs, the other in the far right corner and the last just opposite the stairs.
Secret 1
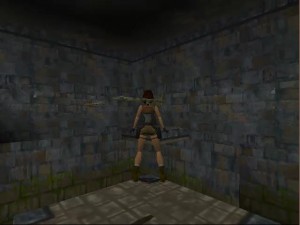
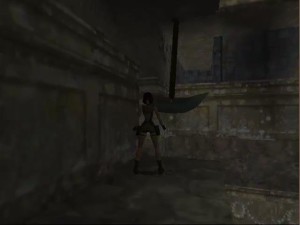
 Once you’ve pressed them all a passageway will open leading you to Secret 1 with angled blocks. As soon as you walk in turn to the left just a step away from the first angled block as shown in the picture to the left.
Take a backflip onto the block behind you. This will set off a series of jumps that will end with Lara landing on a ledge up the top with a large medi-pack and shotgun shells.
Go back into the room and up the stairs, all the way past the chomping blades again.
Jump back onto the pillar and diagonally across to the other blocks. Turn right and take a running jump to the ledge on the other side of the room. Turn right and you’ll be faced with a swinging blade and a doorway beyond it.
 Jump diagonally over to the ledge where the blade is coming from and pick up the shotgun shells.
Then jump diagonally over to the ledge with the doorway and walk down the stairs.
At the end of the path turn around and drop down, holding onto the ledge. Work your way over to the right and pull up into another passageway.
Run down and pull the switch to raise the water level in the room below.
Run back and drop into the water. Get out at the far end and shoot the rat waiting for you. Drop down past the rat into more water and follow the tunnel around until you can pull up out of the water again.
Spiked Room
Try to take the lion out before she gets too close. Then run through the passage ahead and pull the switch. Follow the passage and it’ll bring you back into the room with spikes.
 Climb up the two blocks opposite the spikes so that you can see the gorillas on the ledge above. To stay safe shoot the two gorillas before jumping up to the ledge.
Take a standing jump over the pit to the crevice above the spikes. Traverse to the right and pull up into the passageway.
Here you’ll find a large medi-pack and a gold key.
Jump down past the spiked pit and down again onto the blocks in the spiked room. From here walk forwards and you should see the gold lock.
Use the gold key on the lock to raise up the pillars in the water. Take running jumps over the pillars and grab the small medi-pack at the end. Run into the room beyond with many doors.
Room With Many Doors
 Run all the way into the room and find the movable block near the four strange blocks on the ground. Moving the block onto these blocks will open different doors.
Pull the block out twice so it sits on the first of the markings. This will open a door beyond with a gorilla. In this room you’ll find shotgun shells and magnum clips.
Pull the block sideways twice to open the door behind you to the right.
Run straight across to grab the rusty key. A boulder will roll past behind you. It’s now safe to pick up the small medi-pack in the middle.
Pull the block backwards twice to open the door behind you to the left, releasing four rats. Inside this room is a small medi-pack.
Pull the block to the side twice onto the last set of markings. This opens a door at the opposite side with a gorilla and a small medi-pack and also the door above the block.
 You can push the block right under the door to make it easier to climb up.
Run past the chomping blades to the large medi-pack and rusty key beyond. You should now have two rusty keys in your inventory.
Go back through the chomping blades to the room with many doors and use the two rusty keys on the last remaining door.
Before leaping down save your game!
Secret 2
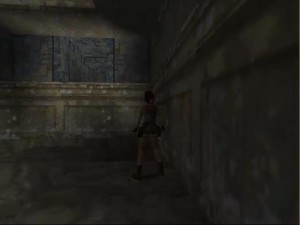
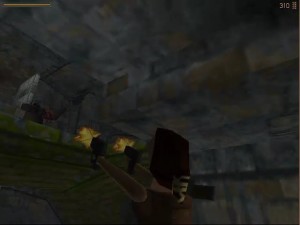
 Position yourself to the edge of the rocks and turn about 45 degrees to the left. See the picture on the right for the perfect position.
Take a standing jump to the rocks on the left. Lara will perform a series of jumps and land on a secret ledge.
In this room Lara will need to perform a series of jumps across collapsing platforms in order to reach the secret.
See the video above at 18:00 for exactly how to do it.
Go to the edge and take one small step back. Do a standing jump forwards, then immediately to the left, forwards, forwards, right and forwards. Inside this alcove you’ll find uzi and magnum clips.
 To get back drop down and climb up the other side to where you started. You can now continue down the slide and into the water.
Swim forwards until you find a platform you can climb up on.
Run around the passageway and climb up the rocks until you come to another room where you slide down a rock.
Climb up the rock on the other side of the room.
Tihocan’s Tomb
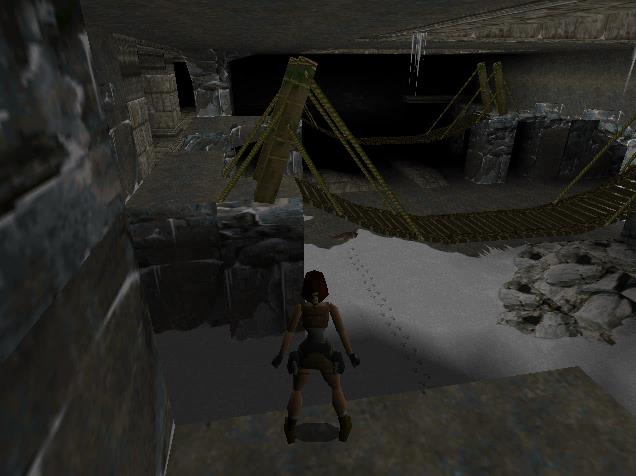
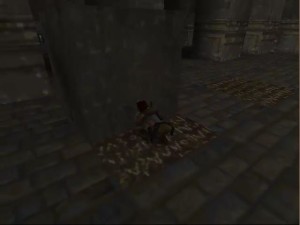
At this point you’re almost at the tomb. You’ll need to jump onto a pillar next to water.
 Have a look at the pic on the right to see exactly what I mean. Take a running jump over to the pillar.
Climb up the rock ledge and pull the lever to the left and you’ll see an underwater door open.
Dive down into the water below and follow the tunnel. You should emerge right next to the tomb entrance.
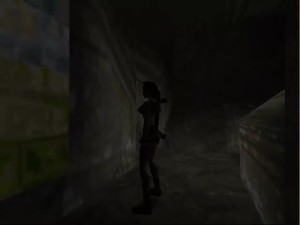
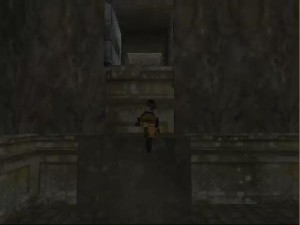
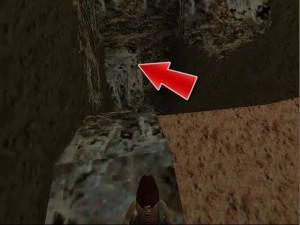
Don’t climb up yet. Dive down again and find the secret entrance under the water to the right side of the tomb.
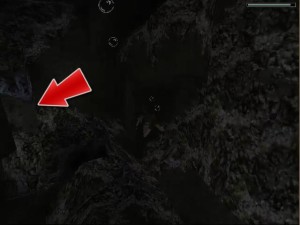 The entrance is very hard to spot so have a look at the pic on the left to see where it’s located.
Go through the passageway and follow it until you can surface. Get out of the water and pull the switch on the wall. This will open the tomb door.
Swim back to the tomb entrance. Approach with caution as the centaur on the left comes to life when you get close.
Keep flipping to the left and right to dodge his bullets while you attack.
Final Battle With Pierre
As you enter the tomb Pierre will be there with all guns blazing. This time he won’t run away. Keep shooting until he’s dead. Go up to his body and pick up the gold key, piece of the scion and magnums.
Outside the second centaur will come to life so you can go out and kill it if you want to.
 Climb up one of the blocks and jump to the balcony. On either side of the balcony are magnum clips.
Use the gold key on the gold lock which opens a door on the ground level.
Run through the door to watch the final cut-scene and end the level.
From here Lara heads to Egypt to continue her quest in the City of Khamoon.