Level 7 (Palace Midas)
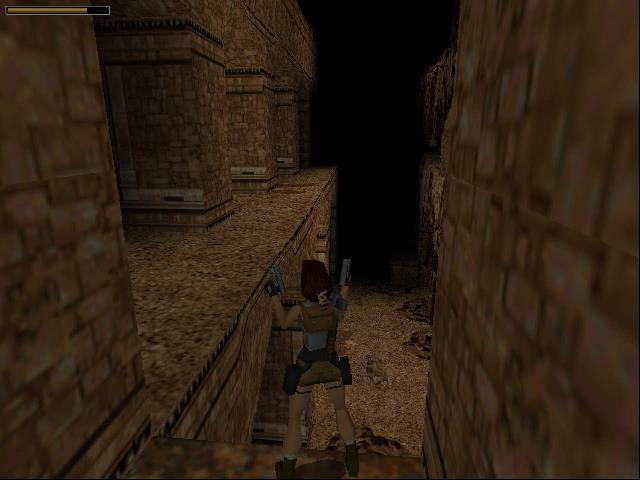
You begin this level underwater for the first time in a blue room with dolphins around the side. There are three exits here. Looking at the center exit take the path to the right.
A crocodile will attack. Take him out and continue along the path. When you come to the stairs stay on the ground level and follow the path to the right.
 Keep following the path until you come to a series of large alcoves. Two lions are hiding in the third alcove to the left.
Continue around to the right and kill the bats that attack. In a small alcove to the left is a small medi-pack.
Run back now to the stairs and take them up. Follow the path along until the hallway opens up into a large room with pillars and gorillas.
The Combination Room
Kill the three gorillas before exploring more of this room. Around the edges you’ll find doors with Greek letters above them. Each of these leads to a different area. The switches to open these doors are on the platform in the center of the room.
 Climb up the smallest pillar at the back right of the room. Running jump to the next pillar and then jump and grab the ledge to the left.
Turn to the right and run and jump to the next ledge where you’ll find a small medi-pack and magnum clips.
Jump back across to the ledge you came from and then the second pillar. Keep jumping over to the 3rd, 4th, 5th and 6th pillars before jumping up to the center platform.
Here you’ll find five switches which act as a combination lock for the doors. To open the first door pull the first lever on the left down and leave the others up (Down, Up, Up, Up, Up). Go down the stairs in the middle and pull the lever to open the gate. You can now get back up to the switches through this gate.
Fire Room
 The door closest to the small pillar has opened. You’ll see fire on pillars with water underneath. You may like to kill all the rats in the water before attempting to make the jumps across the pillars.
As you stand before the first pillar all the fires will go out. You have a short amount of time to jump across them all before they turn back on again.
Run and jump across all the pillars without stopping. You can turn Lara left and right while she’s in the air. On the last jump you’ll need to grab hold of the ledge and pull yourself up.
Once you’ve made it across pick up the lead bar as your reward. Run back up to the five switches. A gorilla may have spawned in the large room as well.
Spiked Room
 Now pull the switches into the order Up, Up, Down, Up, Down. As you come down from the control platform the door to the left is open and the room beyond is filled with spikes!
Walk carefully through the spikes to the doorway on the right. Pull out the movable block twice and pull the switch in the alcove behind it.
Continue up the ramp until you reach an upper level of the spiked room. Pillars have now appeared in this room.
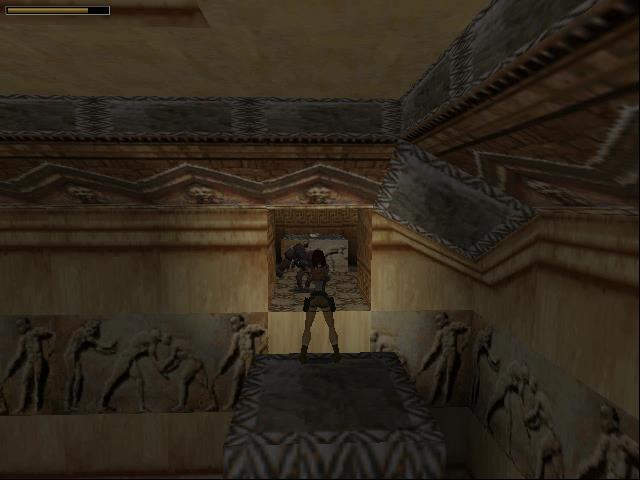 Jump around the pillars to the right until you see an opening in the wall that you can see in the pic to the left.
A gorilla appears here as soon as you try to enter so jump forwards and then flip backwards to the pillar for safety.
Kill the gorilla and then jump into the room to pick up the second lead bar.
Walk back and drop down, carefully avoiding the spikes once more and head back to the control switches.
Sand Room
This time you’ll want to move the switches to the combination Up, Up, Down, Down, Up. Head down and around to the left until you find the open door. Enter into the room and out the exit at the other side.
 There are stairs going up to the left and down to the right. Take the stairs down to the right. Follow them down until you come to a movable block. Pull it out once and you’ll hear a crashing noise. Pulling out the block has triggered a collapse up above. Climb up the stairs and go all the way to the top.
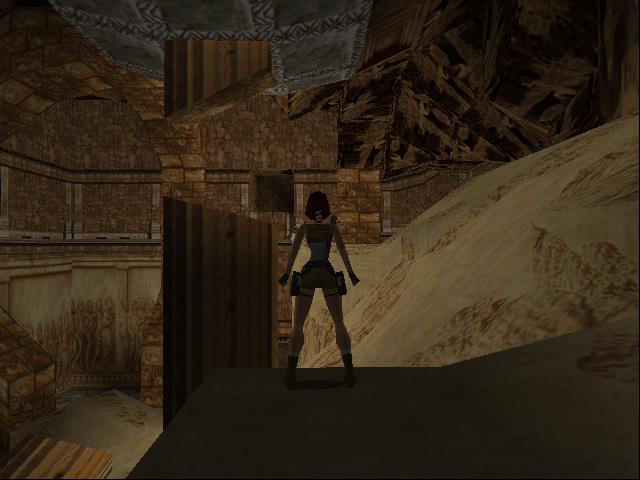
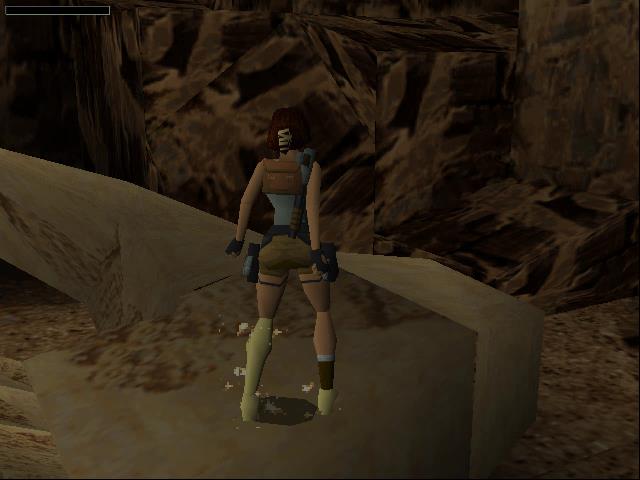
You’ll notice broken pillars and sand now cover the room. Jump across to the right to the first sand block and then run and jump to the central pillar.
Run and jump to the last sand block while grabbing and then jump up to the exit.
Aqueduct
 Climb up the rocks to the right and continue until you come to the aqueduct. If you look down you’ll notice some items in a hole to the right. We’ll come back for those in a minute.
Take out the gorillas on top of the aqueduct before jumping across.
Run around the right side and kill the two crocodiles in the water. You may need to jump in for a second to lure them closer to you.
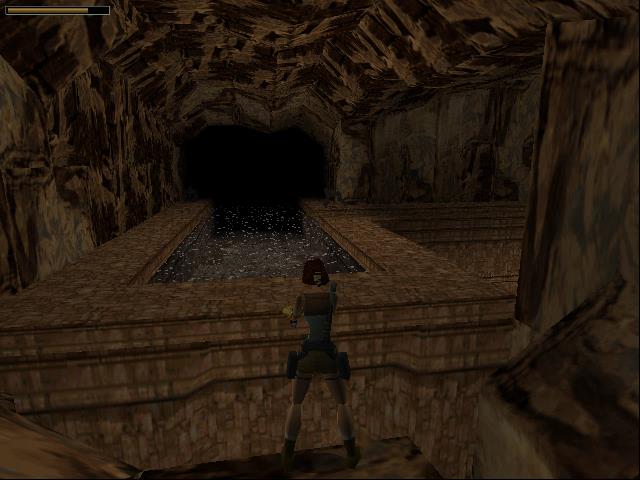
Dive into the water and swim through the tunnel until you come to an opening.
Secret 1 & 2
Climb out of the water and climb up the rock on the left. Walk as far as you can towards the sloped rock and jump over it. Lara will land on the other side and automatically jump forward again. Walk to the left, slide down the rocks and pick up the small medi-pack and magnum clips.
Dive back down and head back to where you jumped over to the aqueduct. Remember the items you spotted in a hole on the right. Drop down now and pick them up for the second secret. Here you’ll find a small medi-pack, shotgun shells and uzi clips.
Drop down underneath the aqueduct and kill the gorilla that comes charging at you. Here you’ll find a hall with alcoves to the left and right. The second alcove to the right has a small medi-pack.
 To the right is the Palace area where you killed two lions in the beginning. Jump across the gap and kill the two gorillas in this area.
Across from the alcoves you’ll spot a crevice in the high rock wall with some items in it. Position yourself exactly square on and take a running jump to grab the crevice. Pull yourself up and pick up the large medi-pack.
Drop back and hang onto the crevice. Grapple your way all the way across to the left and drop onto the ledge. Kill the bats that attack.
Take a running jump back across to the palace area and run through the tunnels. Eventually you’ll come to an area with a break-away floor. Run to the alcove on the right for a large medi pack and then jump across the broken tiles to the area beyond.
Slide down the rock slide and then drop down three times to come out on a ledge above the beginning of the level. A lion will attack but you should have plenty of time to kill it before it gets close to you.
Pillar Room
 Continue running around the ledge until you come to a room with pillars and gorillas. You can shoot the gorillas from the ledge although they may run away before you kill them.
Jump to the ledge to the right and head inside. There’s a small water tunnel opening with a crocodile inside. Take out the crocodile and dive down.
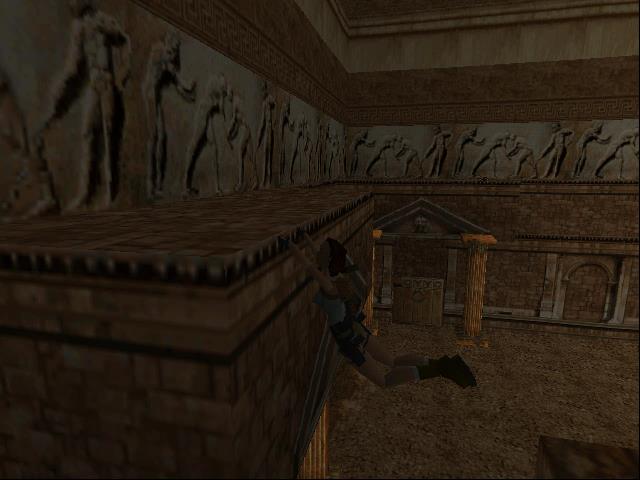
Come out the other side, run down the tunnel and jump across to the temple roof. On the other side of the roof is another lead bar.
Try to kill the gorillas and lions before dropping to the floor below. Walk to the temple doors and one of them will open automatically. There’s also a large medi-pack just in front. Run inside and pull the switch which will open the gate to the garden.
Garden Entrance
Opposite the temple and to the right is a tunnel that leads to the pillar room. Run through it back to the pool and turn right down the stairs to go to the garden. You’ll be attacked by a couple of gorillas here.
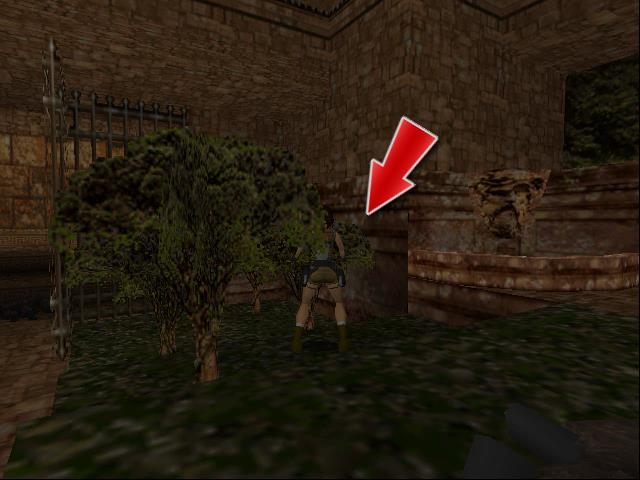 Behind a bush to the left is a switch that leads to secret 3. The picture to the right shows you exactly where it’s located.
Pull the switch and a gate will open on the left side of the garden. Inside are two sets of moving blades. Stand just in front of them and at the right time do a jumping dive to get past them unscathed.
Inside you’ll find a small medi-pack, magnum clips and shotgun shells.
Run back to the garden and climb up a ledge on the right side just next to the roof. Do a standing jump to jump onto the roof and pick up the large medi pack.
Turning Lead Into Gold
 To the back of the roof is a tunnel leading further into the palace. If you stand on the hand Lara will turn into gold. Save your game before you try it out.
Stand near the hand and use the lead bars one at a time to turn them into gold bars.
Head back through the garden, to the starting area past the pool and to the right to get back to the switch room.
Open the last door by moving the switches to Down, Up, Up, Up, Down.
Jump down and enter into the door to the right. Take out the lion and climb all the way up the stairs to a balcony area where you’ll find some shotgun shells. Go back to the stairs and half-way down you’ll find an opening where you need three gold bars.
Place a gold bar in each of the alcoves to open the door and end the level. From here you’ll descend into the next level, the Cistern.