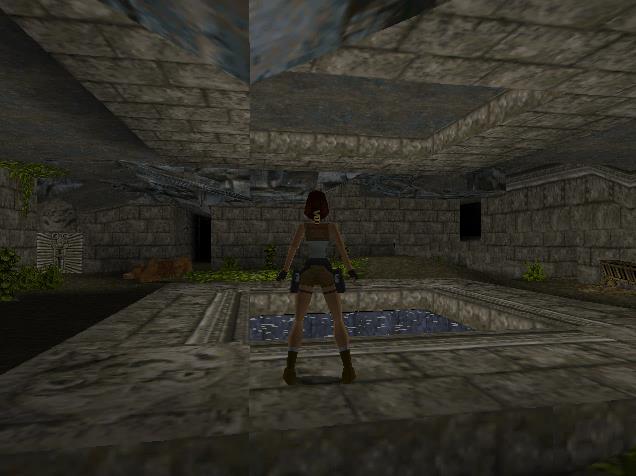
Level 15 (The Great Pyramid)
The first thing you should notice is the giant floating mutant coming towards you! I found the best thing to do was to circle it by flipping left or right while shooting constantly. Eventually the giant will fall.
Run through the open door and down the passage all the way to the end. Push the movable block three times to reveal another corridor. Run up it to another movable block. Push it once and then climb up from the right side.
Turn around and jump to the corridor above. Run through the chomping blades and when you come to an intersection take the path right with the white walls. Push the block at the end once and then run around the other way.
 Climb over the block and push it twice the other way. Run up the white-walled passage and around onto the block. There’s now a switch you can pull on the left wall.
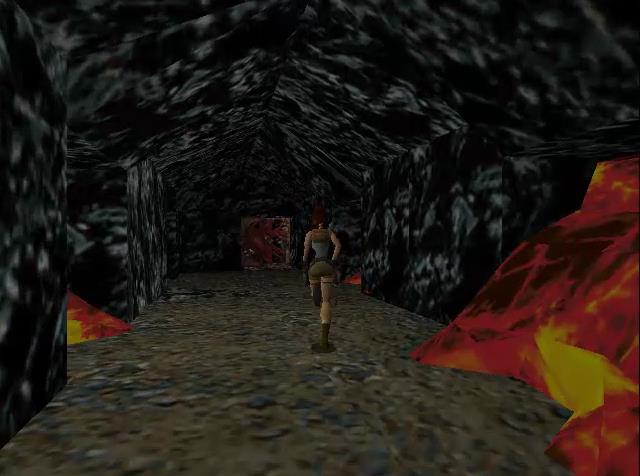
Pull the switch to open the door next to you. This will bring you to a lava pool with sloped sides.
Jump across to the right and you’ll land on a flat spot. Continue jumping on this side of the lava another two times.
Turn around and you’ll see the drawbridge has been raised. Jump back to it and run across for Secret #1. Pick up the goodies and use the switch twice to raise and lock a part of the bridge. You can now jump back across to the beginning of the sandy slope.
Do your three jumps to the right and this time jump across to the other side of the lava. Run through the passage, trigger the boulder and run back down. Continue up the corridor and do the same thing with the next boulder.
The Scion Room
Stand on the broken floor and stand back. Drop down to the floor below. Destroy the Scion by shooting it. The building will start to shake.
Run across the bridge and shoot the mutants on the far ledges. Drop off the bridge to the rocks on the right and safety drop down the hole to the small platform in the lava pool below.
 Dart Trap Room
Here you’ll face the dart traps. Jump across to the crevice and make your way over to the right. You can’t avoid taking a little bit of damage here.
Drop down at the end onto the ramp and flip backwards before you end up in the lava.
Follow the rock path around to a Spiked, Swinging Blade trap.
Spiked, Swinging Blade Trap
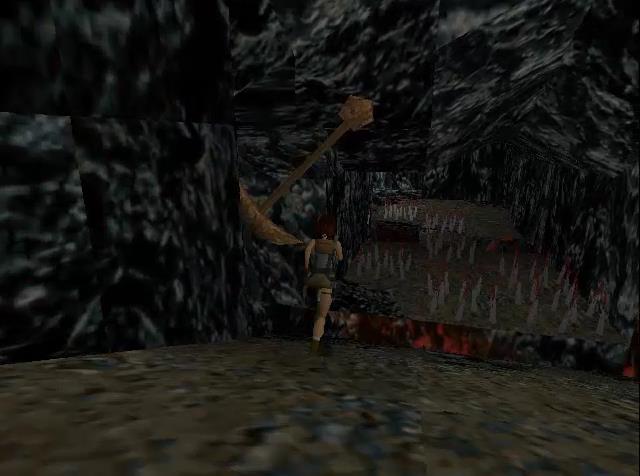 Jump across the gap to the safe spot to the left of the spikes.
Walk through the spikes and around to the left. Stand on the raised bit of rock overlooking another spiked bridge. You’ll need to perform a series of three jumps to get across.
Jump forwards, to the right and forwards again. The floor will crumble beneath you as you jump.
In the next room stand on the edge of the rock path and face left towards the small crevice in the wall. You’ll need to jump diagonally across to the left to grab hold of it. When you’ve grabbed it shimmy across to the right and drop down at the end for Secret #2.
 Grab the loot and position yourself on the edge of the platform in the center. Jump down onto the slide and backflip onto the smaller platform. Turn around and jump and grab the crevice in the wall.
Shimmy across to the right and drop down before the collapsible floor.
Run across the floor and into the passage to the right before the boulder hits you.
Run down to the left and take a right before the second boulder hits you.
Slide down to the right and jump across to the rock platform before the third boulder hits you.
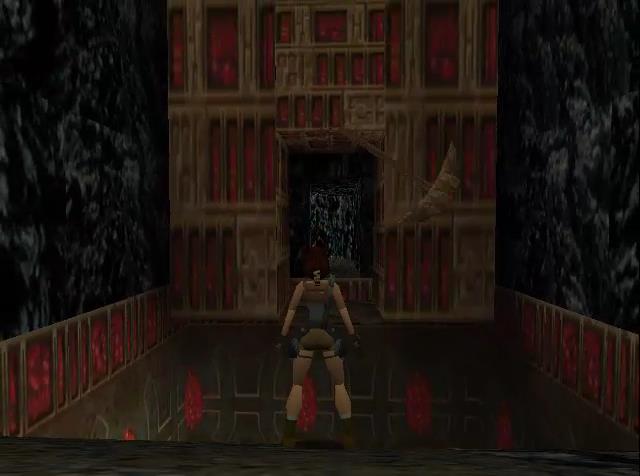
Lava Room
 Now drop down and run quickly through the lava room. Lava will flow out across the floor but your safe once you reach the small medi pack. Stop here to pick it up and then run quickly to the switch next to the door.
Pull the switch, head through the door and run quickly to your left. A boulder will roll over your head. Jump across the gap and continue down the passage.
Fire Jumps
Walk to the end of the ledge and wait for the fire to stop. Take a series of five standing jumps to make it all the way across to the other side.
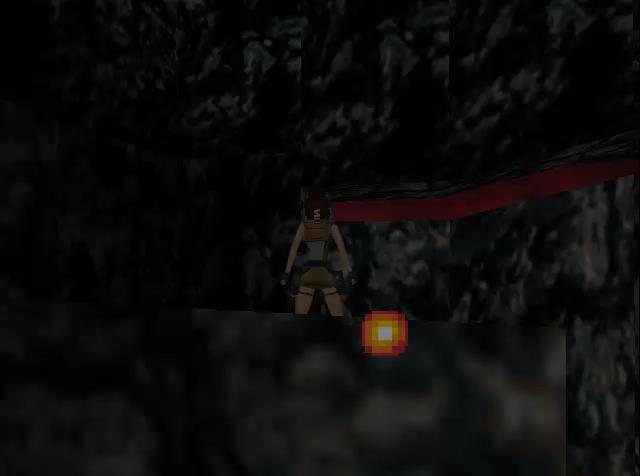
Secret #3
 This is the final secret of the game! You’ll see a floating structure with a swinging blade and collapsible tile in the middle.
Take a running jump across to the center tile and another running jump across to the other side. This is Secret #3 even thought the sound doesn’t play due to a bug.
Pick up the large medi pack and Uzi clips. Now take a dive from the top into the small pool below. Continue through the tunnel and pull up into a new area.
The Final Battle
 Get ready to face Jacqueline Natla for the final battle. She was your friend now turned enemy.
Approach with weapons drawn and take her down when she gets close. She’s able to fly which makes this battle more difficult.
She shoots fireballs at you so dodge from side to side. One you’ve taken her down don’t relax just yet because she will rise to fight again but won’t be able to fly.
Kill her for the second time and get ready to escape this dreaded place.
The Escape
Find the rocky outcropping shown in the picture below. Climb up it and drop down to a passage beyond.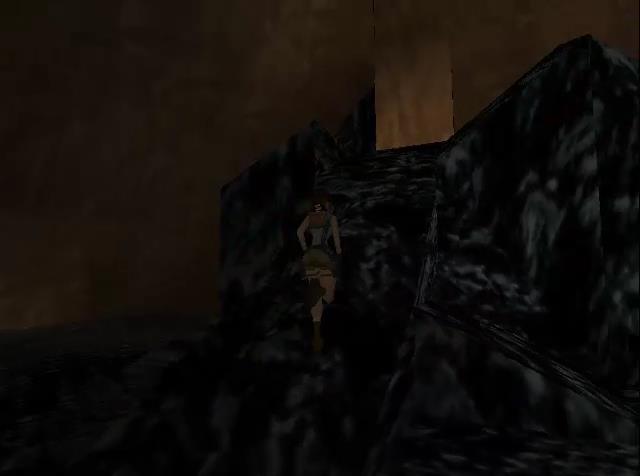
Follow it around to a point where you can jump to a pillar. Jump across and the jump to the two pillars to the left and climb into another sandy passage.
Follow this second passage around and safety drop down onto another pillar. Jump across the three pillars to another passage.
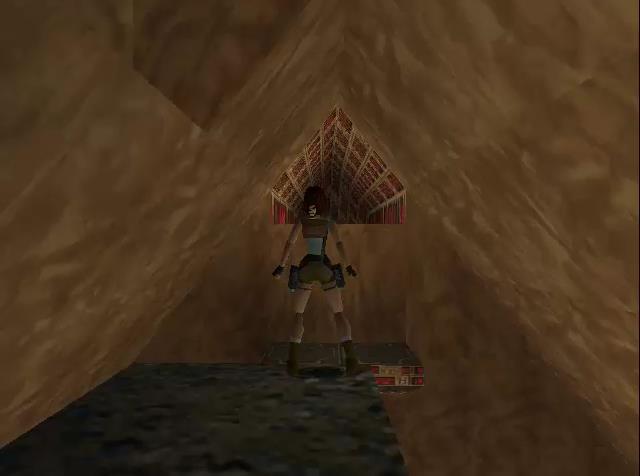 Take this third sandy passage around to yet another pillar. Once again safety drop down on the pillar.
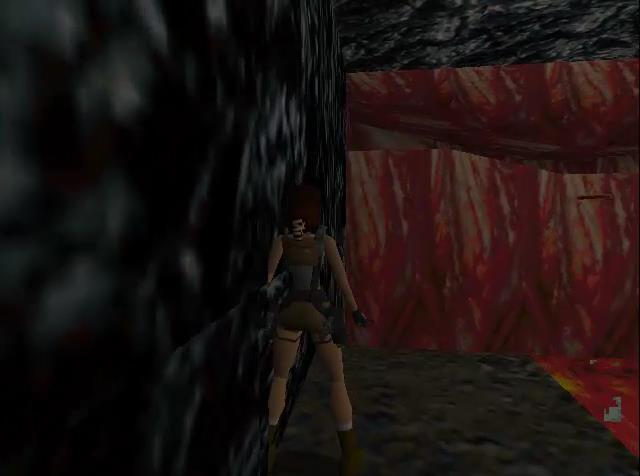
Now you’re at the top. Jump across to the ledge and climb up to the red corridor.
Slide down and escape the Great Pyramid.
I hope you enjoyed this walkthrough. Head over to Tomb Raider 2 for the next installment in this great series.