Level 14 (Atlantis)
Run forward and grab the Uzi clips. You’ll notice some large eggs up ahead. Everything here seems to be pulsating and alive. As you move forward one of the eggs on the left will break revealing a mutant.
 Continue forwards and watch out for the egg behind you on the right and the last egg on the left which will also break open, revealing another mutant inside.
Walk to the end of the room for more Uzi clips and then enter the door on the left up to the level above.
There is a small medi pack in the dark area ahead of you and shotgun shells are on the bridge in the middle. As you pick up the shells a flying mutant will be released from the ground floor.
Continue to the end of the room and pull the switch in the dark room in the corner. This opens the door opposite which reveals another dark room with switch. Pull this switch also.
Run down to the ground floor and along the way you’ll spot another switch. Pull this to open the door on the ground floor.
Large Lava Room
Run through the door on the ground level to come to a very tall Lava Room. Hang off the edge of the platform and drop down to the ledge below. This takes you to Secret #1 with a large medi pack, Magnum clips and Uzi clips.
Follow the passage around and drop down in front of the chomping blades. Continue forwards to another room with a missing bridge.
 Drop down to the right into the passage below the crevice. Run up the passage and pull the switch on the right about half way up. This opens the door at the other end of the room.
Grab the Uzi clips and jump back across to the platform.
Take a running jump across the gap and pull up on the far side. A flying mutant will spawn as you make the jump.
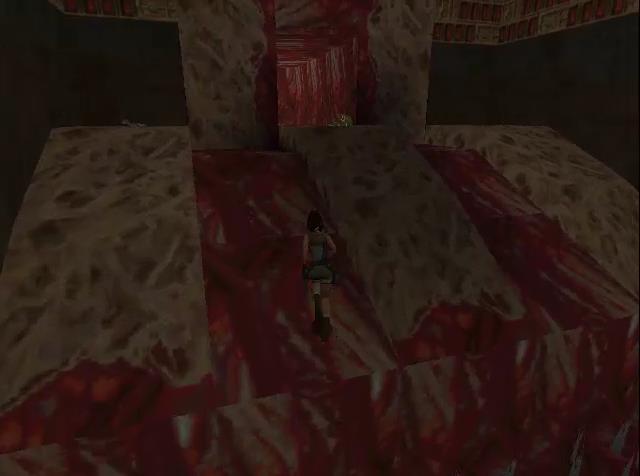
Follow the passage around and jump to a pillar by some water and a sandy slope. As you jump across the sandy slope boulders will trigger and roll down.
Jump to the first flat spot on the left then immediately to the one higher on the right. A boulder will roll past behind you.
Jump to the right and slide down to another flat spot. Jump quickly to the one higher as a boulder has been triggered.
Jump once more to the one higher on the right, the one higher on the left and lastly over to the right. Climb the small rock wall into Secret #2. Here you’ll find a large medi pack, Uzi clips and Magnum clips.
Go back and slide down into the water. On the opposite side of the sandy slope under the water is a lever. Pull the lever to open the door on the far side of the room. Jump across the sandy slope again to reach the door.
 Drop down to the next room and climb up to the walkway in the center. Pull the switch which opens the door opposite.
Run through the door that just opened and jump over to the large medi pack.
Jump across again to a small alcove and pull the switch which fills the room you came from with lava. Head back to this room and jump to the pillar on the right which has now appeared.
Jump across to the passageway and follow it along. Dive down into the small pool of water and pull the lever. This opens the underwater door behind you. Go through it and up into another passageway.
Run forwards past the chomping blades and pick up the Uzi clips. This takes you back to the large lava room.
Running jump to the ledge on the right and pull up. Grab more Uzi clips and kill the flying mutant. Follow the passage and drop into the water.
The Switch Room
Swim through the water and pull up into the Switch Room. There are five switches here and a ramp exit with three doors. Three of the switches will open the doors while the other two will activate the incubators.
To open the doors pull the switch to the left of the ramp with doors, the switch opposite the ramp on the far left and the switch opposite in the center. You’ll still have to face one mutant. Pull the other switches if you want all of the kills.
Boulder Puzzle
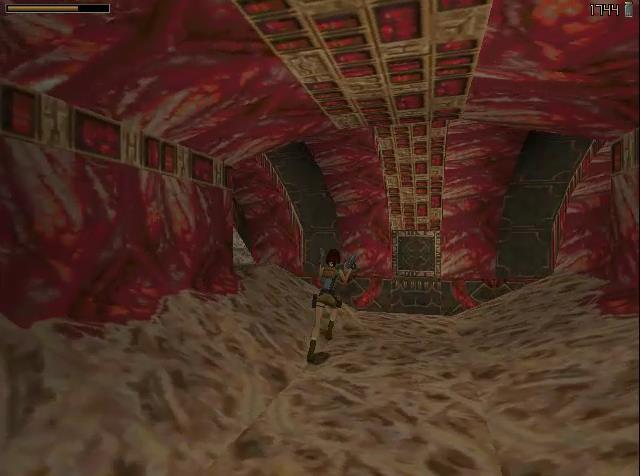
Drop down into the water, swim through the doors and pull up into another passageway. Follow the passage to the left, take a right at the intersection and pull the lever by the door to open it. It will close behind you.
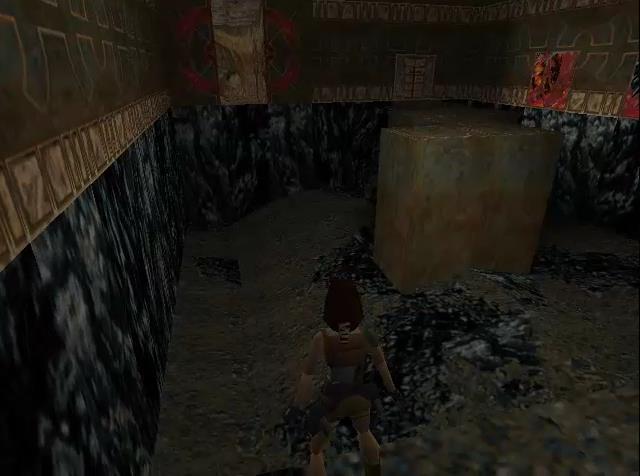
 Pull the block towards the boulder once and push it against the wall. Run around the red passageway back to the switch.
Pulling the switch will reset the boulder and open the door. This time the boulder will hit the movable block, leaving the exit open.
Run through the exit and back into the large Lava Room.
Large Lava Room
Another flying mutant will attack but now you’re almost at the top.
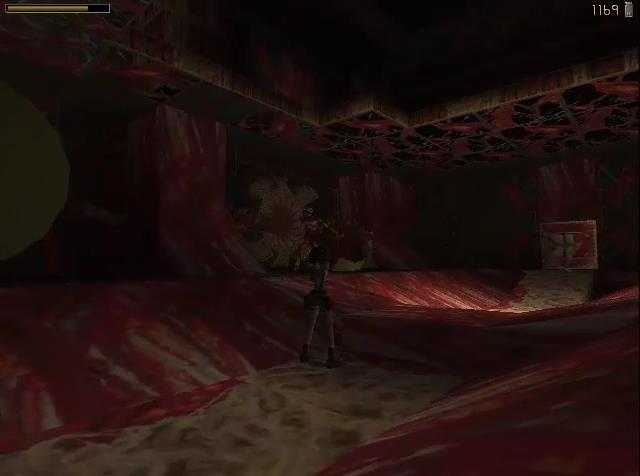
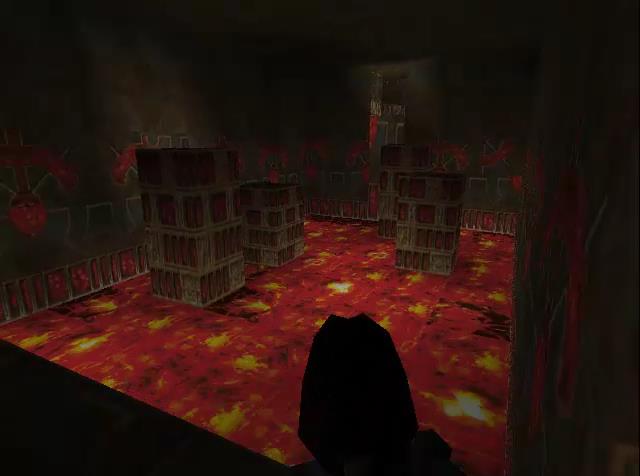
 Jump across to the right into another room with incubators. Kill the flying mutants, slide down and jump to the flat red section shown in the pic to the left.
Run up, grab all of the goodies and continue down the passage to a room with a sloped bridged in the middle.
Bridge Room
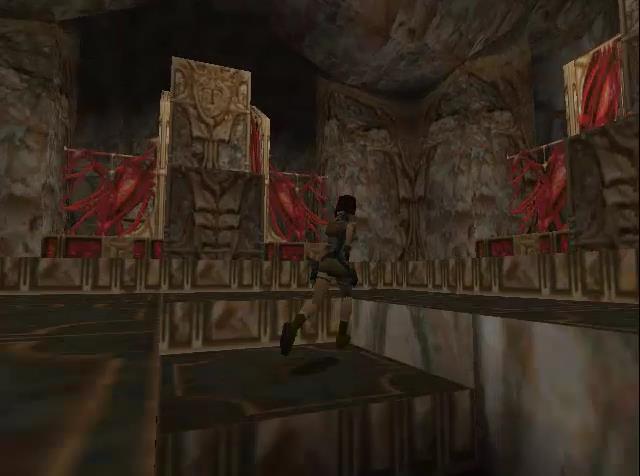
Don’t go over the bridge. Jump over the small rock to the left and then jump again to the small ledge next to the wall. Turn left and follow the passage up to another point in the room.
You’re now high above the bridge. Take a running jump to the flat brown spot on the bridge in front of you. From here you can shoot the mutants in an alcove to the far left.
Jump to the red blocks below the bridge on the right and jump up the rocks to the right side. Follow the ledge to the switch and pull it to open the door at the end of the bridge.
Jump across to the rock platform to the right of the bridge and pull out the movable block, revealing a passage behind it. The passage will bring you up to the door at the end of the bridge but from the other side.
Head out onto the bridge, being careful of the chomping blades. Turn right and jump across to the alcove where you killed the mutants. Follow the passage up and back to a higher point in the Lava Room.
Kill the flying mutant and jump across to the ledge diagonally to the left to find the next room.
Lava Pillar Room
 Head straight in a jump across to the walkway opposite. Follow it to the left and pull the lever. This will change the formation of the pillars.
You can now jump across to the pillar to the right of the entrance and diagonally across to the middle pillar.
Now jump across to the open passageway and pull up. Follow it around for another switch. Pull it to change the formation of the pillars once more.
Jump across the pillars to the exit on the left and follow the passage into a low corridor with three mutants.
Secret #3
With the mutants dead run back to the passage you came from and stand on the part of the floor that has now gold etching around it. This is a pressure plate that opens the way to Secret #3.
Stand on the plate, run down the corridor and enter the opening to the right (Secret #3). Inside you’ll find Uzi clips, Shotgun shells and a large medi pack.
Continue down the corridor and just after the door that opens automatically you’ll need to jump up. Walk ahead until the door closes and then walk back. Where the door opens is where you need to jump. Don’t pull the switch ahead which is a lava trap.
Pull up and run down the passage back to the Lava Room. Jump across to the right and follow the passage.
Ramp and Dart Trap
Ahead you’ll see a ramp but it has numerous traps around it. If you walk on the ramp a boulder will roll down, a chomping blade activates and a dart shoots out from the wall. Stand on one side of the ramp, climb up it and drop down the other side. This should activate all the traps. Now climb up near the chomping blades and run through into the Throne Room.
Throne Room
 Push the block that makes up the base of the throne on the left twice. Run around the back of the thrones to two switches with pressure plates in front of them
Pull one of the switches and immediately flip backwards to prevent falling down.
Hang off the edge instead and drop down. Jump across to the boulder ramp and flip backwards to safety. Run up the ramp, climb up the blocks to the left and pull the switch. Keep climbing and drop back down to behind the thrones.
Now the door between the switches should be open. Run through into a room with two eggs and a switch on the far wall. Run towards the switch and kill the centaur mutant that spawns. Pull the switch and run through the central door.
Kill the mutants and get ready to face yourself.
Mutant Mirror Image
There is a mutant mirror image of you in this room who copies your every move. You can never kill it by shooting it as you will kill yourself. You will need to trick your mutant copy into falling down a pit.
First climb up the pillar on the left and jump across to the platform with the switch and gold door. Pull the switch to open the trapdoor. Jump over to the exact same spot on the other side of the room before the pit closes and your mirror image will fall in.
With the copy dead the door will be opened. Run through it and climb up into another fleshy passage.
Drawbridge Puzzle
 Kill the mutant centaurs so you have a chance to complete this puzzle. You need to pull both switches on either side of the room within a short space of time.
Pull the lever on the right to open the door and the switch on the left to open the drawbridge. There are some Uzi clips on the left you may want to pick up first.
Pull the switch on the right to open the door and then run to the switch on the left for the drawbridge. Run through the door and up the ramp to grab the Scion!
Watch the cutscene and get ready for the last level of Tomb Raider 1. Level 15 – The Great Pyramid.