Level 10: The Deck
Back to Tomb Raider 2 Walkthrough
Level 10: The Deck
Head to the right out to the large open deck area. Take out the two guards. One of them has a flame thrower. Pick up the small medi pack and head to the right side where you can find 2 sets of grenades.
Now head back to where you started and climb into one of the windows. Dive or drop down into the water below. Pull up on the small area on the left side and kill the barracuda swimming below.
Climb up the block ahead of you. Jump forwards and then across to the right to find the Stern Key.
Once you have the key dive into the water and take the small entrance to the left side. Follow it all the way through to another entrance onto the ship. Take out the guard and drop down to the cavern floor.
Slide down around the left hand side and follow the hull of the ship all the way around to the right until you come to three movable blocks. Take out the flame thrower guy up ahead first and then move the blocks to reveal an entrance.
Push the bottom block forwards once to meet the others. Climb on top of it and push the top block forwards once. Drop back and pull the bottom block back to where it was. Get behind it and push it once more. Pull the second block out once and climb over it to reveal the Stern Entrance.
Pick up the flares and use the Stern Key to unlock the door and go inside. Head down the slope and drop into the water. Swim forwards and on a wall to the right is a lever.
Pull it to open a trapdoor. Head out again to where you killed the flame thrower guy. A guard will attack who drops shotgun shells.
Drop down the trapdoor to the passage below. Follow it along and up the ladder at the end. To the right is another switch. Pull it to drain all of the water out of the Stern.
The Large Lake
Go back to the Stern Entrance and drop down to the now dry area. Run to the far right corner and pull out the movable block twice so you can get around it. Run through the passage behind it and climb up into a cave. Run through the cave to the edge of a large lake with a raft in the middle.
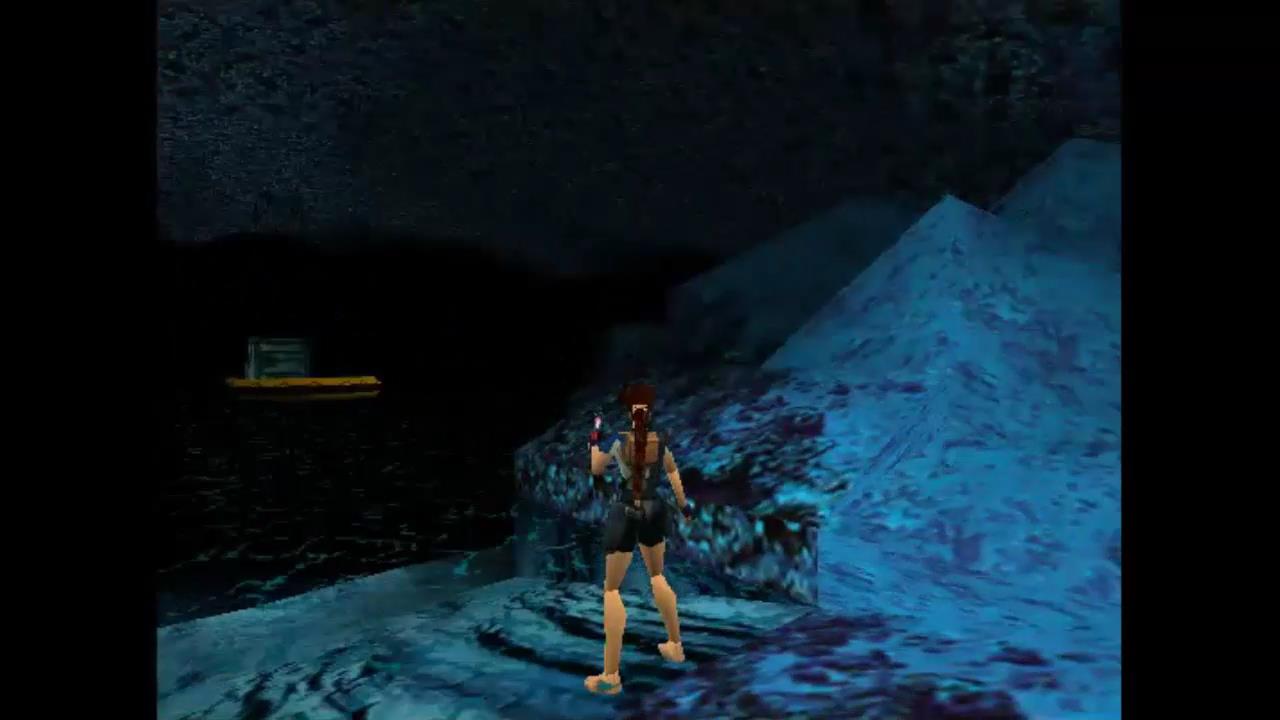
Dive into the water and pull up to the left. Take out the thug here and you should also be able to take out at least one of the divers in the water. Dive down again and continue forwards to the end. At the bottom is the Silver Dragon.
To the left of the Dragon while facing it is a passage that leads to another section of the cave. Swim through it and pull out. Continue around the passage behind the opening up a slope. A guard attacks who drops shotgun shells about half way up.
Continue to the very top where you’ll find a large medi pack and a hole in the cavern floor. Make sure you are healed up before dropping down the hole to the raft below. Take the Cabin Key from on top of one of the crates and the two harpoons on the raft.
From the front of the raft dive into the water below. Head to the passage that is to the left of where you picked up the Silver Dragon once more. Head up the passage and this time find a passage leading to the left about half way up.
Take this passage and climb up the blue blocks all the way to the top. Follow the passage around until you come to an opening overlooking the Deck.
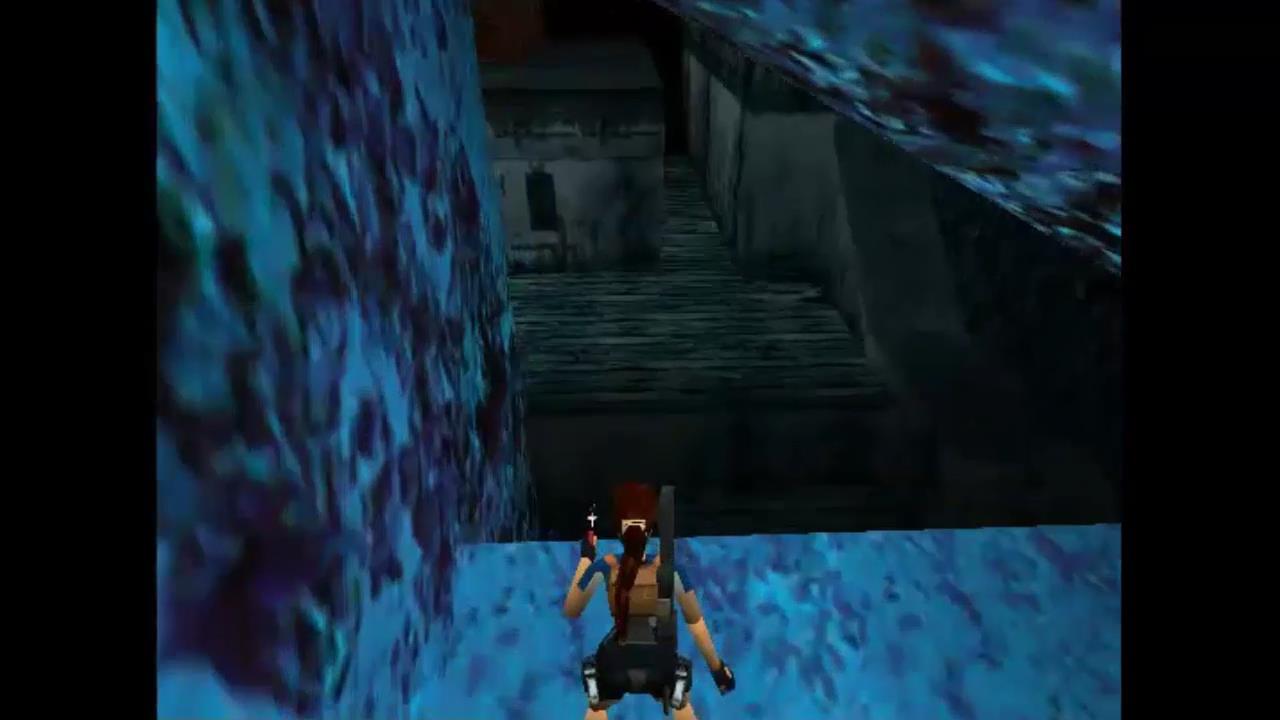
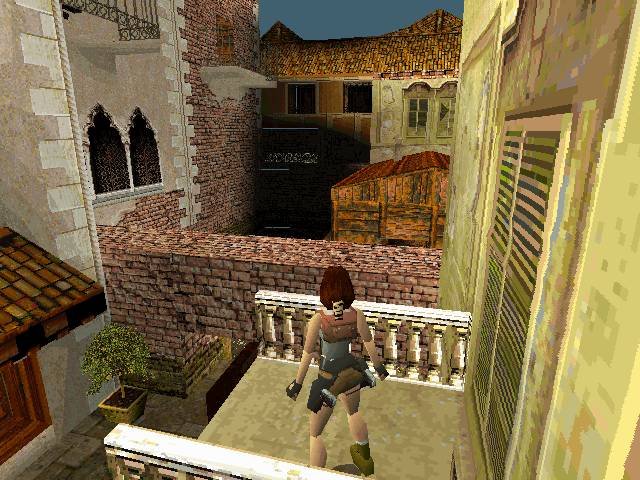
Drop down and climb onto the deck. Head down between the buildings and the wall on the right hand side. A couple of guards will attack from the other end. One drops some flares.
Head to the end and take a left, all the way around to where you’re overlooking the pool. There are guards below. Hang down and then pull back up to bring them out. A couple will climb up from the left.
Head down the stairs to the left to the lower deck and pull out the movable block in the middle. Behind it is two sets of M-16 clips. In an alcove on the other side of the pool are some Uzi clips.
Golden Dragon
Jump diagonally over one side of the pool to bring out a diver underneath.

He’s protecting the Golden Dragon in a small passage underneath the water. Once you’ve killed him dive down and pick up the dragon.
Climb out of the pool and drop down to the next lower deck section. From here do a running jump to the wooden block.
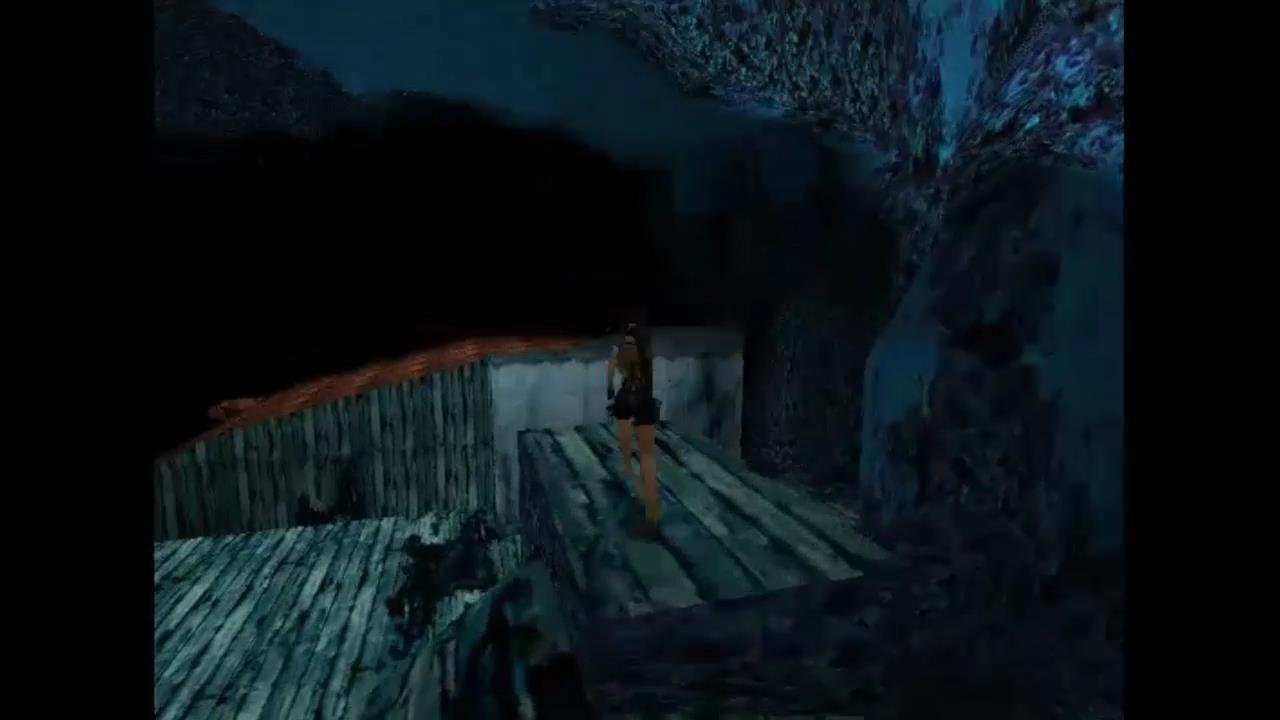
Jump across to the duct and then to the overturned hull section. On the far left side of this you can turn around and drop backwards, grabbing onto the edge. You’ll see a gap below you where you can drop down once more. Drop down and grab onto the lower gap. Shimmy across to the left and pull up when you can.
The Cave
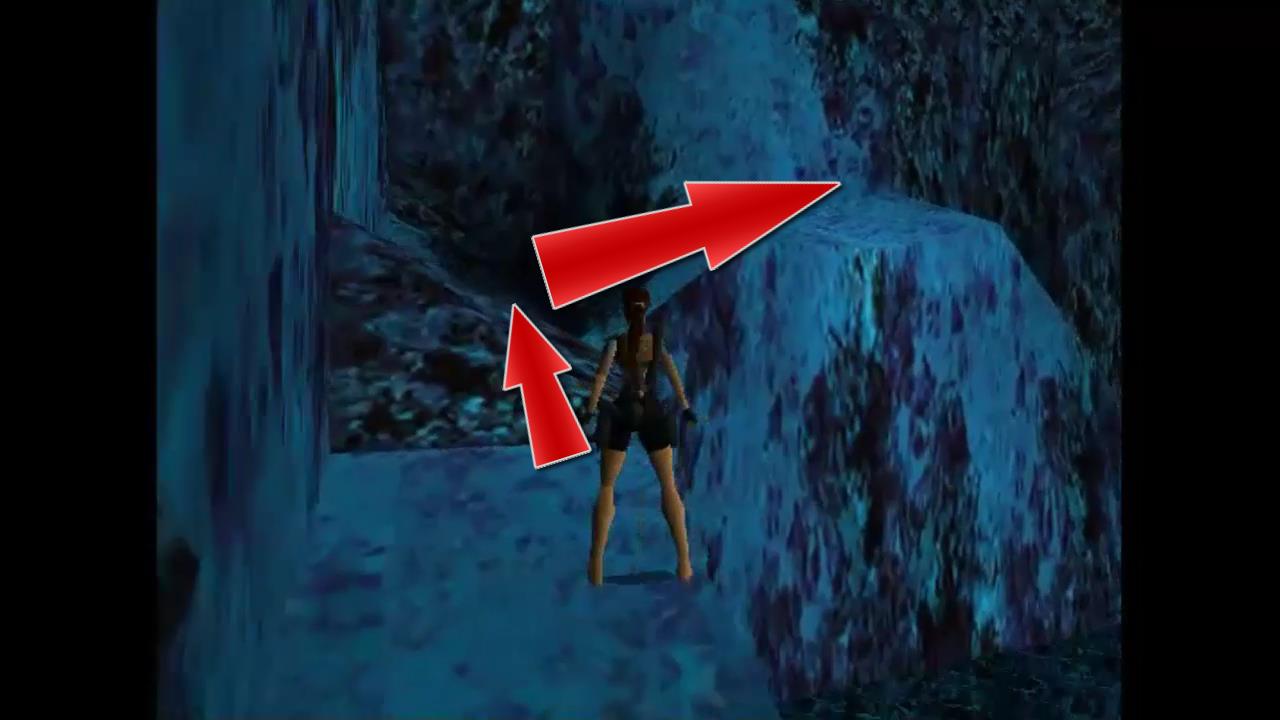
Turn left and do a running jump to the cave entrance. Follow it all the way around to the right as it curves upwards. You’ll come to a slope with blocks sticking out. Climb up the blocks and jump across them until you reach the top.
When you reach the top you’ll be attacked by two guards. One of them drops a large medi pack. Continue through the cave and you’ll come out overlooking the top section of the deck.
The Rooftop
Do a running jump to grab onto the roof and pull up. Run around this to the left, jump across to another roof section and drop down into the room. Take out the guard and pick up the two sets of automatic pistol clips in the alcove.
Follow the passage around to the right and pull out the movable block in the wall. Once out and then to the side so you can get behind it to pull the switch. The switch opens another door on the deck.
Head out the door, take a left and left again. Take out the guard with two sets of auto pistol clips. Head left and then around to the right to find the open door.
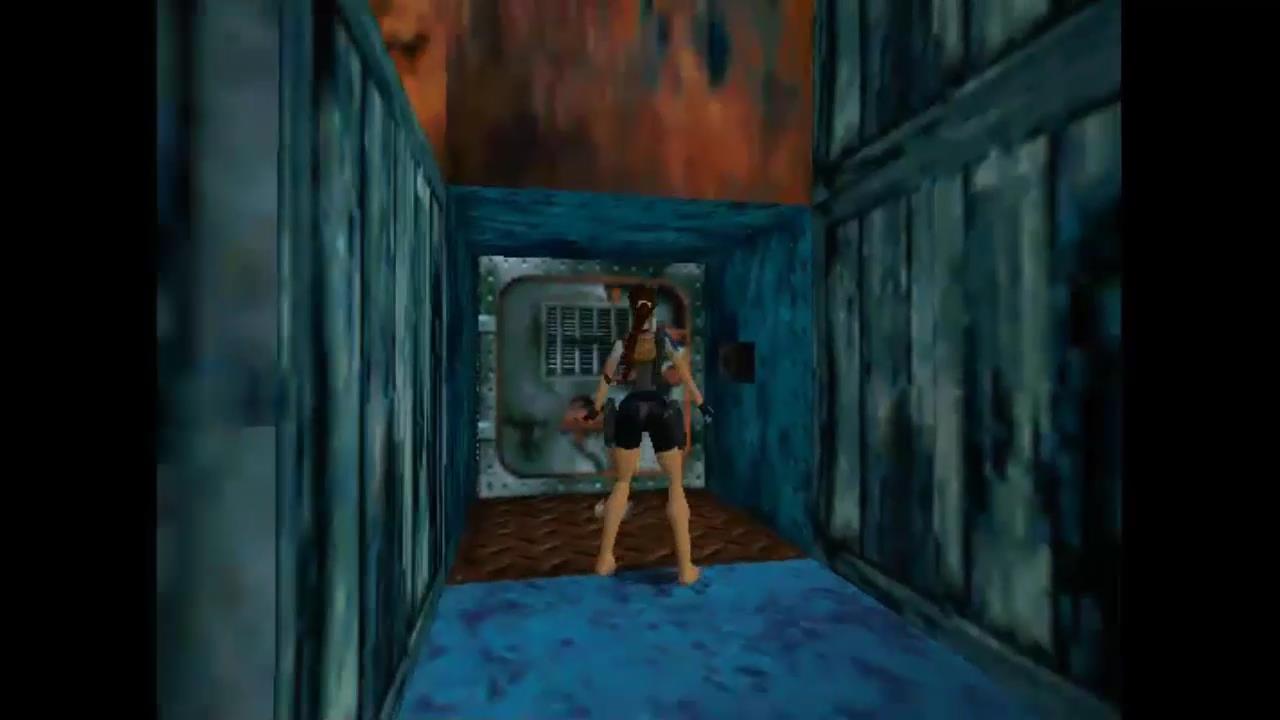
Enter and use the Cabin Key on the lock to open the door next to it. Go through and run across the broken tiles on the left side to the button at the end. Push the button to open yet another door then run back down the right side.
Take out the thug with a wrench and pick up the M-16 clips in a dark corner of the room if you can spot them.
Head out the door and take a left, left again past the rusted hull, right past the seat all the way to the end. Take a right at the end and left through the open door. Head up the stairs and climb up the blocks into another cave system. Follow this around to the end.
Stand on the little rock step and do a standing jump to grab the taller rock.

Pull up, turn around and do a running jump to continue through the cave. Drop down to the hull of the ship and pick up the Storage Key.
The Jade Dragon
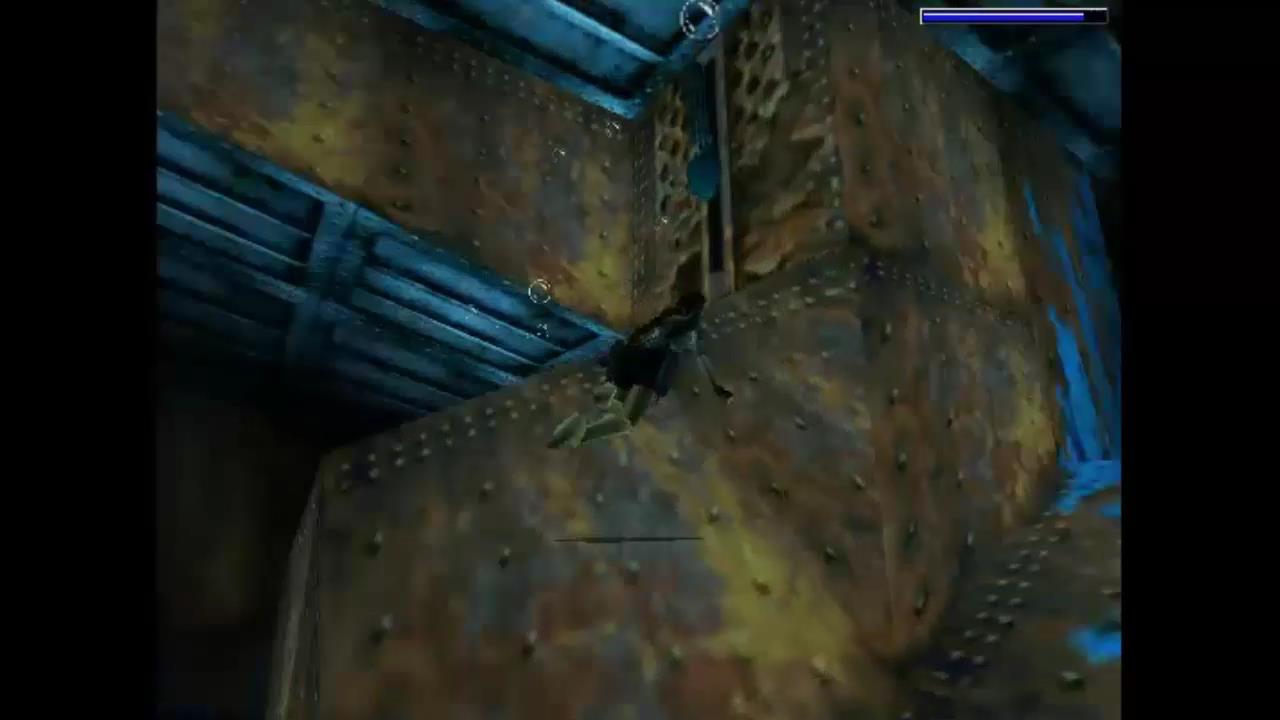
Slide off one side or the other and drop down the decks to the lowest level, below the deck with the pool. Jump across to the wooden block and then the metal duct but this time turn right to spot the Jade Dragon.

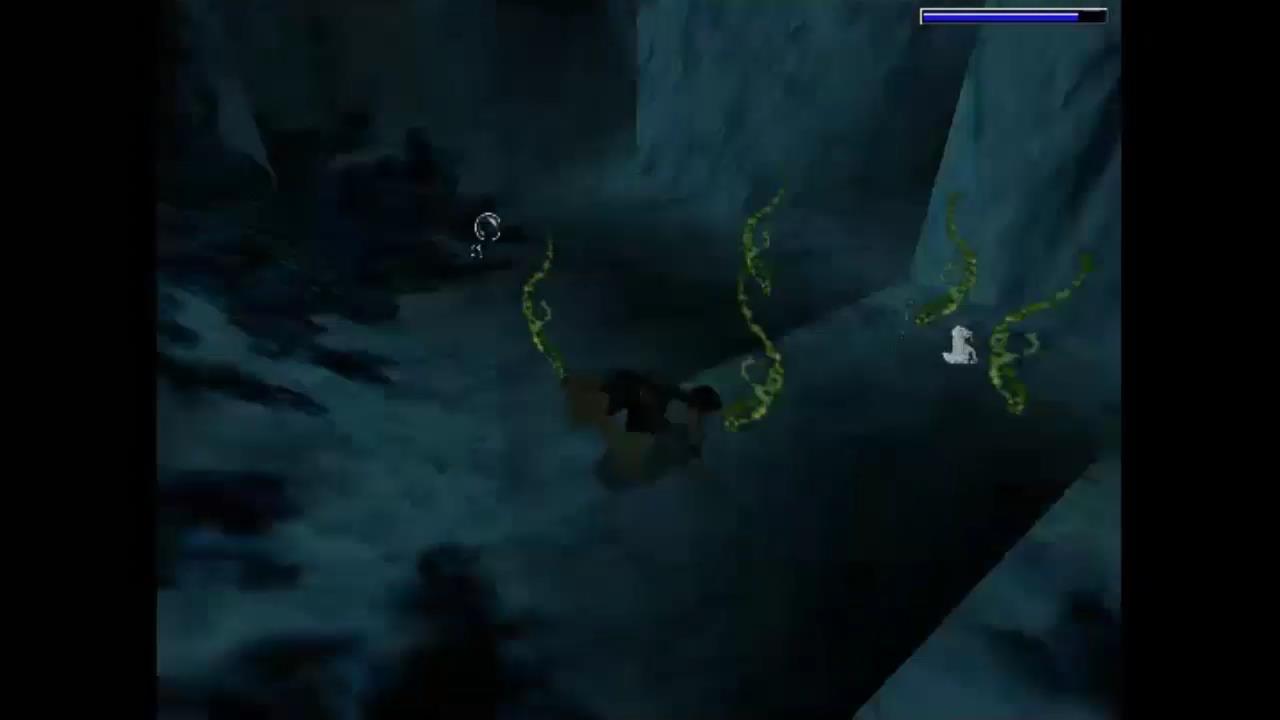
Do a running jump to grab the crevice, shimmy across to the right and pull up. Walk past the glass shards to grab the Dragon. If you have all of the secrets you’ll get a bonus 4 sets of grenades.
Walk to the edge, turn around and hop backwards to grab the ledge. Drop down and turn around. From the edge of these crates you should be able to take down the two flame thrower guys near the movable blocks below.
Run back over to the left side of the deck and jump over to the curved Stern section. You’ll slide down to the ground without taking damage.
Run around the ship to the right until you spot the storage door on the left. Use the Storage Key to open it and take the Seraph inside to end the level.
Next Level: Tibetan Foothills